Manage a workload profiles in the Azure portal
Learn to manage a workload profiles environment in the Azure portal.
Create a container app in a workload profile
Open the Azure portal.
Search for Container Apps in the search bar, and select Container Apps.
Select Create.
Create a new container app and environment.
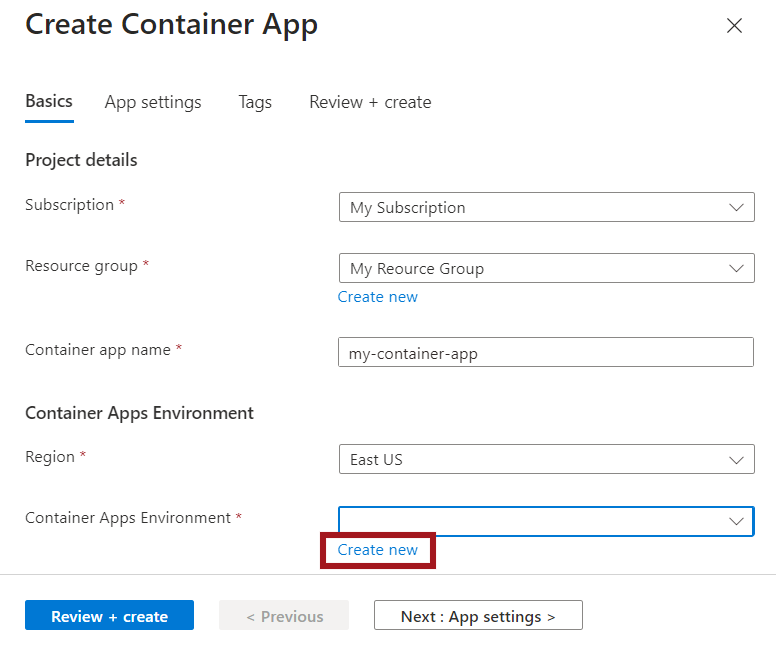
Enter the following values to create your new container app.
Property Value Subscription Select your subscription Resource group Select or create a resource group Container app name Enter your container app name Region Select your region. Container Apps Environment Select Create New. Configure the new environment.
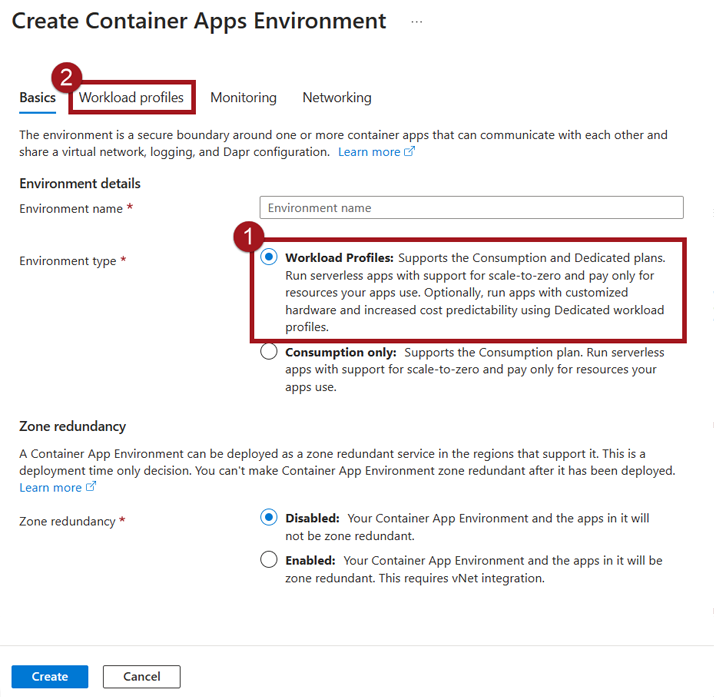
Enter the following values to create your environment.
Property Value Environment name Enter an environment name. Environment type Select Workload profiles Select the new Workload profiles tab at the top of this section.
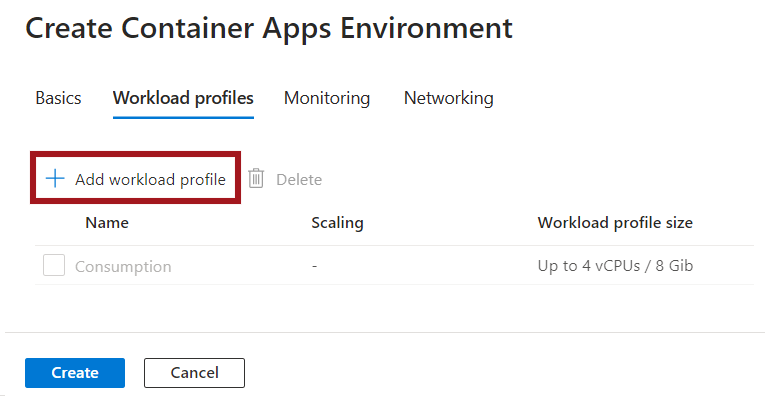
Select the Add workload profile button.
For Workload profile name, enter a name.
Next to Workload profile size, select Choose size.

In the Select a workload profile size window, select a profile from the list.
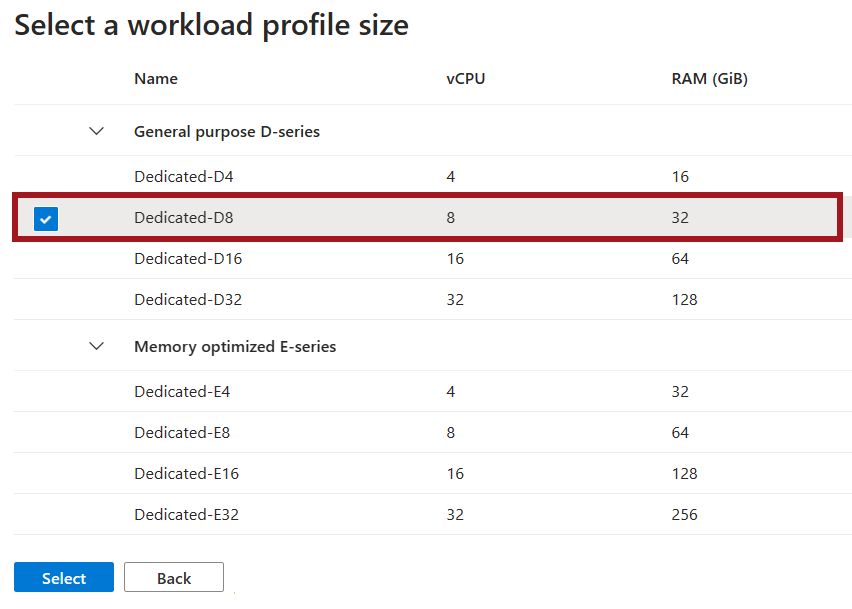
General purpose profiles offer a balanced mix cores vs memory for most applications.
Memory optimized profiles offer specialized hardware with increased memory capabilities.
Select the Select button.
For the Autoscaling instance count range, select the minimum and maximum number of instances you want available to this workload profile.
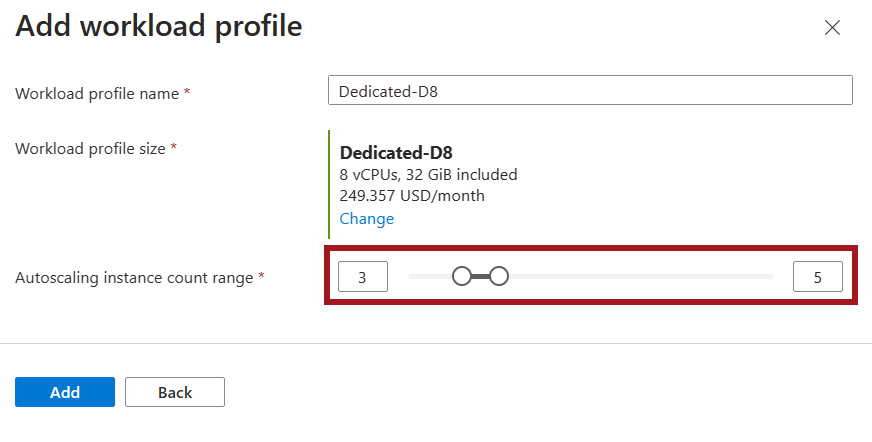
Select Add.
Select Create.
Select Review + Create and wait as Azure validates your configuration options.
Select Create to create your container app and environment.
Add profiles
Add a new workload profile to an existing environment.
Under the Settings section, select Workload profiles.
Select Add.
For Workload profile name, enter a name.
Next to Workload profile size, select Choose size.
In the Select a workload profile size window, select a profile from the list.
General purpose profiles offer a balanced mix cores vs memory for most applications.
Memory optimized profiles offer specialized hardware with increased memory or compute capabilities.
Select the Select button.
For the Autoscaling instance count range, select the minimum and maximum number of instances you want available to this workload profile.
Select Add.
Edit profiles
Under the Settings section, select Workload profiles.
From this window, you can:
- Adjust the minimum and maximum number of instances available to a profile
- Add new profiles
- Delete existing profiles (except for the consumption profile)
Delete a profile
Under the Settings section, select Workload profiles. From this window, you select a profile to delete.
Note
The Consumption workload profile can’t be deleted.
Next steps
Feedback
Coming soon: Throughout 2024 we will be phasing out GitHub Issues as the feedback mechanism for content and replacing it with a new feedback system. For more information see: https://aka.ms/ContentUserFeedback.
Submit and view feedback for