Quickstart: Create a Windows on Arm virtual machine in the Azure portal (Preview)
You can create and deploy Windows 11 Arm64 VMs with with Ampere Altra Arm–based processors on Azure. While there are many ways to create an Azure virtual machine, the easiest way to get started is using the Azure portal. This method provides a browser-based user interface to create VMs and their associated resources.
This quickstart shows you how to use the Azure portal to deploy a virtual machine (VM) in Azure that runs Windows 11 Professional on Arm-based processors. To see your VM in action, you then connect to the VM using a Remote Desktop client.
If you don't have an Azure subscription, create a free account before you begin.
Sign in to Azure
Sign in to the Azure portal.
Create virtual machine
Enter virtual machines in the search.
Under Services, select Virtual machines.
In the Virtual machines page, select Create and then Azure virtual machine. The Create a virtual machine page opens.
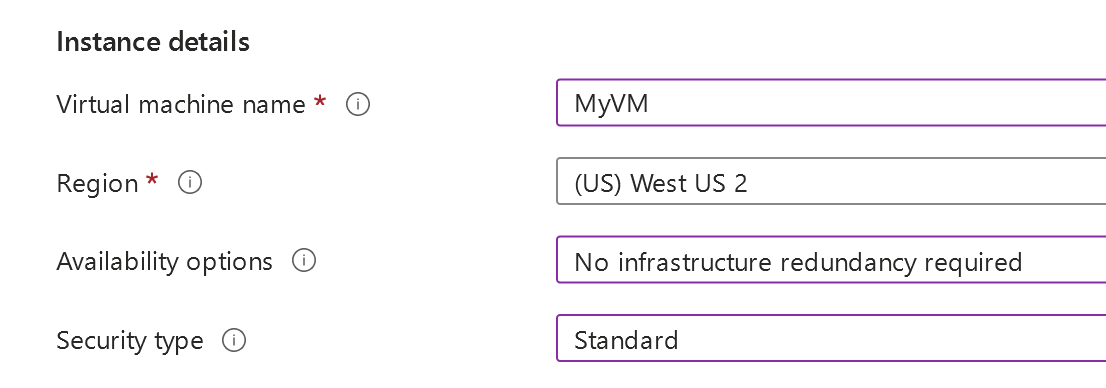
Under Instance details, enter a name for the Virtual machine name (for example myVM), No infrastructure redundancy required for Availability options, and Standard for Security type as shown here:
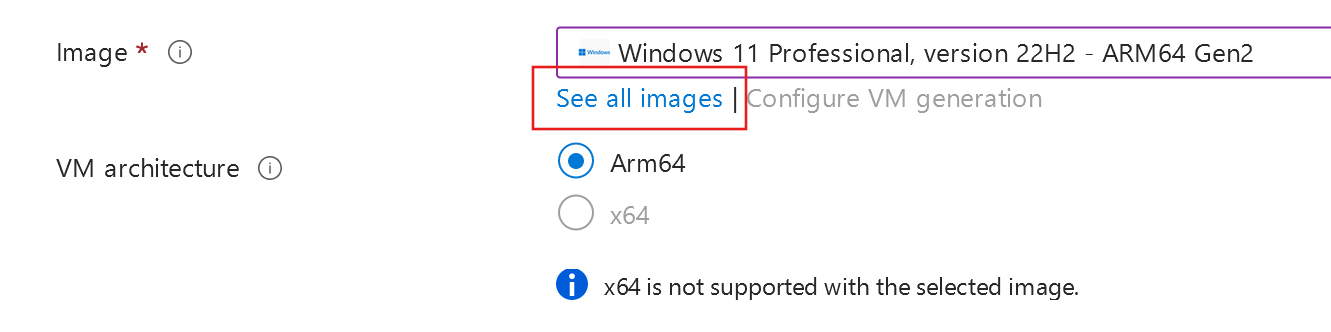
Under Image, select See all images. The Select an image page opens.
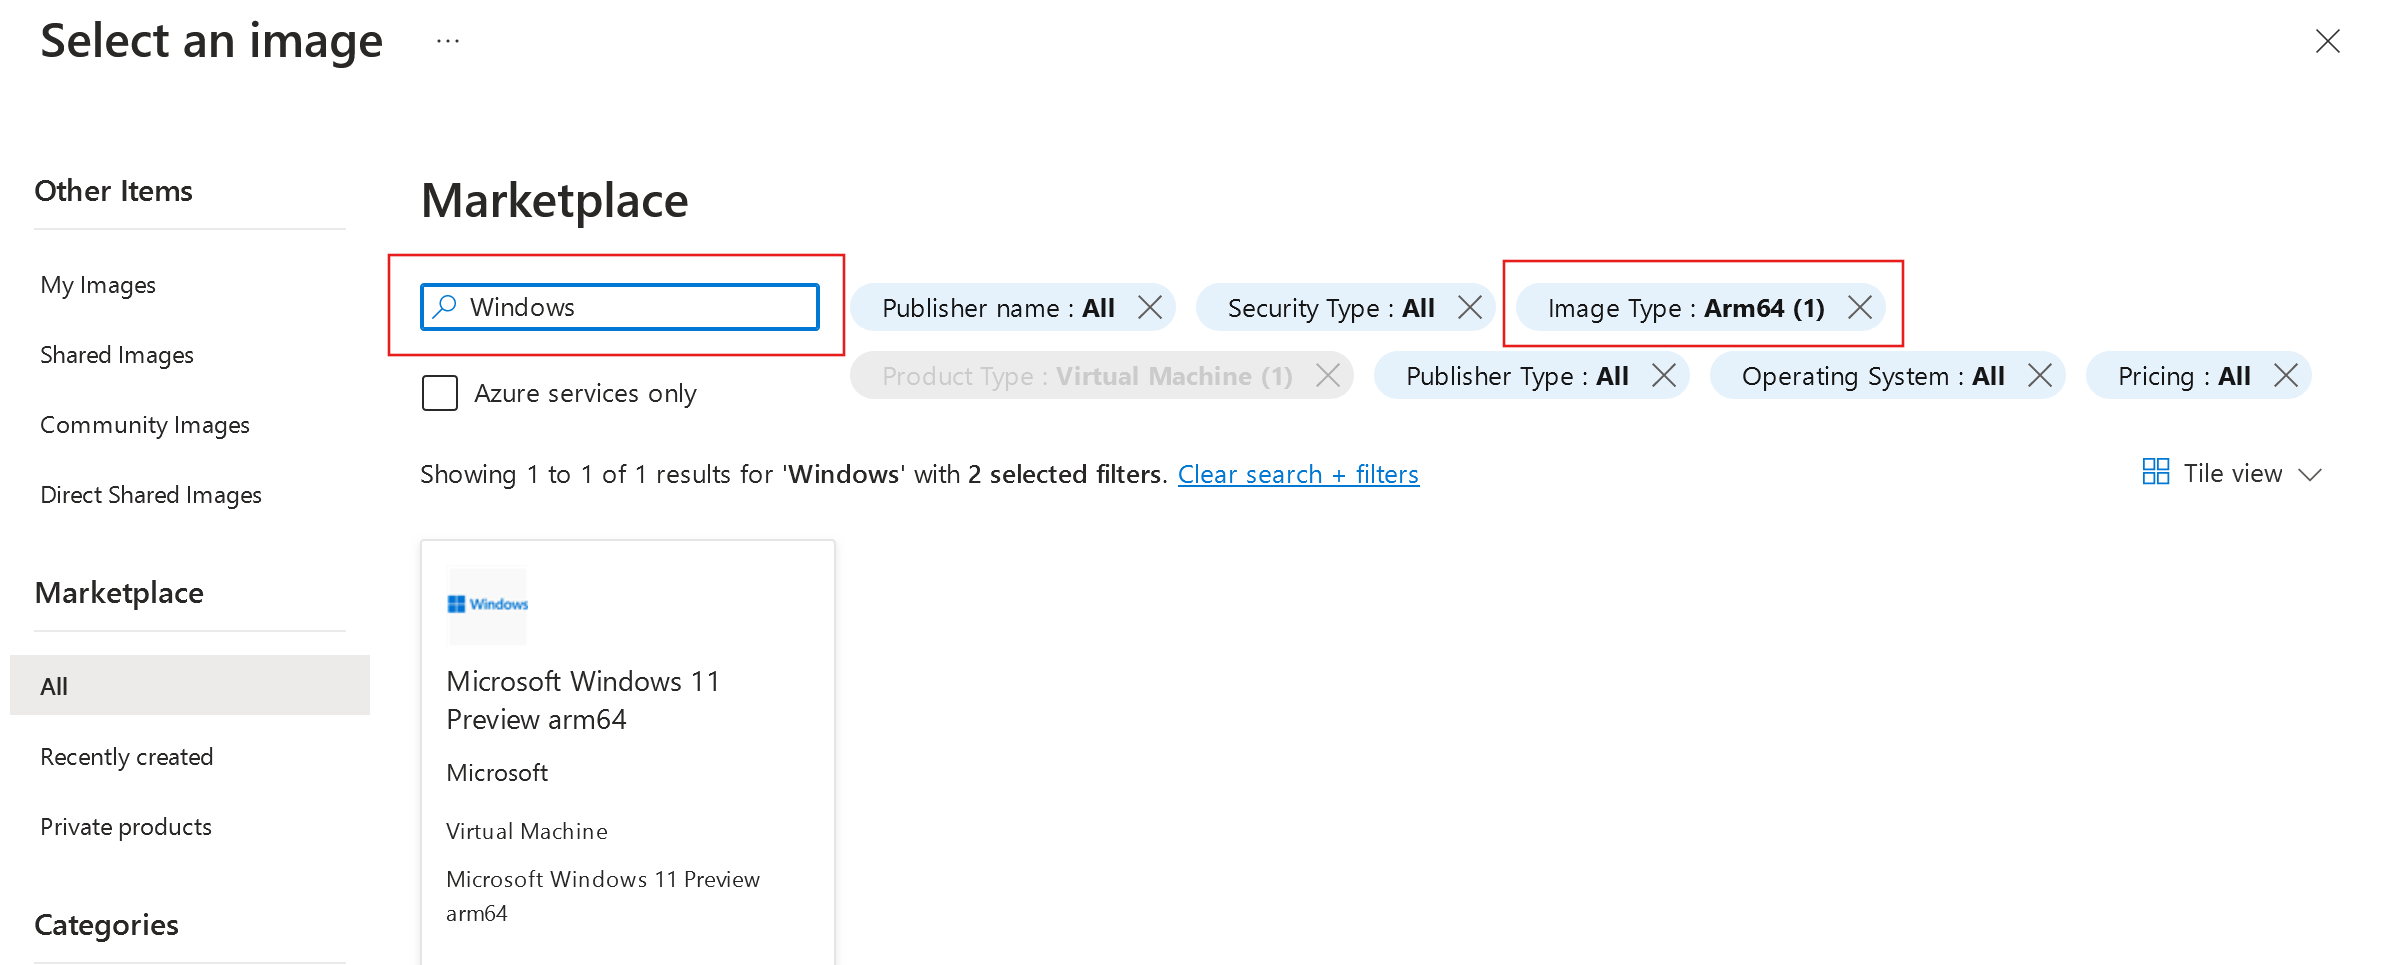
Enter Windows in the Search the Marketplace box. Next, in the Image type drop-down, select Arm64. This will filter the images to only display results for available Windows on Arm64 VMs.
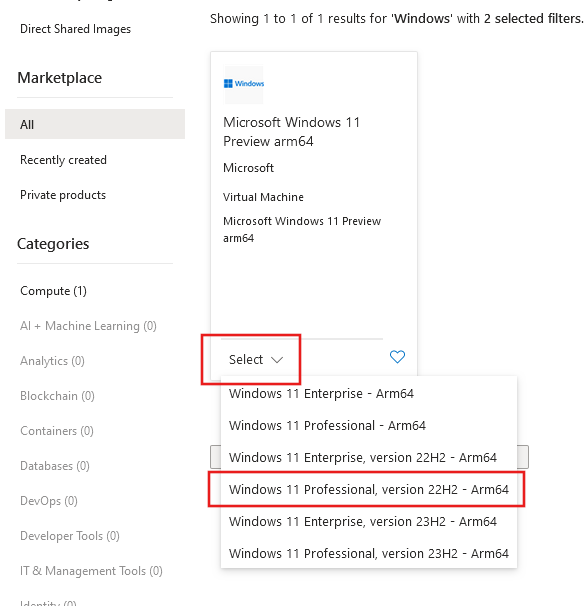
In the Windows 11 result card, select Select to display available images. Choose your preferred image from among the list.
Under Size, select See all sizes. The Select a VM size page opens.
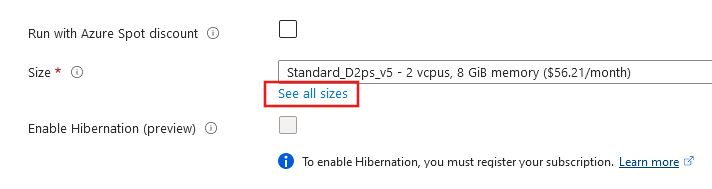
Expand one of the VM Size headers, then choose your desired VM size from the available options. We recommend D2ps_v5 to get started. Press the Select button to return to the Create a virtual machine page.

Under Administrator account, provide a username, such as azureuser and a password. The password must be at least 12 characters long and meet the defined complexity requirements.

Under Inbound port rules, choose Allow selected ports and then select RDP (3389) from the drop-down.

Review Subscription Licenses that qualify for Multitenant Hosting Rights to ensure you have the necessary Windows license. This is required in order to use Windows 11 images in Azure for any production workload. Click the checkbox under Licensing after confirming this.
Leave the remaining defaults and then select the Review + create button at the bottom of the page.

After validation runs, select the Create button at the bottom of the page.

After deployment is complete, select Go to resource.


Connect to virtual machine
Create a remote desktop connection to the virtual machine. These directions tell you how to connect to your VM from a Windows computer. On a Mac, you need an RDP client such as this Remote Desktop Client from the Mac App Store.
On the overview page for your virtual machine, select Connect > Connect.

In the Native RDP section, click Download RDP file.

Open the downloaded RDP file and click Connect when prompted.
In the Windows Security window, select More choices and then Use a different account. Type the username as localhost\username, enter the password you created for the virtual machine, and then click OK.
You may receive a certificate warning during the sign-in process. Click Yes or Continue to create the connection.


Clean up resources
Delete resources
When no longer needed, you can delete the resource group, virtual machine, and all related resources.
- On the Overview page for the VM, select the Resource group link.
- At the top of the page for the resource group, select Delete resource group.
- A page will open warning you that you are about to delete resources. Type the name of the resource group and select Delete to finish deleting the resources and the resource group.
Auto-shutdown
If the VM is still needed, Azure provides an Auto-shutdown feature for virtual machines to help manage costs and ensure you are not billed for unused resources.
- On the Operations section for the VM, select the Auto-shutdown option.
- A page will open where you can configure the auto-shutdown time. Select the On option to enable and then set a time that works for you.
- Once you have set the time, select Save at the top to enable your Auto-shutdown configuration.
Note
Remember to configure the time zone correctly to match your requirements, as (UTC) Coordinated Universal Time is the default setting in the Time zone dropdown.
For more information see Auto-shutdown.
Next steps
In this quickstart, you deployed a simple virtual machine, opened a network port for remote desktop traffic, and connected using a Remote Desktop, To learn more about Azure Windows virtual machines, continue on to the detailed tutorials.
The App Assure Arm Advisory Service is available to help if you get stuck. This service is in addition to our existing promise: your apps will run on Windows on Arm, and if you encounter any issues, Microsoft will help you remediate them.
Additional resources
- Announcing Azure Virtual Machines with Ampere Altra Arm–based processors
- Dpsv5 and Dpdsv5 virtual machine series documentation
- Microsoft Windows 11 Preview arm64 image details on Azure Marketplace
- Windows 11 release information
- Windows Commercial Licensing overview

Windows on Arm
Feedback
Coming soon: Throughout 2024 we will be phasing out GitHub Issues as the feedback mechanism for content and replacing it with a new feedback system. For more information see: https://aka.ms/ContentUserFeedback.
Submit and view feedback for