How to: Manage word wrap in the editor
Applies to: ![]() Visual Studio
Visual Studio ![]() Visual Studio for Mac
Visual Studio for Mac
Note
This article applies to Visual Studio 2017. If you're looking for the latest Visual Studio documentation, see Visual Studio documentation. We recommend upgrading to the latest version of Visual Studio. Download it here
You can set and clear the Word wrap option. When this option is set, the portion of a long line that extends beyond the current width of the Code Editor window is displayed on the next line. When this option is cleared, for example, to facilitate the use of line numbering, you can scroll to the right to see the ends of long lines.
Note
This topic applies to Visual Studio on Windows. For Visual Studio for Mac, see Source editor: Word wrap.
To set word wrap preferences
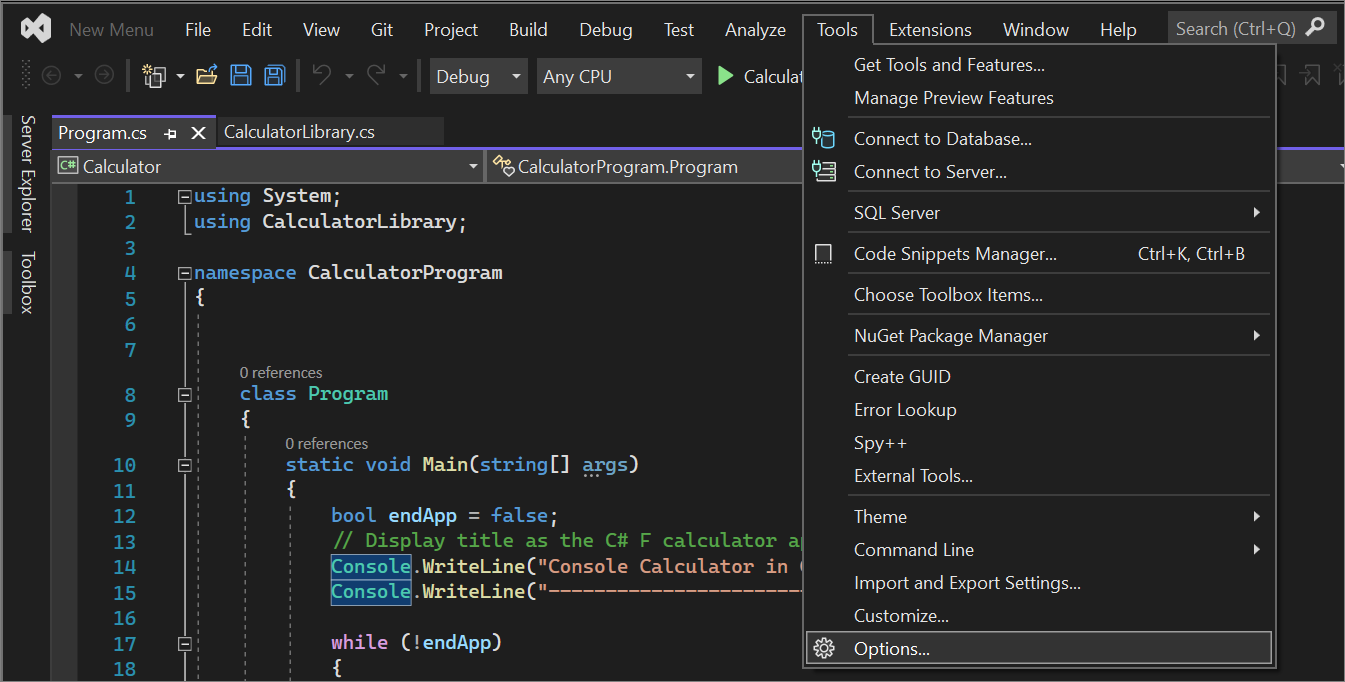
On the Visual Studio menu bar, select Tools, and then select Options.
In the Text Editor folder, choose the General options in the All Languages subfolder to set this option globally.
— or —
Choose the General options in the subfolder for the language in which you are programming.
Under Settings, select or clear the Word wrap option.
When the Word wrap option is selected, the Show visual glyphs for word wrap option is enabled.
Note
The Show visual glyphs for Word Wrap option displays a return-arrow indicator where a long line wraps onto a second line. These reminder arrows are not added to your code; they are for display purposes only.
Known issues
If you're familiar with word wrap in Notepad++, Sublime Text, or Visual Studio Code, be aware of the following issues where Visual Studio behaves differently to other editors: