Windows Server
A family of Microsoft server operating systems that support enterprise-level management, data storage, applications, and communications.
12,173 questions
This browser is no longer supported.
Upgrade to Microsoft Edge to take advantage of the latest features, security updates, and technical support.
' cx='32' cy='32' r='32' /%3E%3Ctext x='50%25' y='55%25' dominant-baseline='middle' text-anchor='middle' fill='%23FFF' %3EA%3C/text%3E%3C/svg%3E)
Old DC01(IP:10.0.0.1) OS Windows 2016
Old DC02(IP:10.0.0.2) OS Windows 2016
Old DC03(IP:10.0.0.3) OS Windows 2019
Domain Name: OldDomain.com
New DC01(IP:172.16.0.1) OS Windows 2019
New DC02(IP:172.16.0.2) OS Windows 2019
SQL Express 2008 R2 SP2
ADMT 3.2 (For Service Account/Group/User/Computer Migration)
PSE3.1 (For Password Migration)
All DC forest level and domain functional level are Windows 2016
I will share experience with you step by step
ADMT Installation
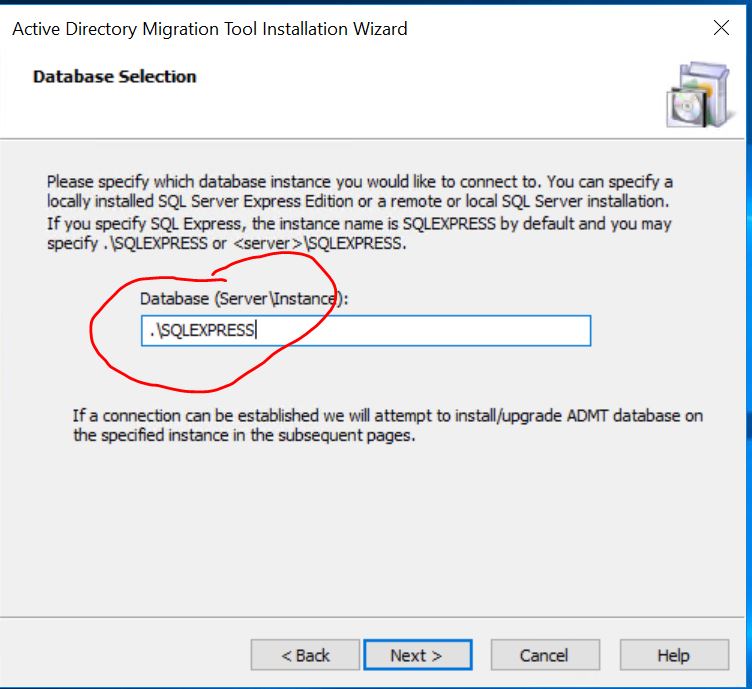
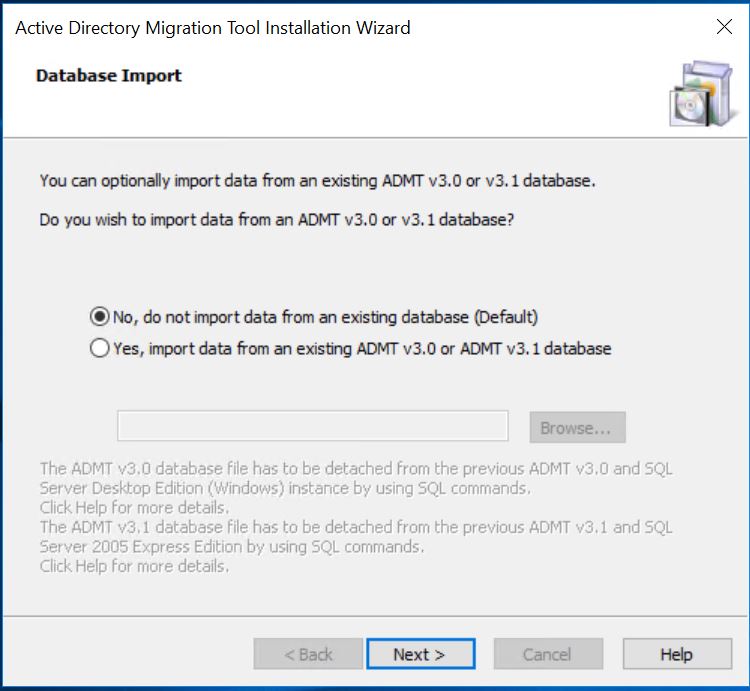
1.Download ADMT 3.2
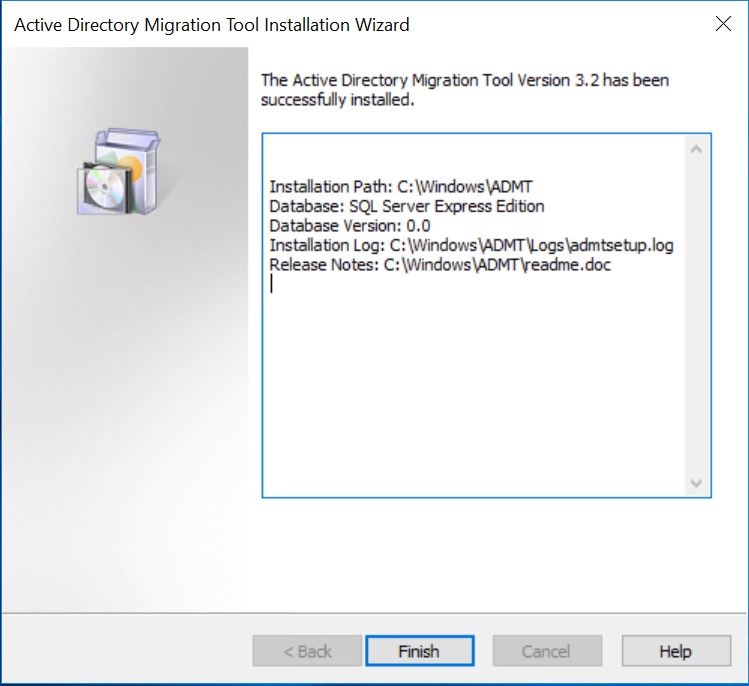
2. Install ADMT 3.2 in your old domain and new domain which has SQL Express installed(i.e Old DC03 and New DC02)
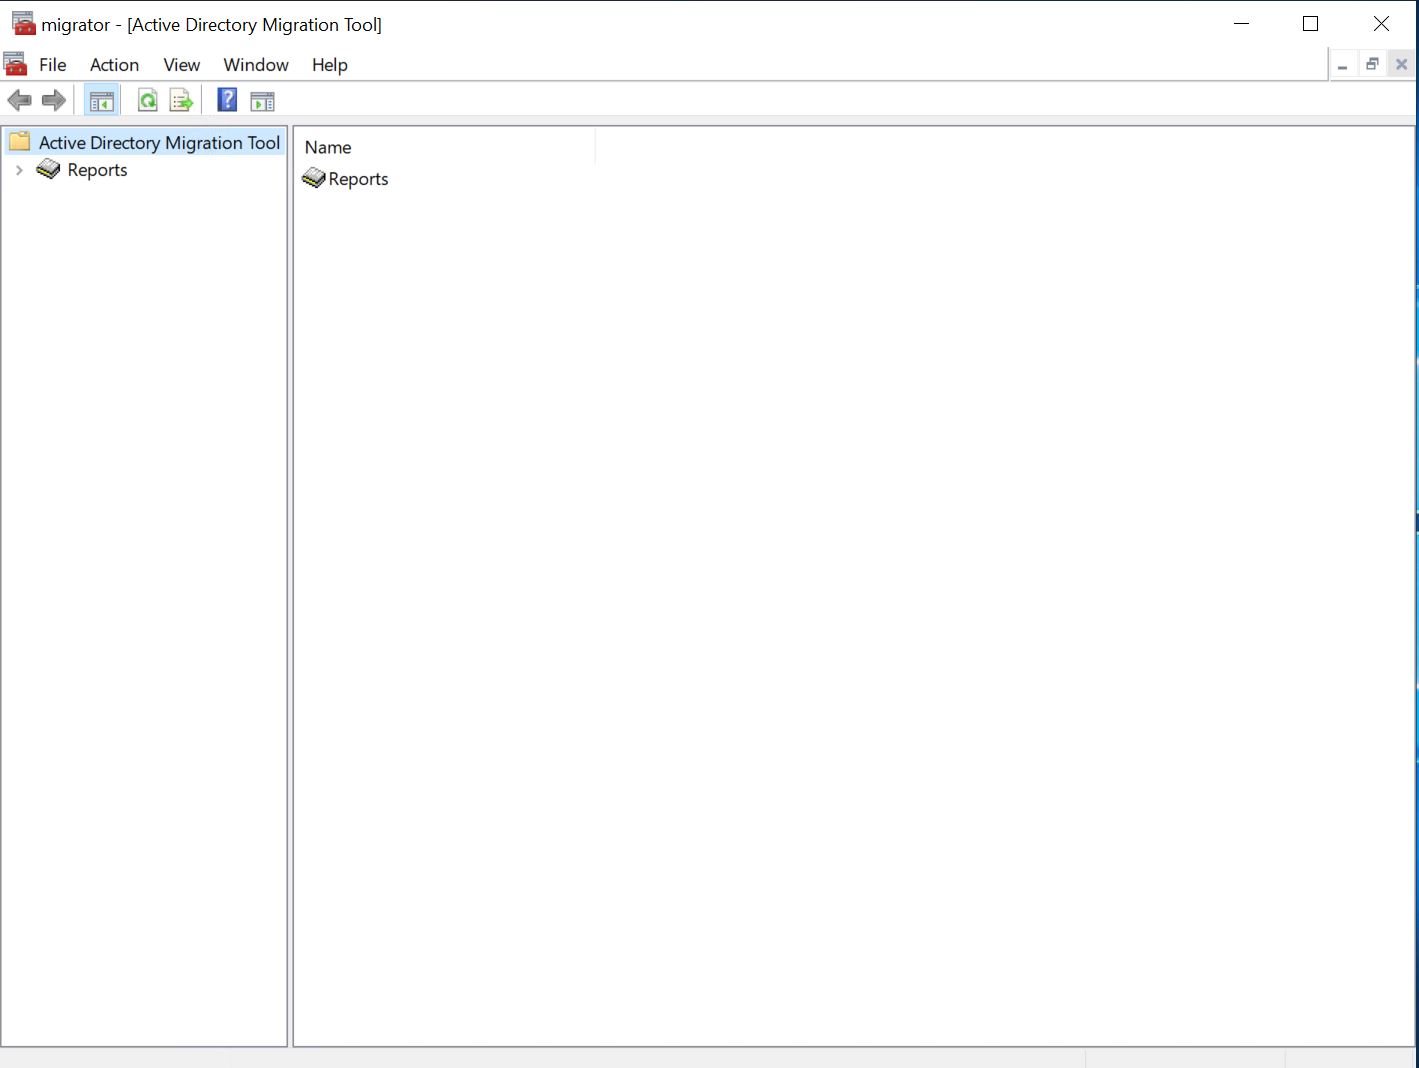
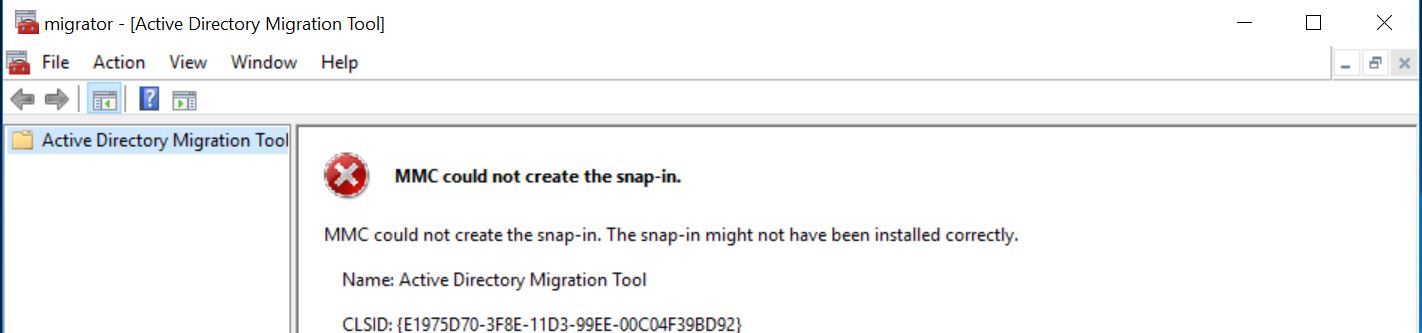
You can Open ADMT on your New DC02 now(In my experience we can't open it correctly on our Old DC03 it's for run migration backend)
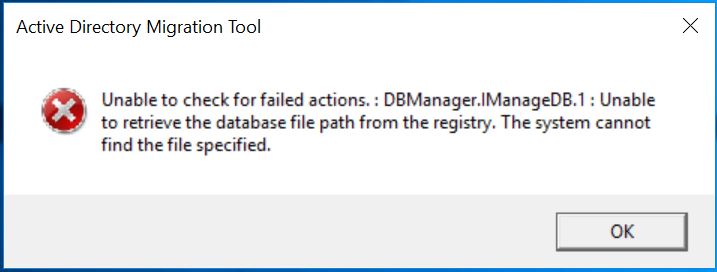
You will see errors if you run ADMT on your Old DC03
' cx='32' cy='32' r='32' /%3E%3Ctext x='50%25' y='55%25' dominant-baseline='middle' text-anchor='middle' fill='%23FFF' %3ERB%3C/text%3E%3C/svg%3E)
when i am login in domain other id rather than administrator then showing the mmc could not create the snap.in msg
' cx='32' cy='32' r='32' /%3E%3Ctext x='50%25' y='55%25' dominant-baseline='middle' text-anchor='middle' fill='%23FFF' %3EFF%3C/text%3E%3C/svg%3E)
Hi,
Welcome to share here!
Found some related articles just for your reference:
https://blog.thesysadmins.co.uk/admt-series-1-preparing-active-directory.html
If you have any progresses or questions ,welcome to update here!
Best Regards,
ADMT – DNS Setting
The old domain needs to be able to resolve names in the new domain, and the new domain needs to be able to resolve names in the old domain. To achieve this you need to setup ‘Conditional Forwarding’ in each domain for the other one.
First of all make sure 10.0.0.1,10.0.0.2,10.0.0.3 and 172.16.0.1,172.16.0.2 can ping each other if you don't know please ask help from network guy in your team
On Old DC01,Old DC02,Old DC03 you should setup 'Conditional Forwarding'
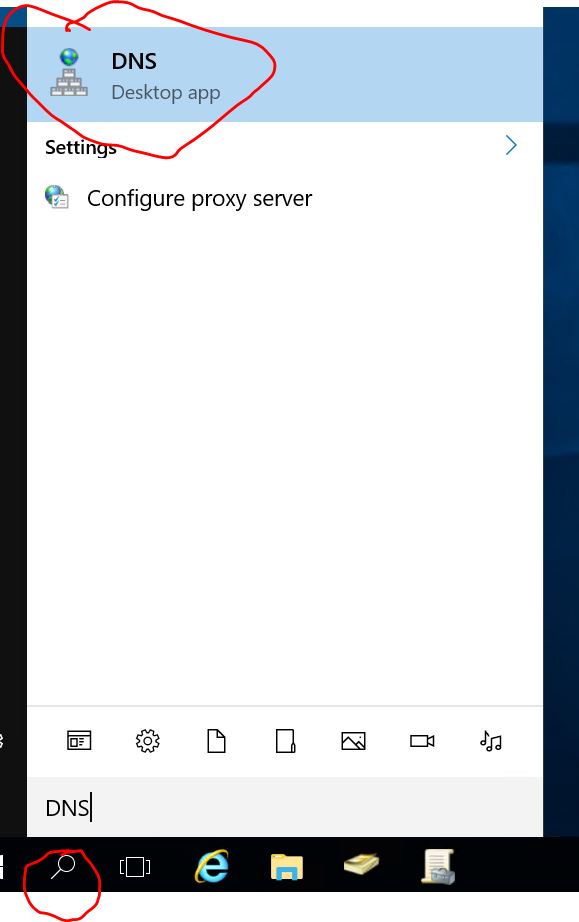
1.Open DNS Manager on your Old DC01
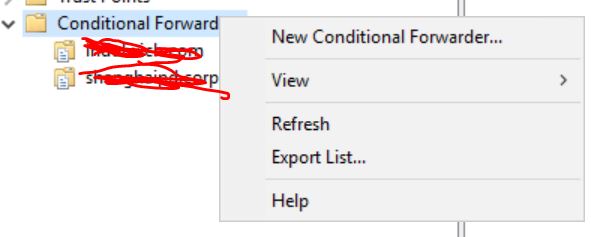
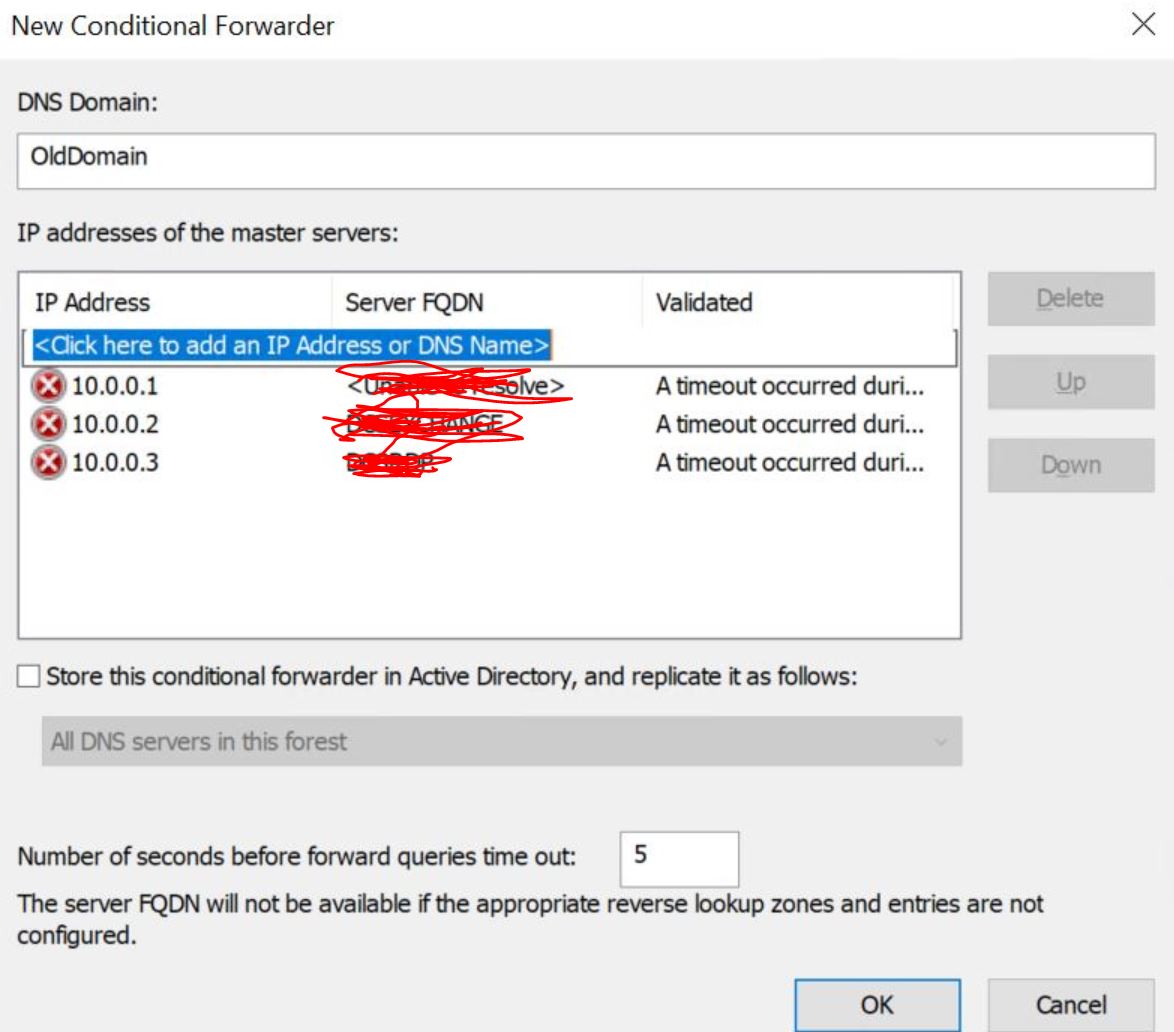
2.Right Click Conditional to create new one

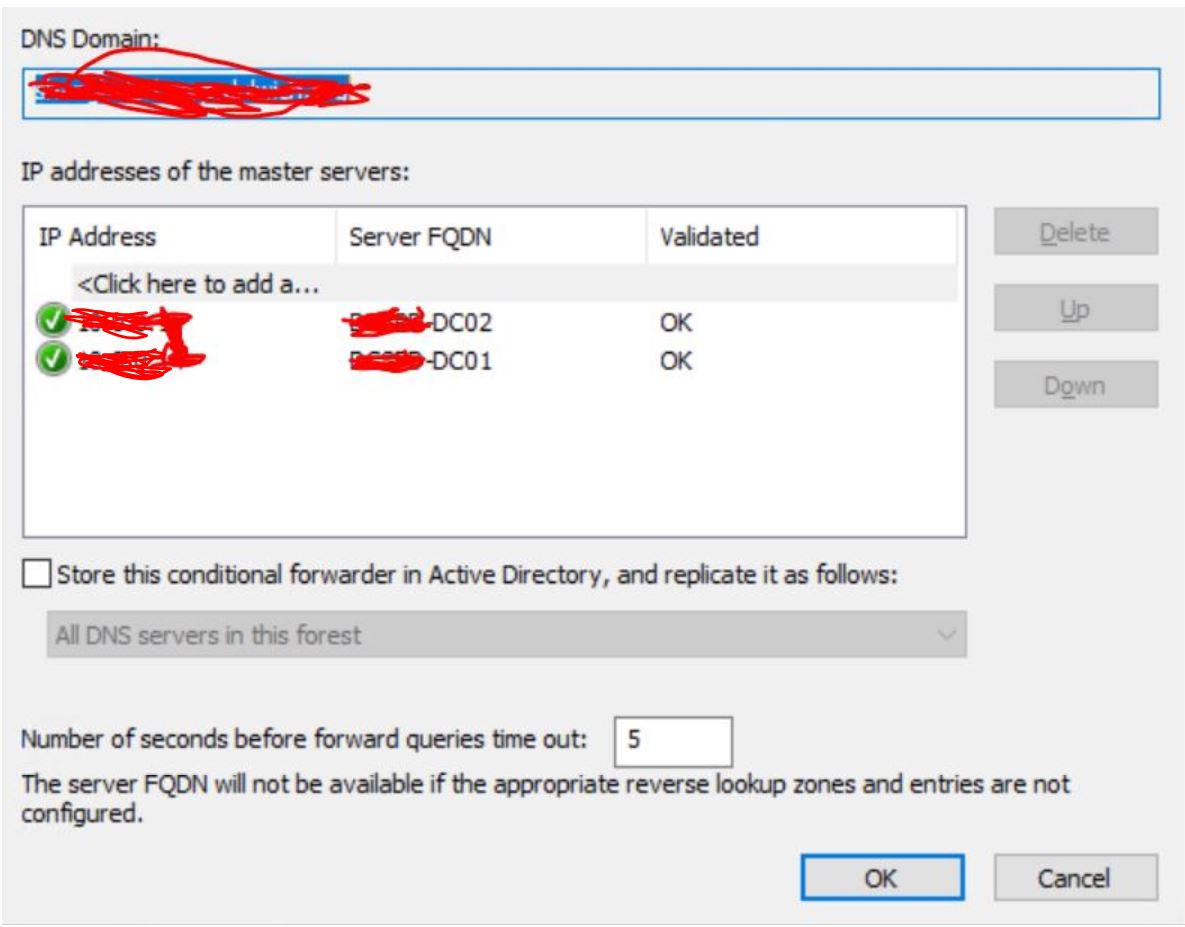
3.You can Name Domain(i.e NewDomain) and fill IP address(i.e 172.16.0.1 and 172.16.0.2) please ignore the red error just show you how to fill them here
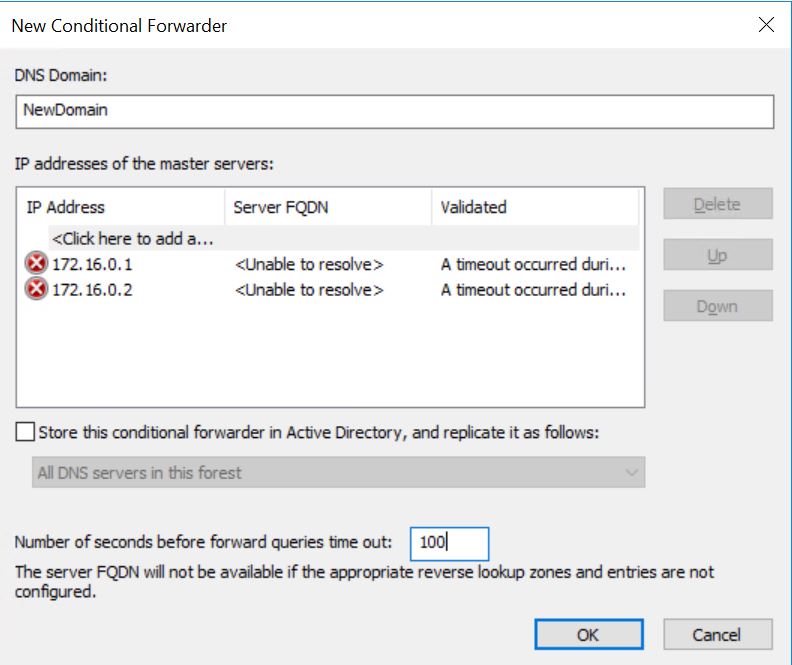
4.You can see green tick icon if all setting is OK(You can change time out to 100 or more instead of default 5 if you are using lower bandwidth between two Domains)
5.Please repeat these 3 steps on Old DC02,Old DC03 and repeat these similar process on New DC01,New DC02 (i.e OldDomain) and fill IP address(i.e 10.0.0.1 ,10.0.0.2 and 10.0.0.3)please ignore the red error just show you how to fill them here

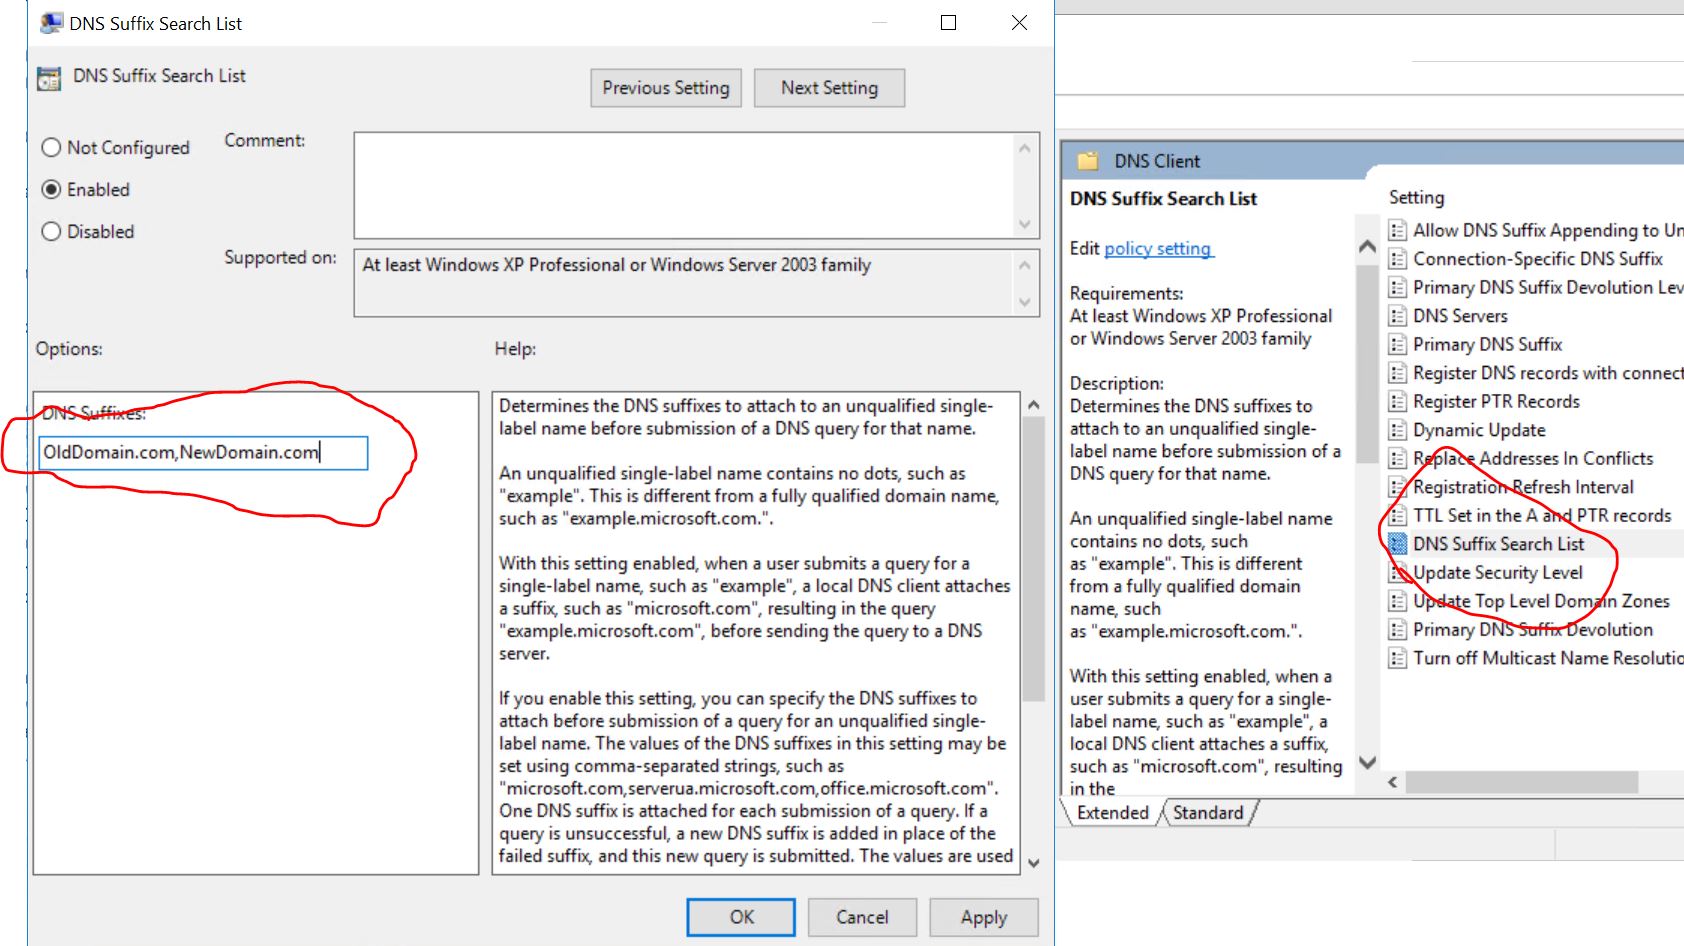
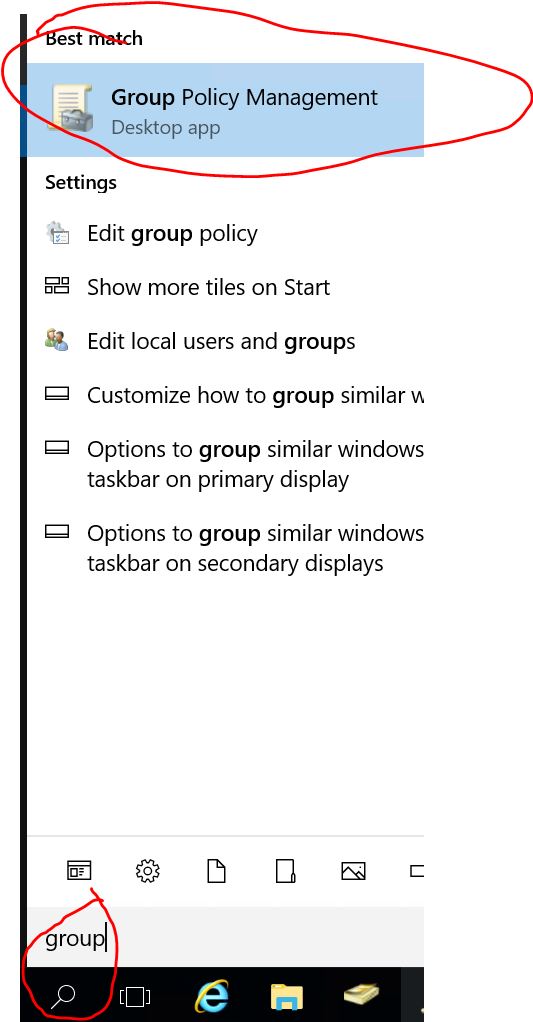
In addition, we should set DNS suffix search list and the easiest way to do that is via group policy. On a domain controller > Administrative Tools > Group Policy Management Console.
Link your group policy to the actual OU that your computers are in.
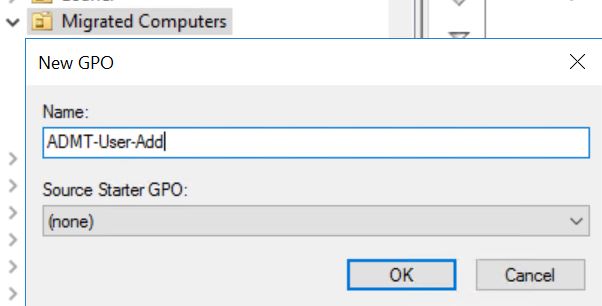
1.Create New GPO(i.e DNS Setting)
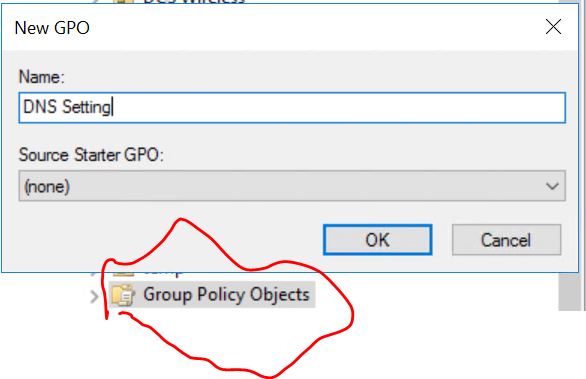
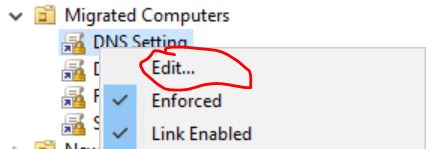
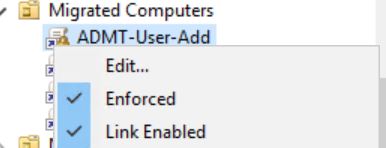
2.Link to actual OU and Edit GPO
3.Enable DNS suffix search list we can navigate to
Computer Configuration > Policies > Administrative Templates > Network > DNS Client >
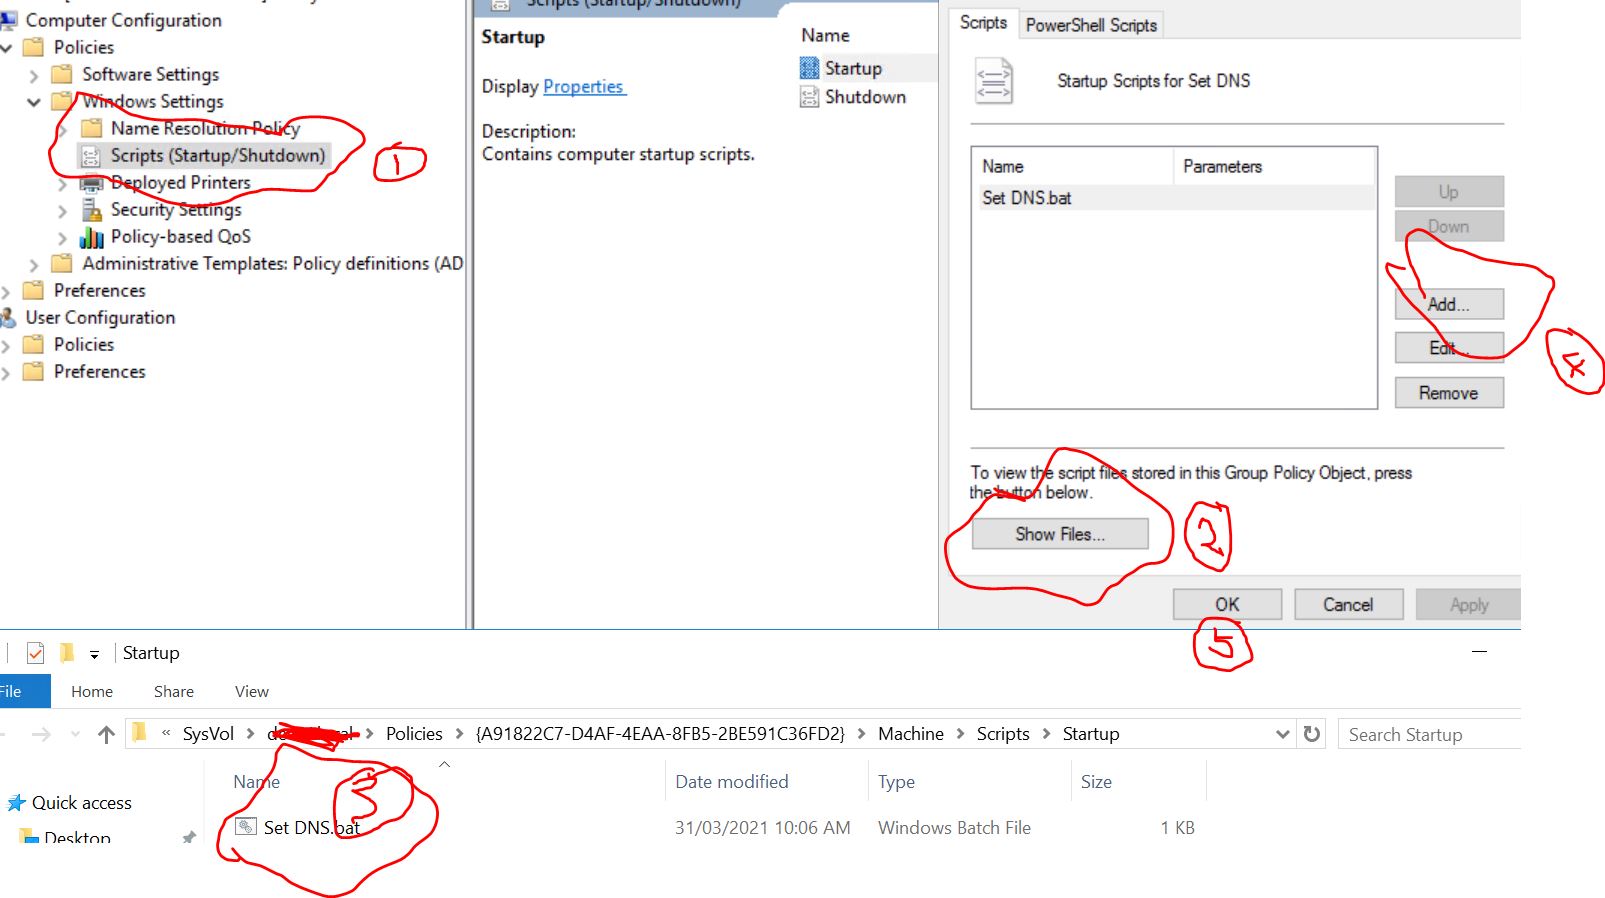
4.Set DNS via Scripts(Startup) we can navigate to
Computer Configuration > Policies > Windows Settings>Scripts(Startup/Shutdown)
@Echo off
set dnsserver=10.0.0.1
set dnsserver2=172.16.0.1
for /f "tokens=1,2,3*" %%i in ('netsh interface show interface') do (
if %%i EQU Enabled (
rem echo change "%%l" : %dnsserver%
netsh interface ipv4 set dnsserver name="%%l" static %dnsserver% both
netsh interface ipv4 add dnsserver name="%%l" %dnsserver2% index=2
)
)
Save the command above between --- line as .bat format file and name it(i.e Set DNS.bat we will use it later)
dnsserver= your actual old domain DNS
dnsserver2=your actual new domain DNS
5.Repeat the procedure in the new domain(but the domain names and DNS will be the opposite way round)
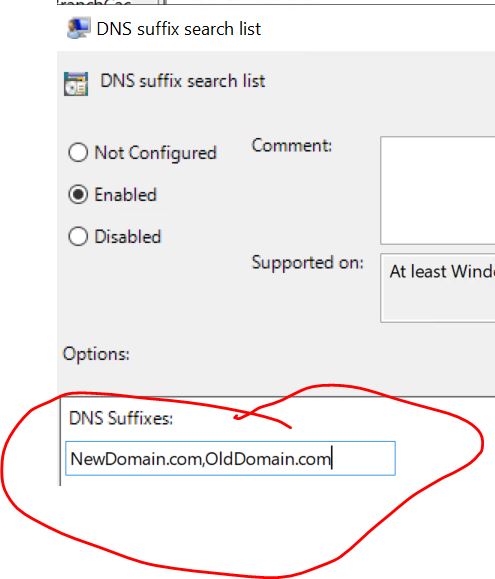
Change DNS in .bat file (Change DNS opposite way as well)
Welcome to share here you you have any updates.
ADMT-Domain Trust
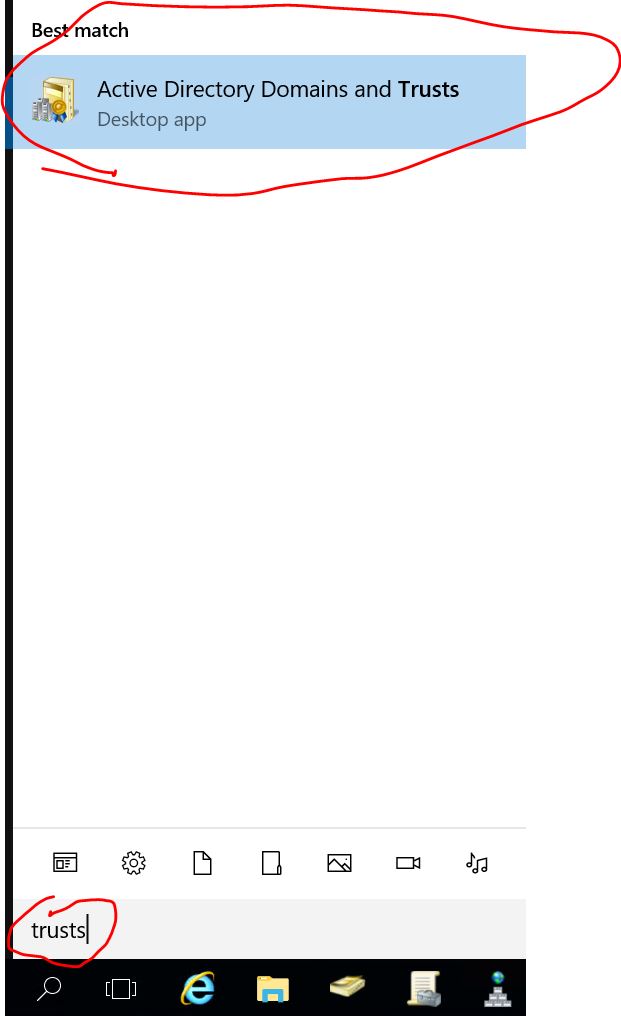
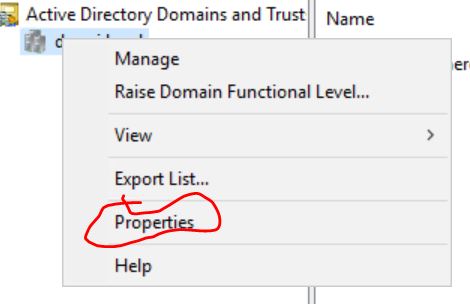
1.Open Active Directory Domains and Trusts
2.Right click OldDomain.com and choose Properties
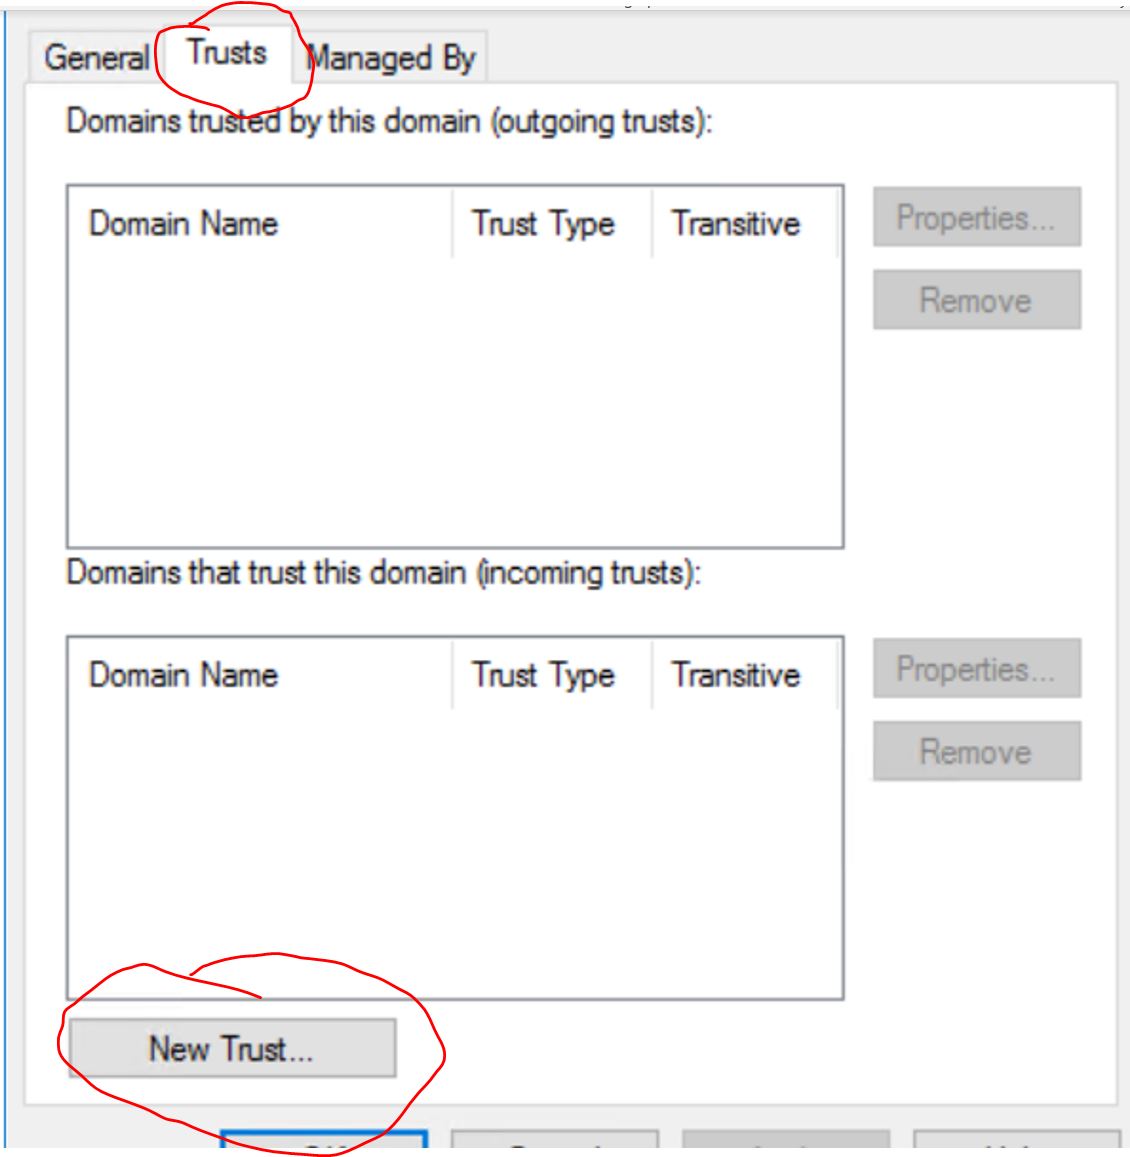
3.Trusts then New Trust...
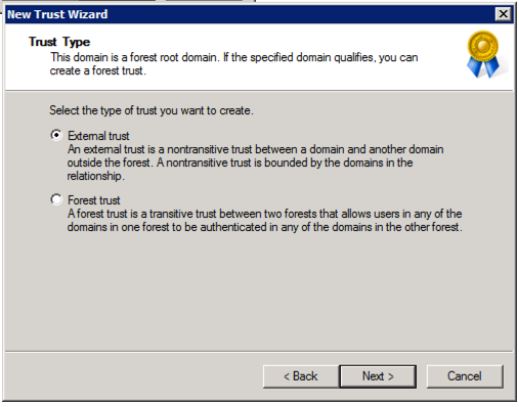
We can choose Forest Trust or External Trust here is the tips If it's root domain trust(OldDomain.com and NewDomain.com) you can choose Forest Trust or External. If it's root domain with child domain(OldDomain.com and Corp.NewDomain.com) or child domain with child domain trust(Corp.OldDomain.com and Corp.NewDomain.com) you can choose External Trust Only
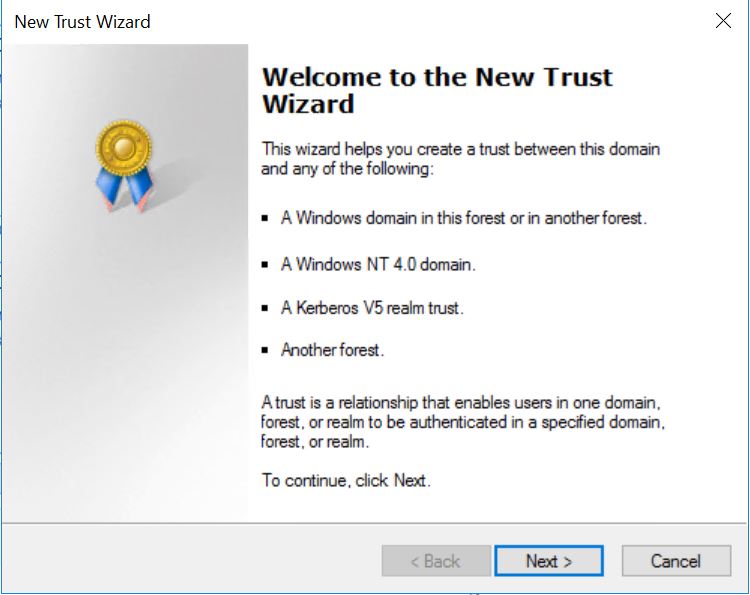
4.Welcome to the new trust wizard
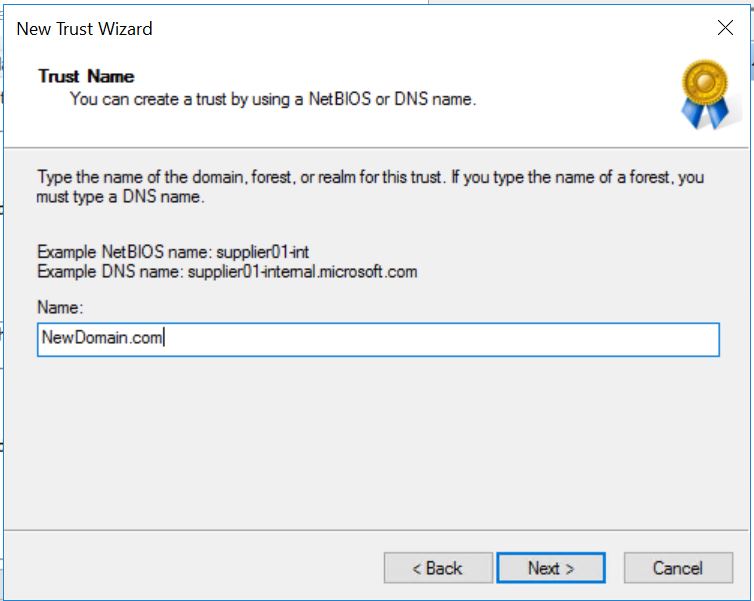
5.Trust Name
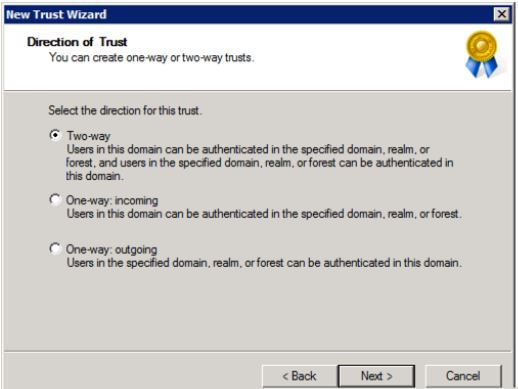
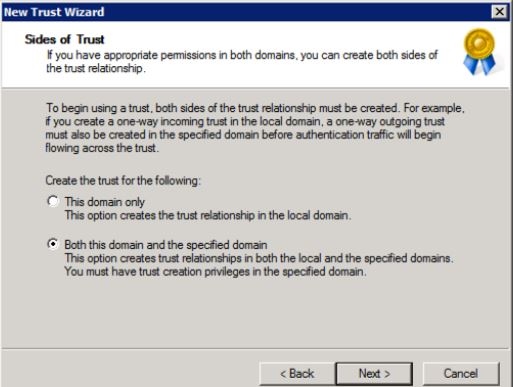
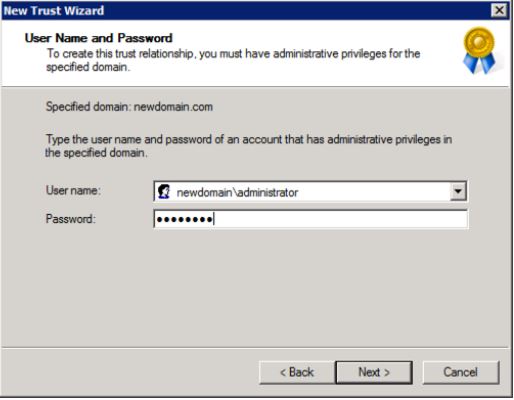
7.Two Way > Next > Both this domain and the specified domain > Next > Provide administrative credentials for the other domain(New Domain) > Next
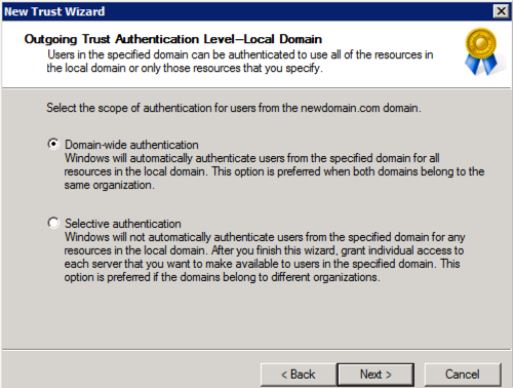
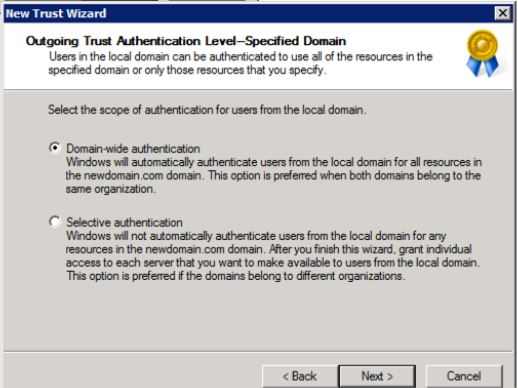
8.Domain wide authentication > Next > Domain wide authentication > Next > Next
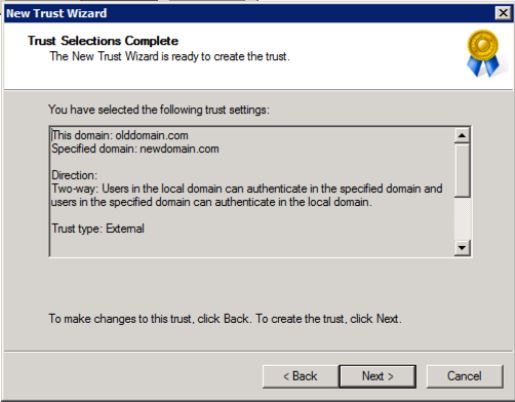
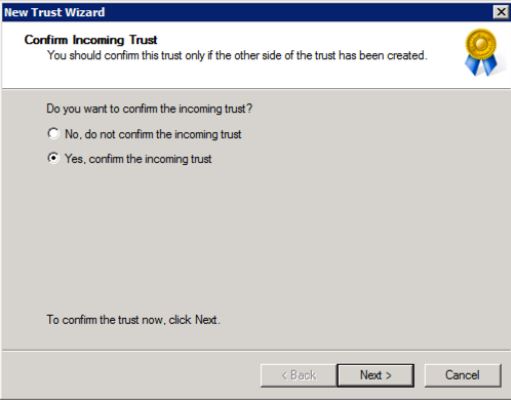
9.Next > Yes. Confirm outgoing trust > Next > Yes. Confirm incoming trust > Next

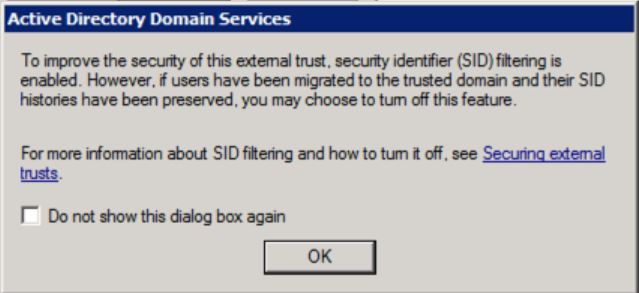
10.Finish and you will see warning message about SID history we will deal with it later
ADMT-Permission Assignment
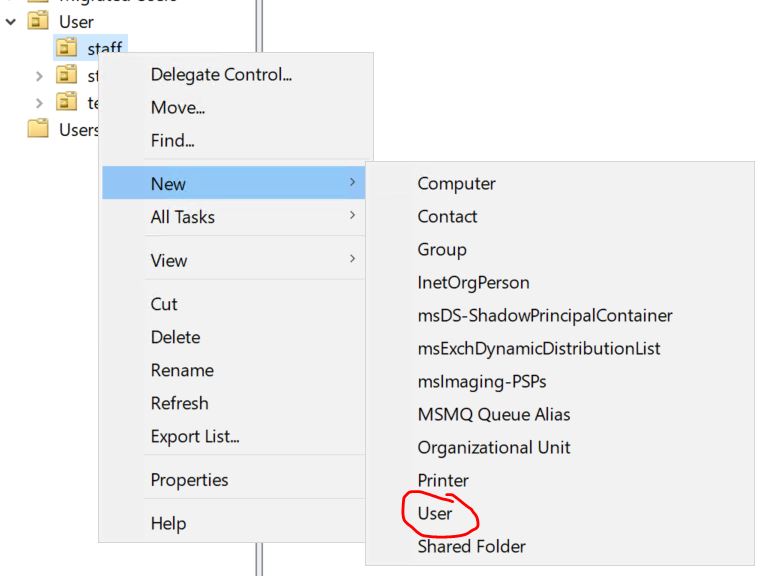
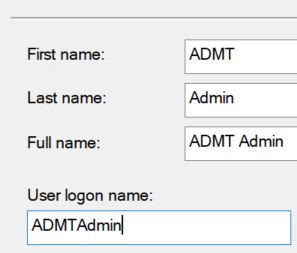
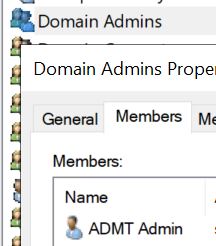
1.Create the user in your new domain(i.e NewDomain.com) then add that user to domain admins group(still in your new domain)
Username: ADMT Admin (Can be anything you want)
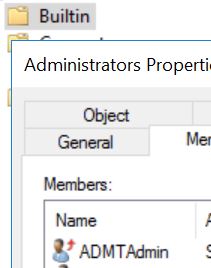
2.We also need administrator permission in the old domain(OldDomain.com), we won’t be able to add ADMT Admin into the domain admins group, we need to add the ADMT Admin account from the New domain(NewDomain.com) into the Builtin\Administrators group on the Old domain(OldDomain.com).
You can see the red up arrow between regular user icon and username( The user from other domain i.e NewDomain.com)
3.Additionally: the ADMT Admin needs to have local administrative rights to all the machines in the Old domain
(i.e OldDomain.com). The easiest way to do that is again with a group policy.
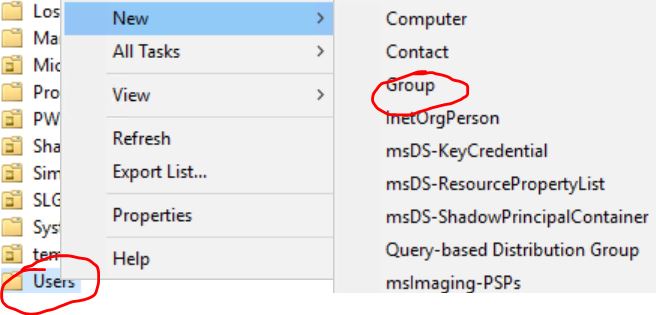
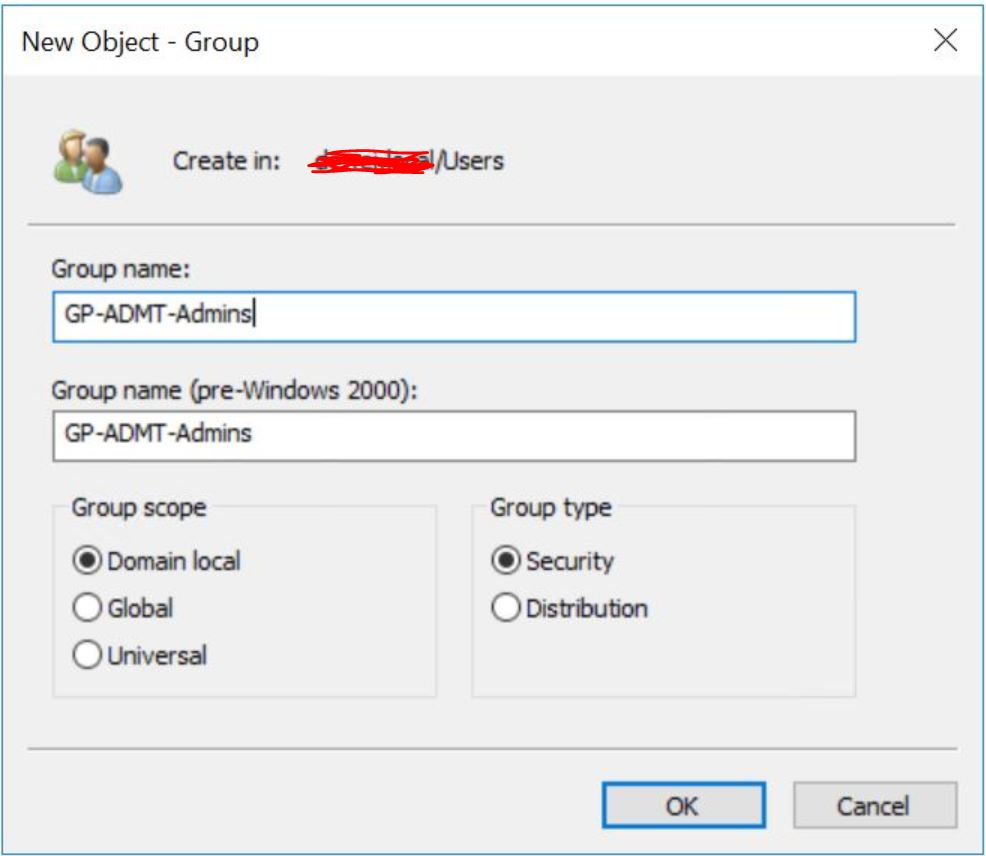
4.In the Old domain create a group, (Type: Domain Local)
5.Group Name: GP-ADMT-Admins (You can call it something else if you want).
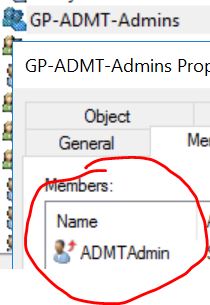
6.Add your ADMT Admin account to this group
7.On domain controller(OldDomain.com) then Open Group Policy Management Console.
8.Link the policy to your actual OU and Edit GPO
Navigate to
Computer Configuration > Policies > Windows Settings > Security Settings > Restricted Groups
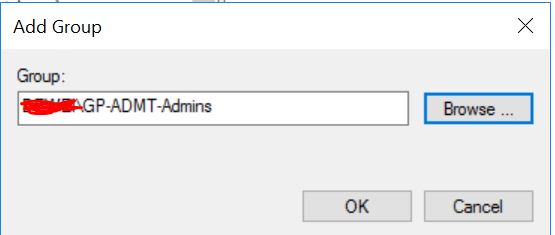
Add Group > Select GP-ADMT-Admins > OK > Add (bottom option) > Administrators > OK.

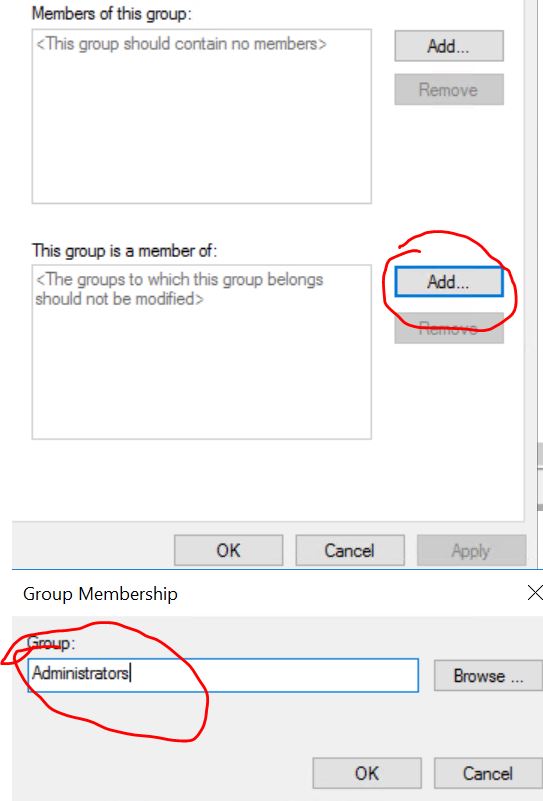
You can see member of Administrators here after all steps

9.Run gpupdate /force on CMD
make sure that the GP-ADMT-Admins group is actually in the local admins group(You can check one client in that actual OU)