Quickstart: Create an open-source Redis cache
Azure Cache for Redis provides fully managed open-source Redis within Azure. You can start with an Azure Cache for Redis instance of any tier (Basic, Standard, or Premium) and size, and scale it to meet your application's performance needs. This quickstart demonstrates how to use the Azure portal to create a new Azure Cache for Redis.
Prerequisites
You'll need an Azure subscription before you begin. If you don't have one, create a free account first.
Create a cache
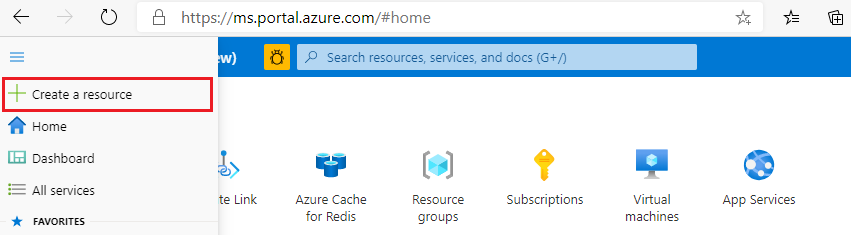
To create a cache, sign in to the Azure portal and select Create a resource.
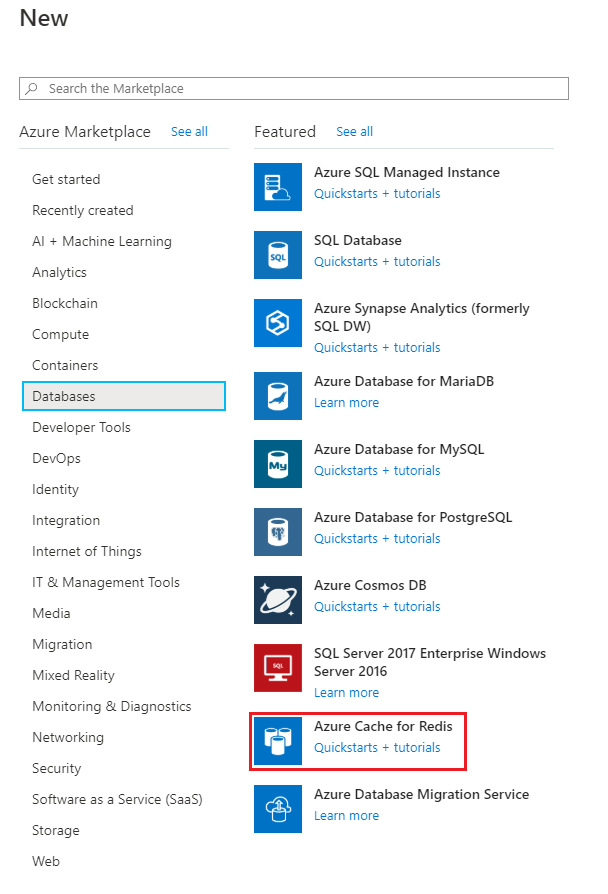
On the New page, select Databases and then select Azure Cache for Redis.
On the New Redis Cache page, configure the settings for your new cache.
Setting Choose a value Description Subscription Drop down and select your subscription. The subscription under which to create this new Azure Cache for Redis instance. Resource group Drop down and select a resource group, or select Create new and enter a new resource group name. Name for the resource group in which to create your cache and other resources. By putting all your app resources in one resource group, you can easily manage or delete them together. DNS name Enter a unique name. The cache name must be a string between 1 and 63 characters that contain only numbers, letters, or hyphens. The name must start and end with a number or letter, and can't contain consecutive hyphens. Your cache instance's host name is <DNS name>.redis.cache.windows.net. Location Drop down and select a location. Select a region near other services that use your cache. Cache type Drop down and select a tier. The tier determines the size, performance, and features that are available for the cache. For more information, see Azure Cache for Redis Overview. Select the Networking tab or select the Networking button at the bottom of the page.
In the Networking tab, select your connectivity method.
Select the Next: Advanced tab or select the Next: Advanced button on the bottom of the page to see the Advanced tab.
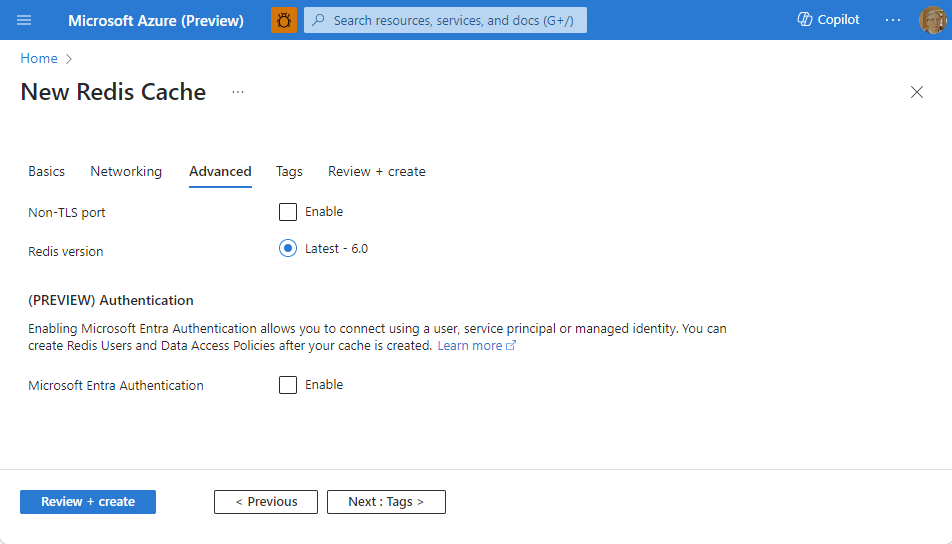
- For Basic or Standard caches, toggle the selection for a non-TLS port. You can also select if you want to enable Microsoft Entra Authentication.
- For a Premium cache, configure the settings for non-TLS port, clustering, managed identity, and data persistence. You can also select if you want to enable Microsoft Entra Authentication.
Select the Next: Tags tab or select the Next: Tags button at the bottom of the page.
Optionally, in the Tags tab, enter the name and value if you wish to categorize the resource.
Select Review + create. You're taken to the Review + create tab where Azure validates your configuration.
After the green Validation passed message appears, select Create.
It takes a while for a cache to create. You can monitor progress on the Azure Cache for Redis Overview page. When Status shows as Running, the cache is ready to use.
Next steps
In this quickstart, you learned how to create an instance of Azure Cache for Redis.
Create an ASP.NET web app that uses an Azure Cache for Redis.
Feedback
Coming soon: Throughout 2024 we will be phasing out GitHub Issues as the feedback mechanism for content and replacing it with a new feedback system. For more information see: https://aka.ms/ContentUserFeedback.
Submit and view feedback for