Replace a Windows 7 SP1 client with Windows 10 using Configuration Manager
Applies to:
- Windows 10
In this article, you'll learn how to replace a Windows 7 SP1 computer using Microsoft Configuration Manager. This process is similar to refreshing a computer, but since you're replacing the device, you have to run the backup job separately from the deployment of Windows 10.
In this article, you'll create a backup-only task sequence that you run on PC0004 (the device you're replacing), deploy the PC0006 computer running Windows 10, and then restore this backup of PC0004 onto PC006.
Infrastructure
An existing Configuration Manager infrastructure that is integrated with MDT is used for the following procedures. For more information about the setup for this article, see Prepare for Zero Touch Installation of Windows 10 with Configuration Manager.
For the purposes of this article, we'll use one server computer (CM01) and two client computers (PC0004, PC0006).
CM01 is a domain member server and Configuration Manager software distribution point. In this guide, CM01 is a standalone primary site server.
- Important: CM01 must include the State migration point role for the replace task sequence used in this article to work.
PC0004 is a domain member client computer running Windows 7 SP1, or a later version of Windows, with the Configuration Manager client installed, that will be replaced.
PC0006 is a domain member client computer running Windows 10, with the Configuration Manager client installed, that will replace PC0004.
Note
PC0004 and PC006 can be VMs hosted on the server HV01, which is a Hyper-V host computer that we used previously to build a Windows 10 reference image. However, the VMs must have sufficient resources available to run the Configuration Manager OSD task sequence. 2GB of RAM or more is recommended.
All servers are running Windows Server 2019. However, an earlier, supported version of Windows Server can also be used.
All server and client computers referenced in this guide are on the same subnet. This interrelation isn't required, but each server and client computer must be able to connect to each other to share files, and to resolve all DNS names and Active Directory information for the contoso.com domain. Internet connectivity is also required to download OS and application updates.
Important
This article assumes that you have configured Active Directory permissions in the specified OU for the CM_JD account, and the client's Active Directory computer account is in the Contoso > Computers > Workstations OU. Use the Active Directory Users and Computers console to review the location of computer objects and move them if needed.
Create a replace task sequence
On CM01:
Using the Configuration Manager console, in the Software Library workspace, expand Operating Systems, right-click Task Sequences, and select Create MDT Task Sequence.
On the Choose Template page, select the Client Replace Task Sequence template and select Next.
On the General page, assign the following settings and select Next:
- Task sequence name: Replace Task Sequence
- Task sequence comments: USMT backup only
On the Boot Image page, browse and select the Zero Touch WinPE x64 boot image package. Then select Next.
On the MDT Package page, browse and select the OSD / MDT package. Then select Next.
On the USMT Package page, browse and select the OSD / Microsoft Corporation User State Migration Tool for Windows package. Then select Next.
On the Settings Package page, browse and select the OSD / Windows 10 x64 Settings package. Then select Next.
On the Summary page, review the details and then select Next.
On the Confirmation page, select Finish.
Review the Replace Task Sequence.
Note
This task sequence has many fewer actions than the normal client task sequence. If it doesn't seem different, make sure you selected the Client Replace Task Sequence template when creating the task sequence.

The backup-only task sequence (named Replace Task Sequence).
Associate the new device with the old computer
This section walks you through the process of associating a new, blank device (PC0006), with an existing computer (PC0004), for replacing PC0004 with PC0006. PC0006 can be either a physical or virtual machine.
On HV01 (if PC0006 is a VM) or in the PC0006 BIOS:
- Make a note of the MAC address for PC0006. (If PC0006 is a virtual machine, you can see the MAC Address in the virtual machine settings.) In our example, the PC0006 MAC Address is 00:15:5D:0A:6A:96. Don't attempt to PXE boot PC0006 yet.
On CM01:
When you're using the Configuration Manager console, in the Assets and Compliance workspace, right-click Devices, and then select Import Computer Information.
On the Select Source page, select Import single computer and select Next.
On the Single Computer page, use the following settings and then select Next:
- Computer Name: PC0006
- MAC Address: <the mac address that you wrote down>
- Source Computer: PC0004

Creating the computer association between PC0004 and PC0006.
On the User Accounts page, select Capture and restore all user accounts and select Next.
On the Data Preview page, select Next.
On the Choose additional collections page, select Add and then select the Install Windows 10 Enterprise x64 collection. Now, select the checkbox next to the Install Windows 10 Enterprise x64 collection you just added, and then select Next.
On the Summary page, select Next, and then select Close.
Select the User State Migration node and review the computer association in the right hand pane.
Right-click the PC0004/PC0006 association and select View Recovery Information. A recovery key has been assigned already, but a user state store location hasn't.
Review the Install Windows 10 Enterprise x64 collection. Don't continue until you see the PC0006 computer in the collection. You might have to update membership and refresh the collection again.
Create a device collection and add the PC0004 computer
On CM01:
When you're using the Configuration Manager console, in the Asset and Compliance workspace, right-click Device Collections, and then select Create Device Collection. Use the following settings:
- General
- Name: USMT Backup (Replace)
- Limited Collection: All Systems
- Membership rules:
- Add Rule: Direct rule
- Resource Class: System Resource
- Attribute Name: Name
- Value: PC0004
- Select Resources:
- Select PC0004
- Add Rule: Direct rule
Use default settings for the remaining wizard pages, then select Close.
- General
Review the USMT Backup (Replace) collection. Don't continue until you see the PC0004 computer in the collection.
Create a new deployment
On CM01:
Using the Configuration Manager console, in the Software Library workspace, expand Operating Systems, select Task Sequences, right-click Replace Task Sequence, and then select Deploy. Use the following settings:
- General
- Collection: USMT Backup (Replace)
- Deployment Settings
- Purpose: Available
- Make available to the following: Only Configuration Manager Clients
- Scheduling
- <default>
- User Experience
- <default>
- Alerts
- <default>
- Distribution Points
- <default>
Verify the backup
This section assumes that you have a computer named PC0004 with the Configuration Manager client installed.
On PC0004:
If it's not already started, start the PC0004 computer and open the Configuration Manager control panel (
control.exe smscfgrc).On the Actions tab, select Machine Policy Retrieval & Evaluation Cycle, select Run Now, and then select OK in the popup dialog box that appears.
Note
You also can use the Client Notification option in the Configuration Manager console, as shown in Refresh a Windows 7 SP1 client with Windows 10 using Configuration Manager.
Open the Software Center, select the Replace Task Sequence deployment and then select Install.
Confirm you want to upgrade the operating system on this computer by clicking Install again.
Allow the Replace Task Sequence to complete. The PC0004 computer will gather user data, boot into Windows PE and gather more data, then boot back to the full OS. The entire process should only take a few minutes.

Capturing the user state
On CM01:
Open the state migration point storage folder (ex: D:\Migdata) and verify that a subfolder was created containing the USMT backup.
Using the Configuration Manager console, in the Assets and Compliance workspace, select the User State Migration node, right-click the PC0004/PC0006 association, and select View Recovery Information. The object now also has a user state store location.
Note
It may take a few minutes for the user state store location to be populated.
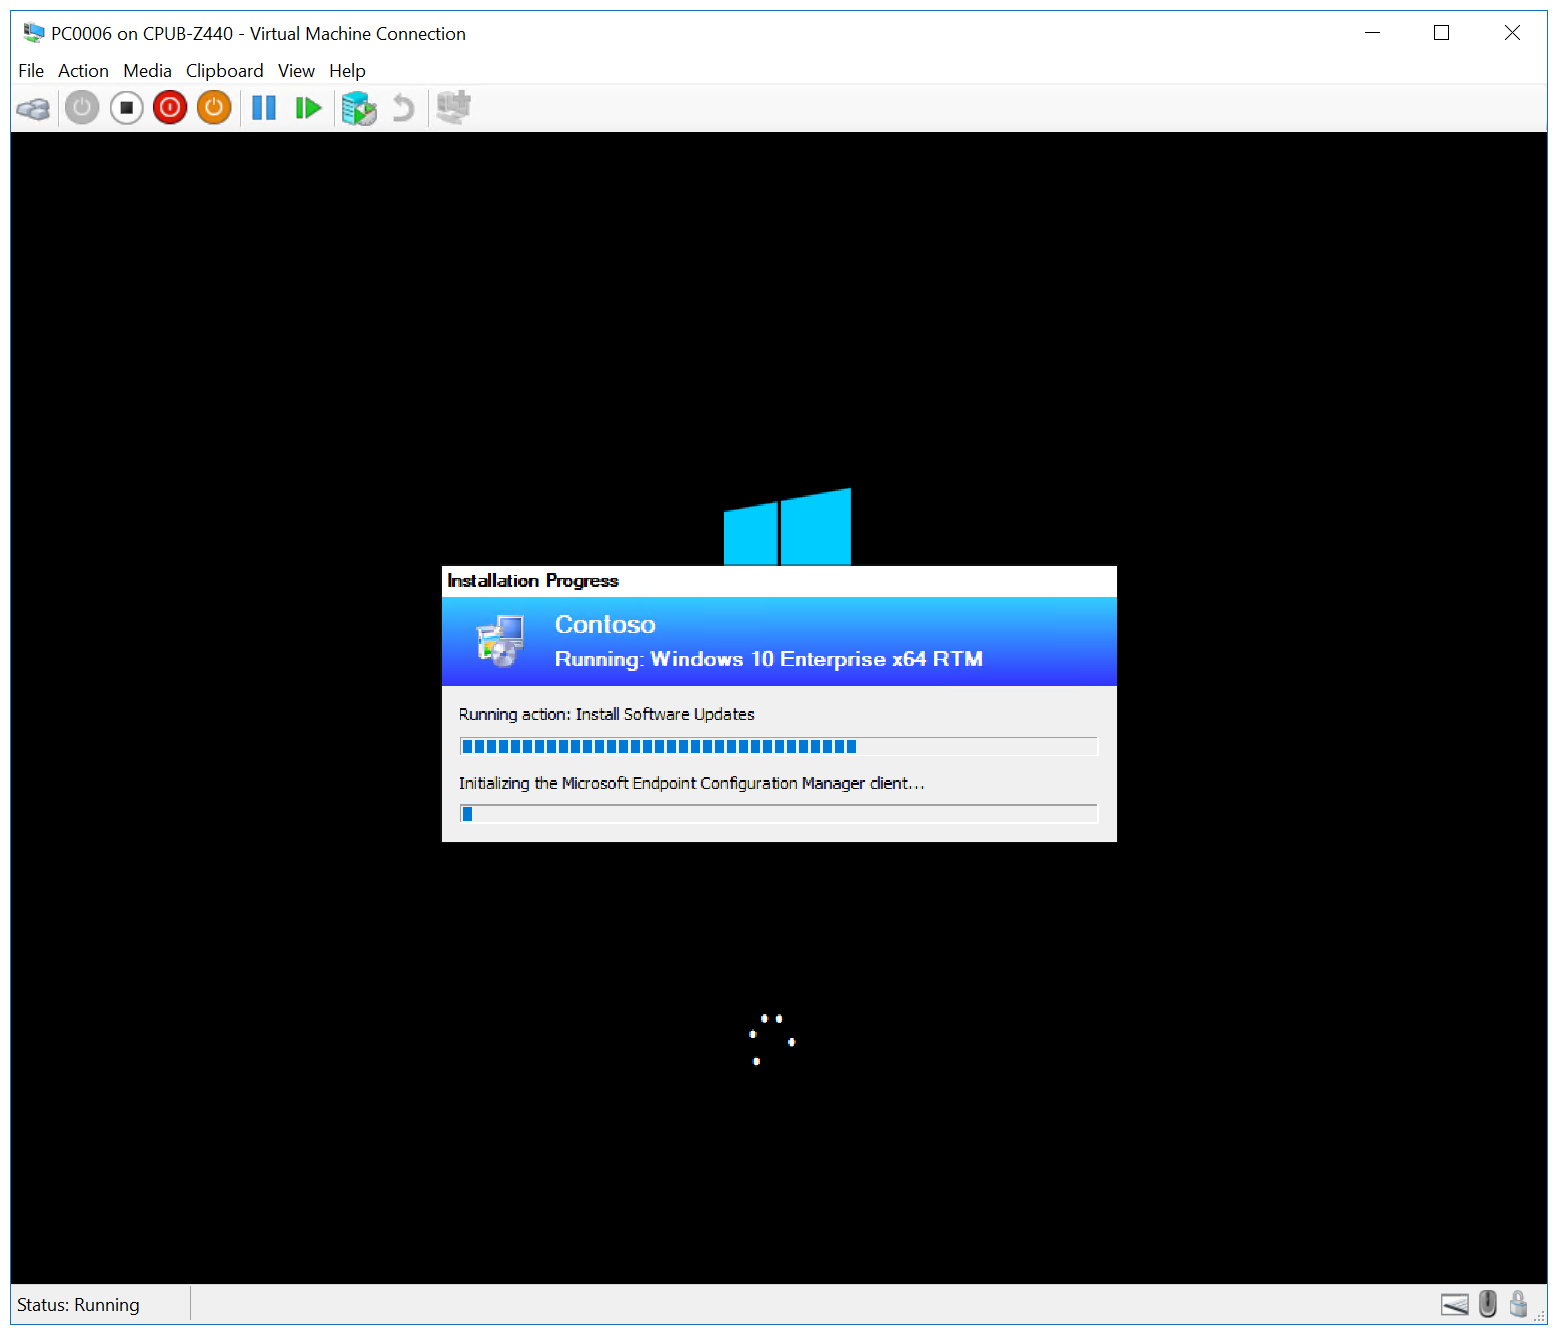
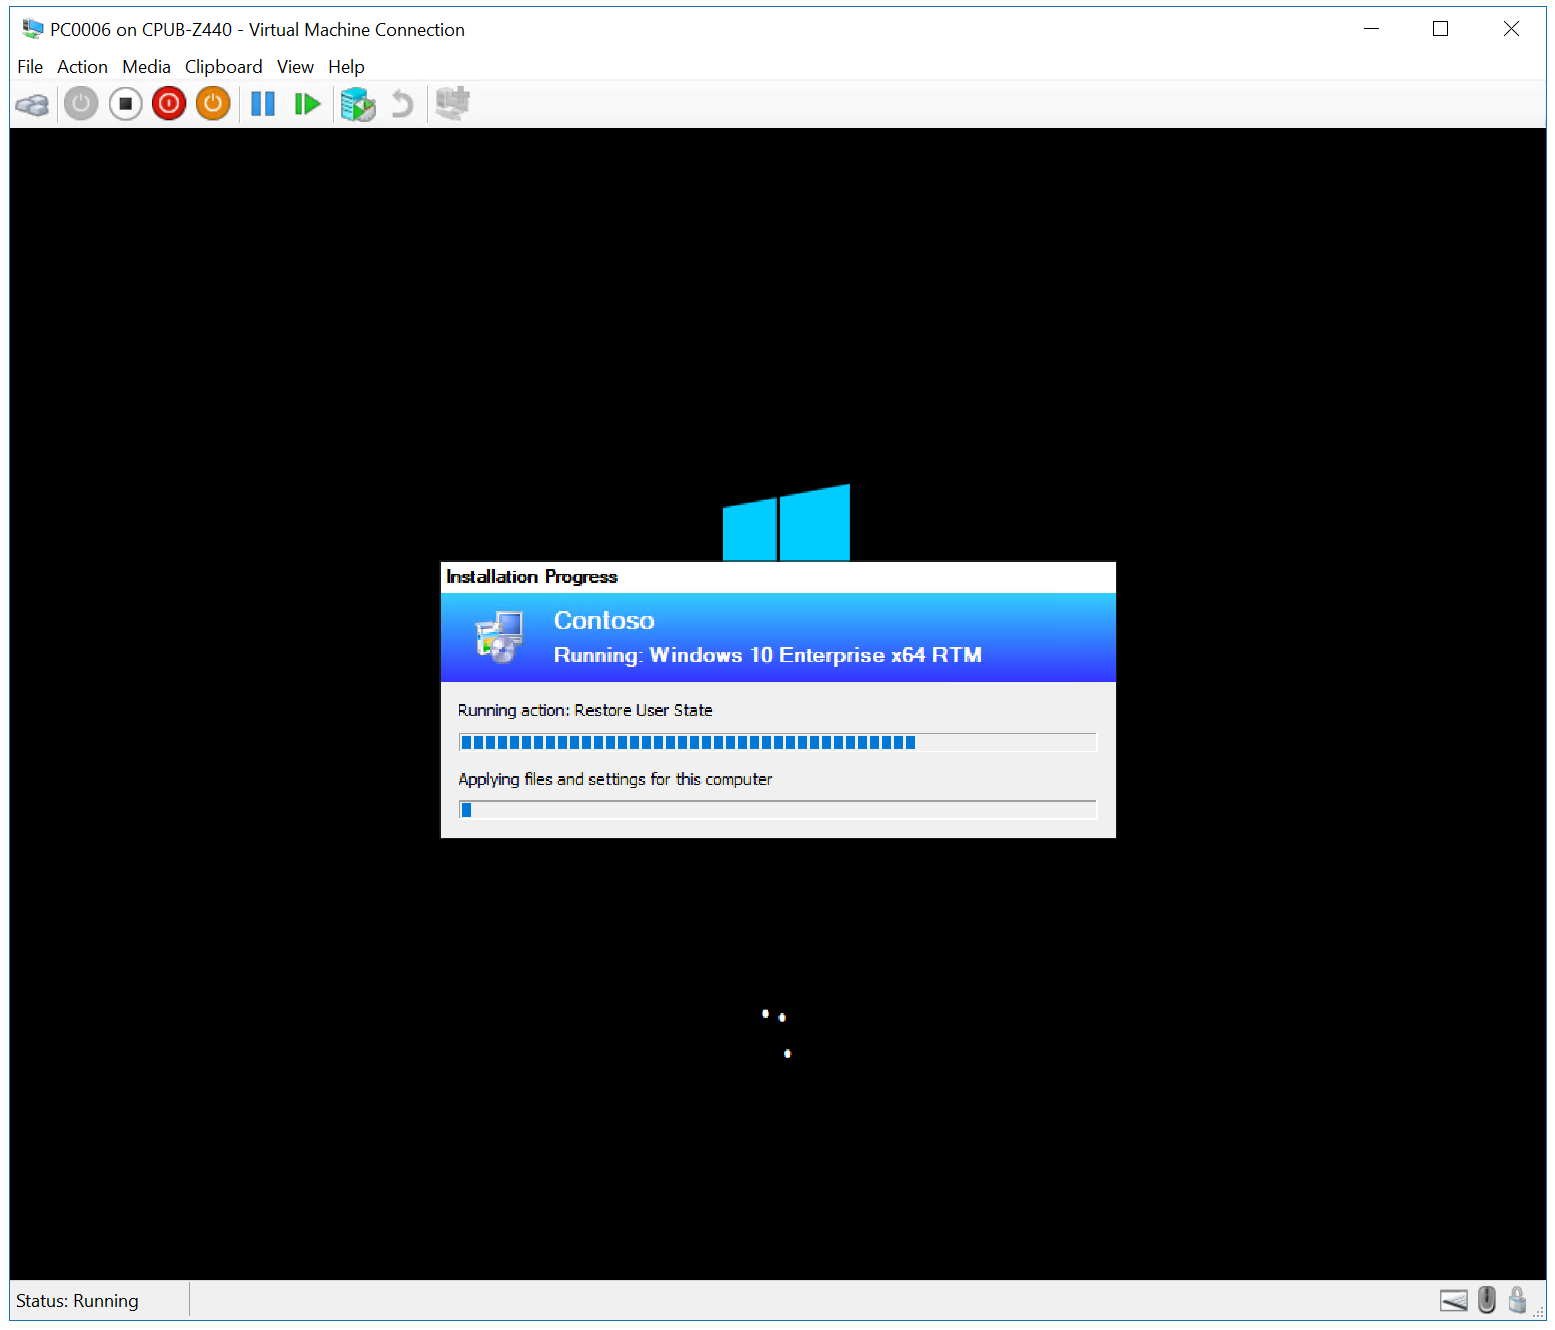
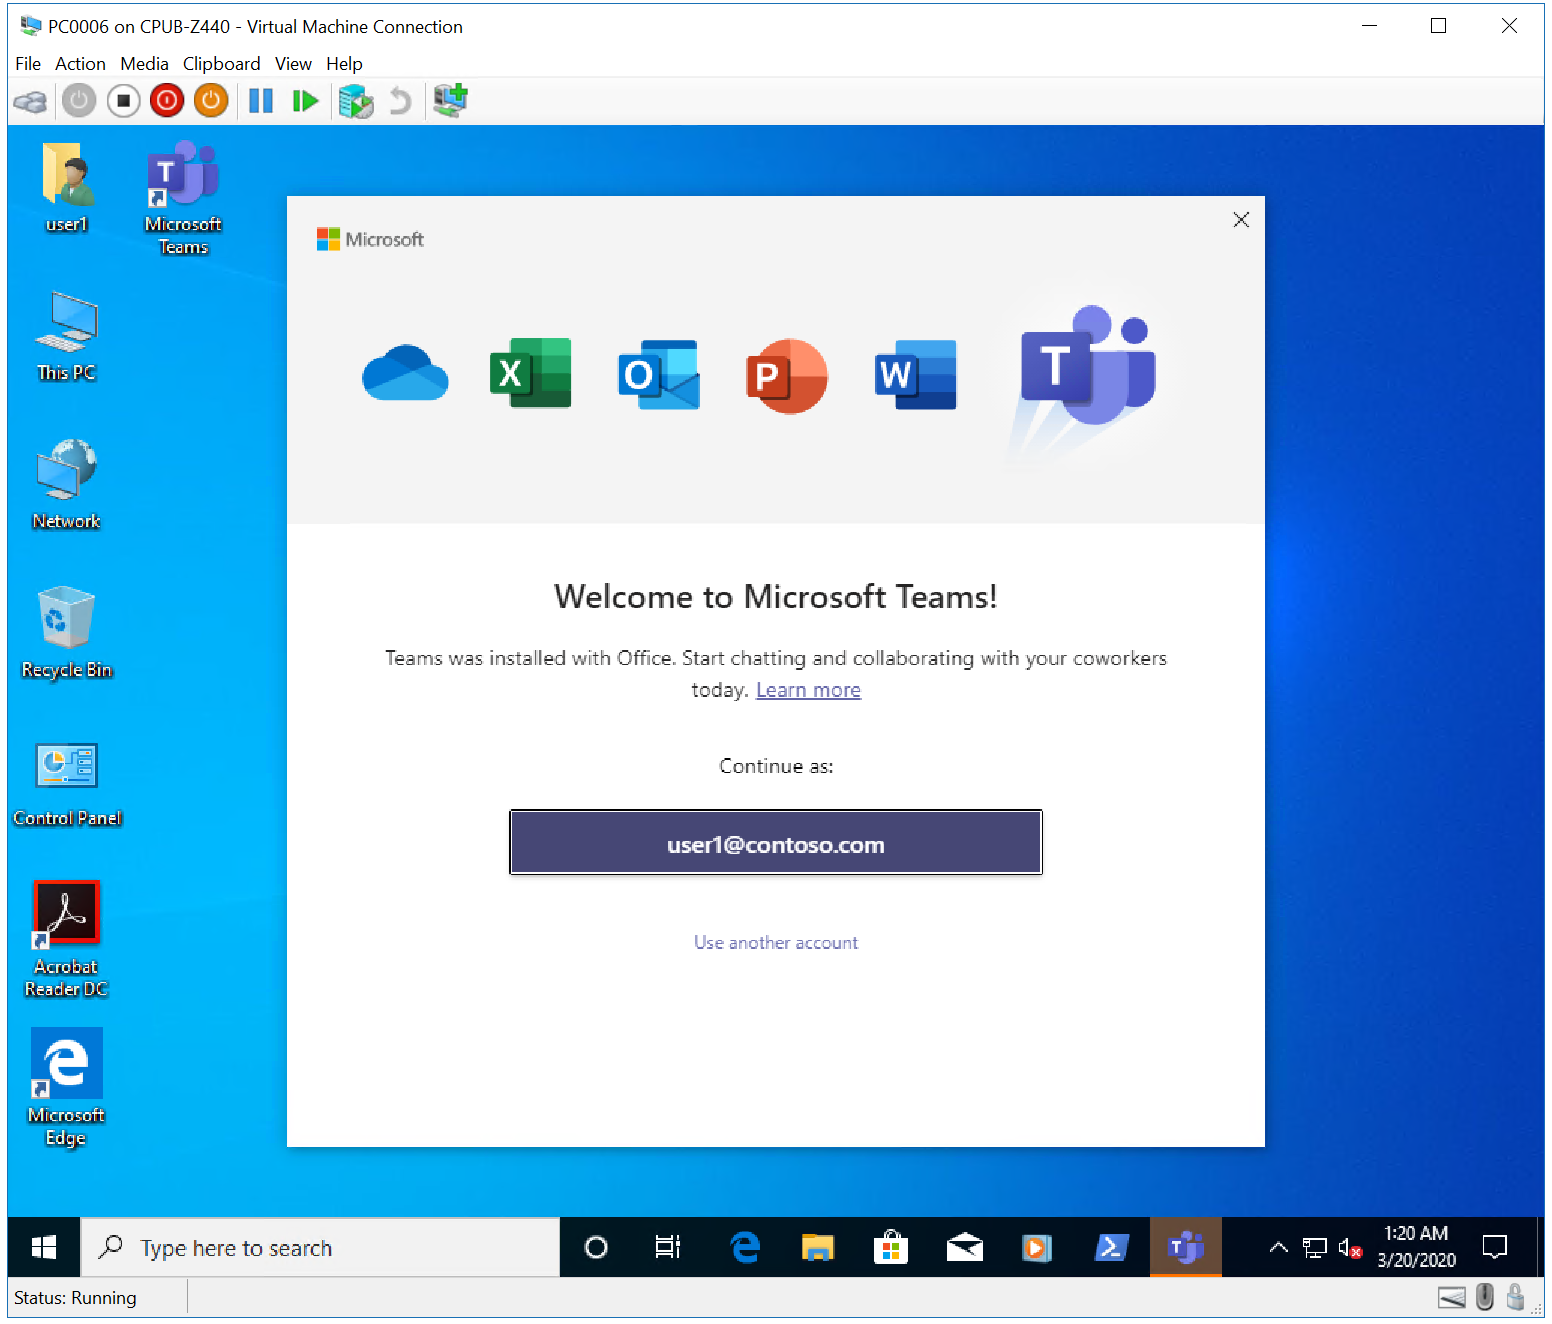
Deploy the new computer
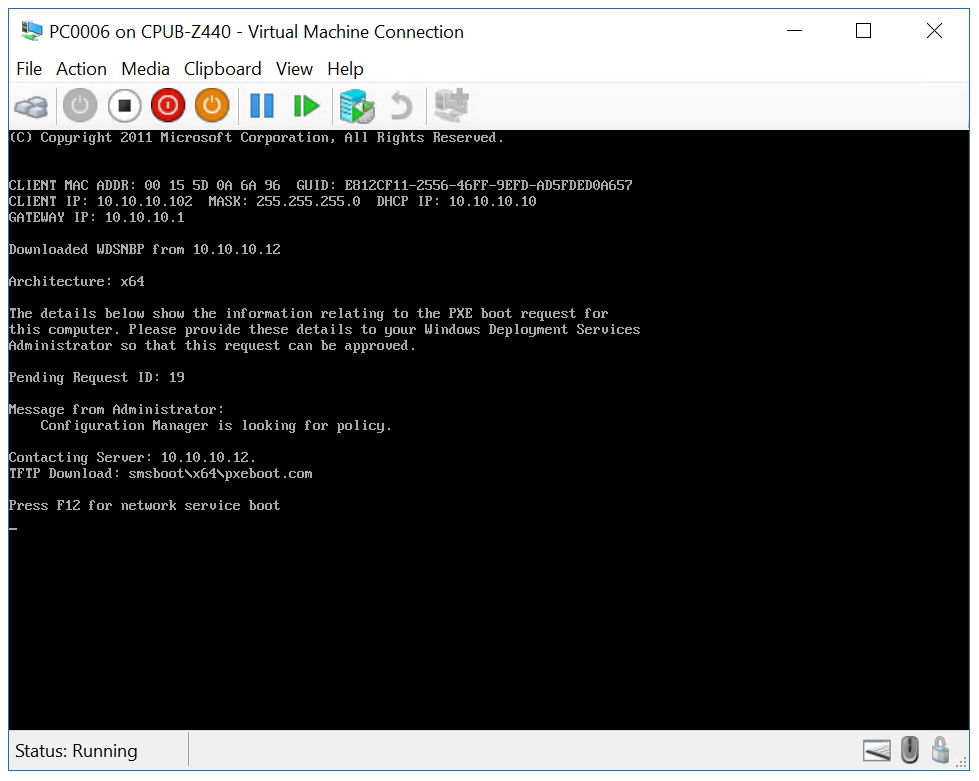
On PC0006:
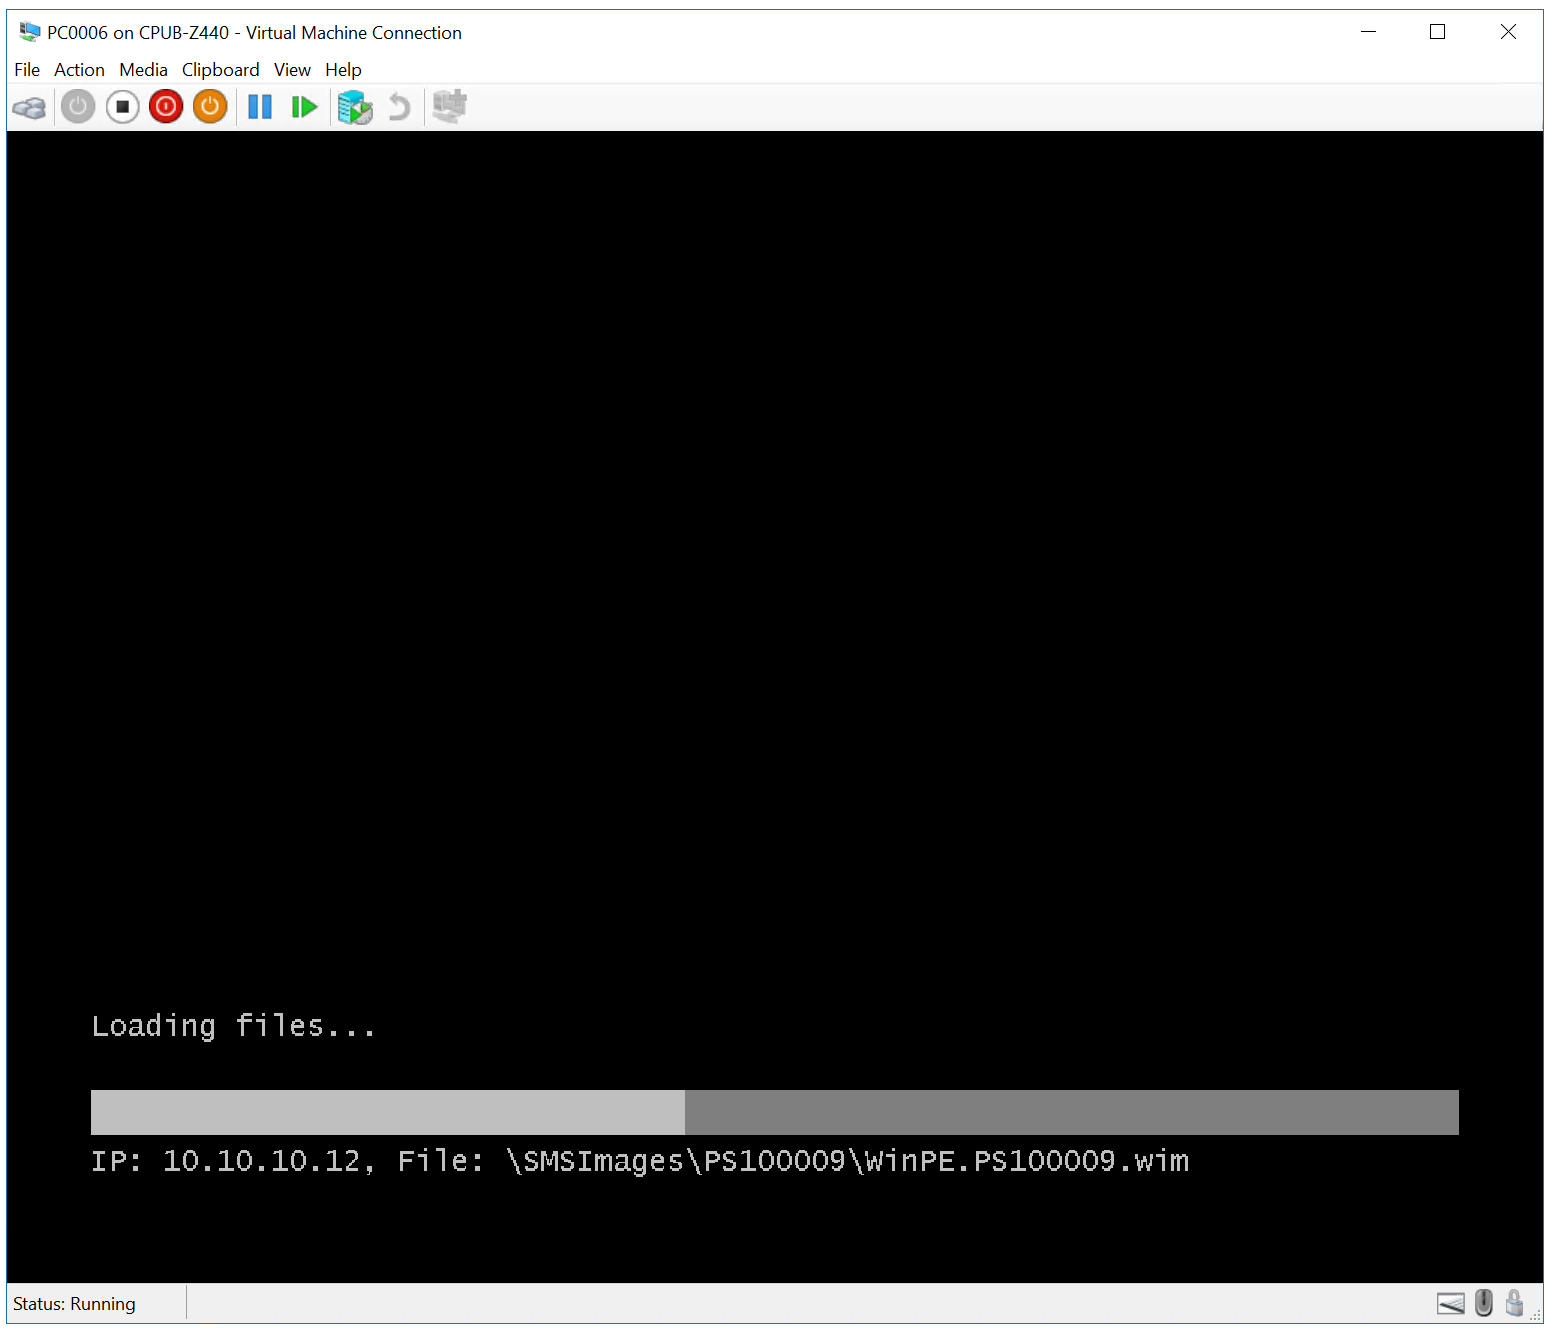
Start the PC0006 virtual machine (or physical computer), press F12 to Pre-Boot Execution Environment (PXE) boot when prompted. Allow it to boot Windows Preinstallation Environment (Windows PE), and then complete the deployment wizard using the following settings:
- Password: pass@word1
- Select a task sequence to execute on this computer: Windows 10 Enterprise x64 RTM
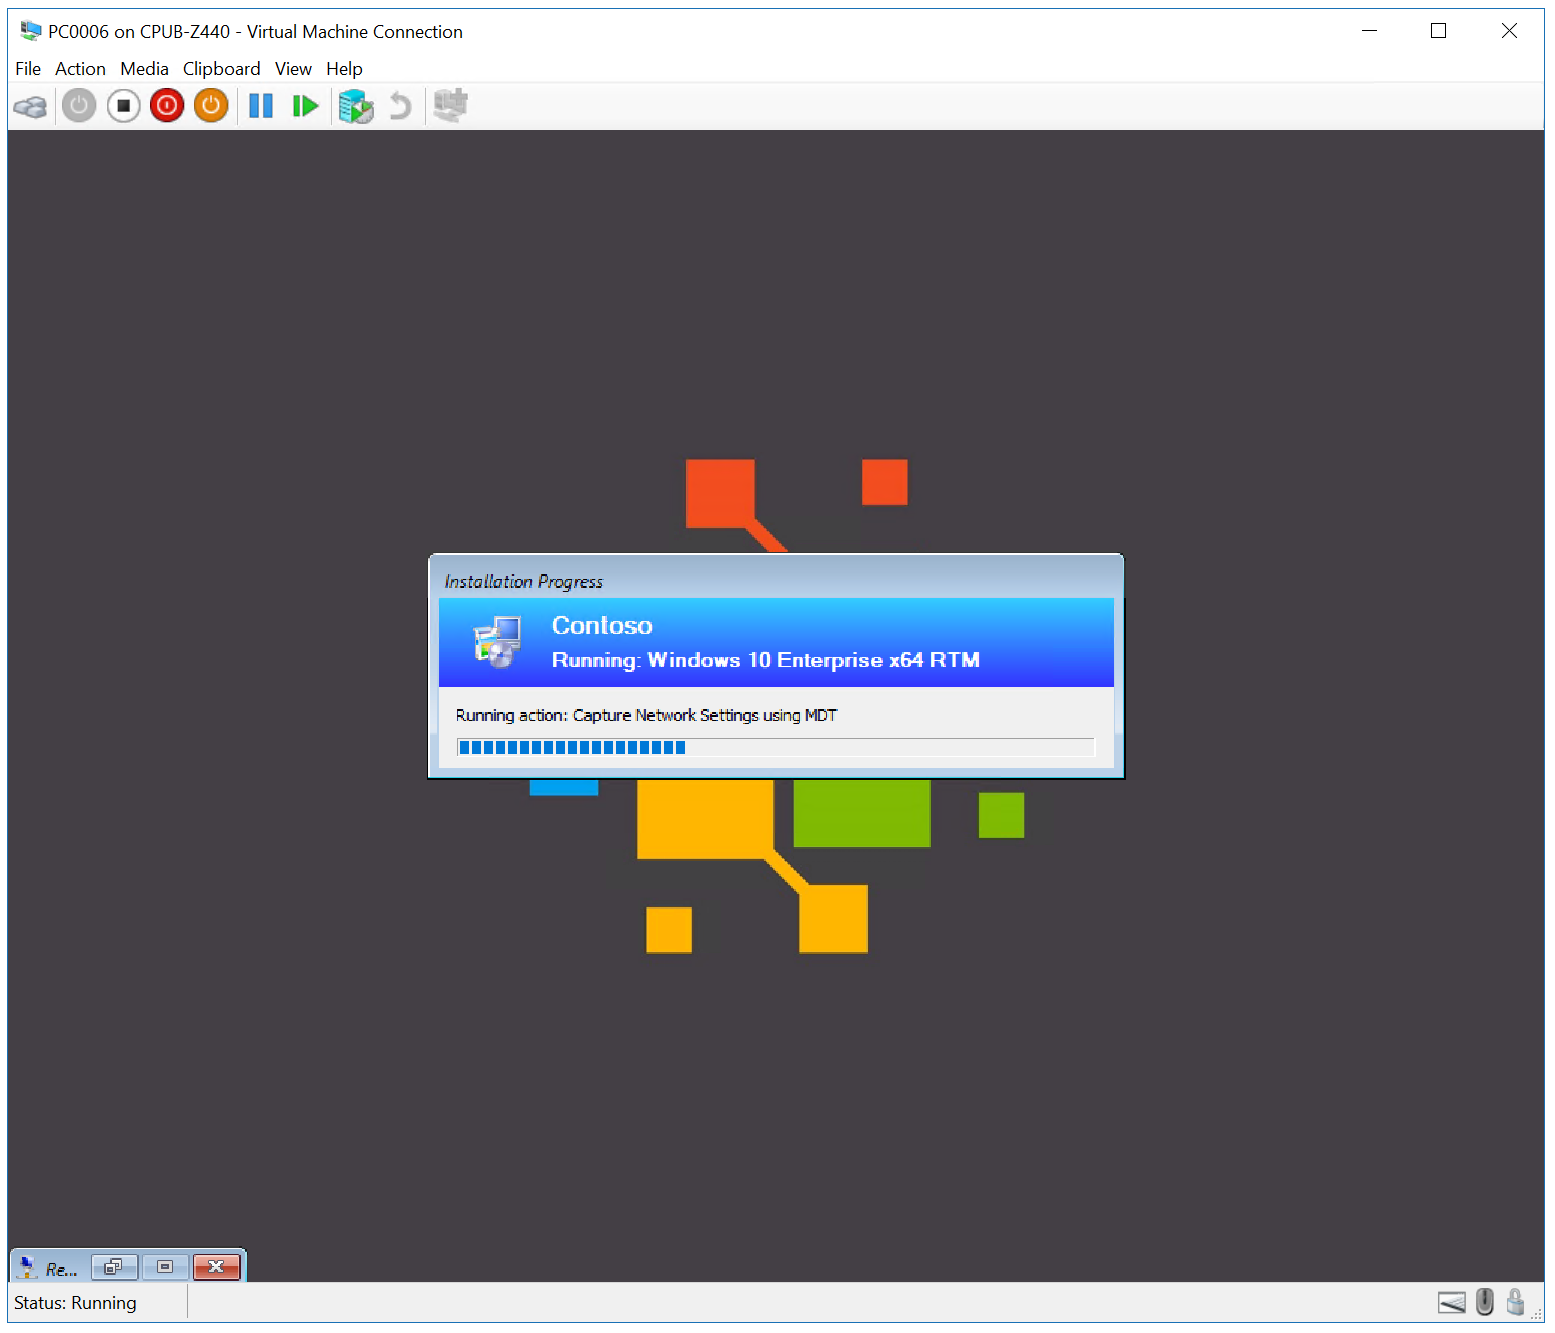
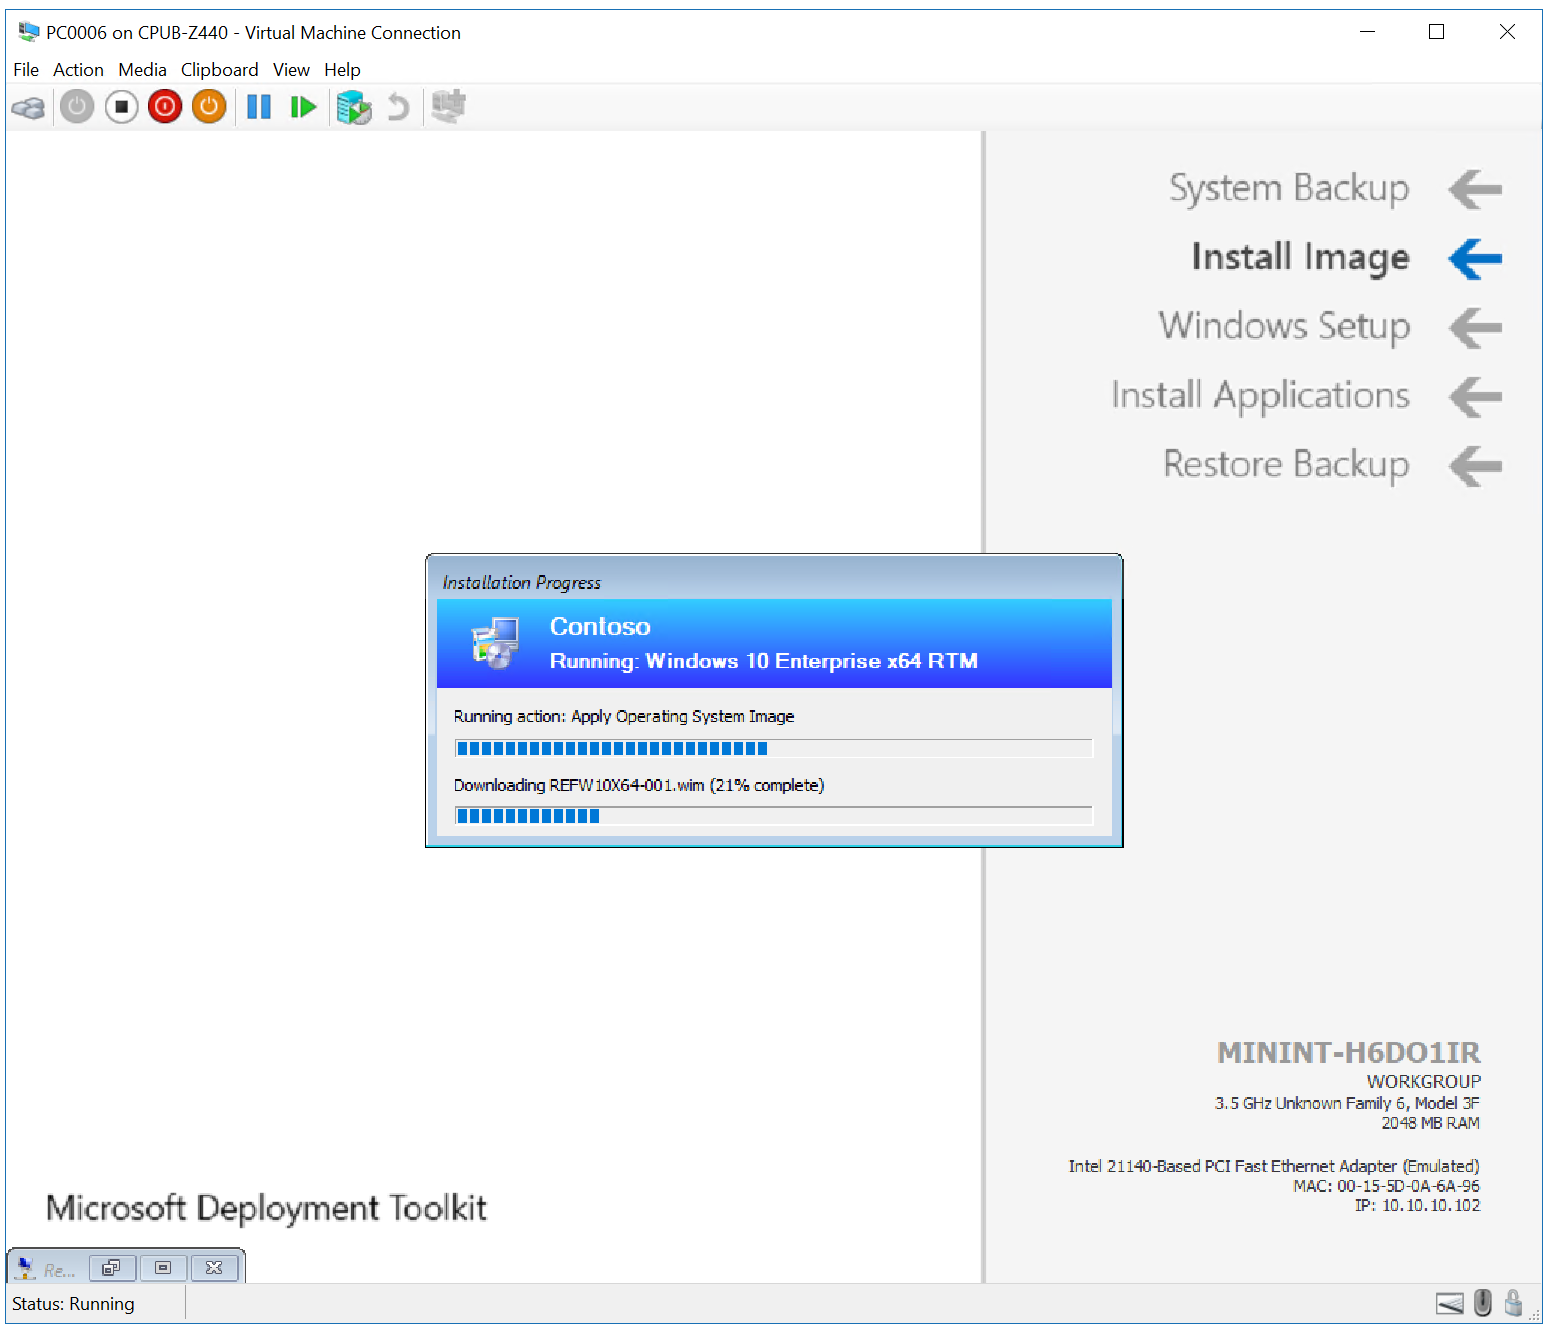
The setup now starts and does the following steps:
- Installs the Windows 10 operating system
- Installs the Configuration Manager client
- Joins it to the domain
- Installs the applications
- Restores the PC0004 backup
When the process is complete, you'll have a new Windows 10 computer in your domain with user data and settings restored. See the following examples:

Next, see Perform an in-place upgrade to Windows 10 using Configuration Manager.
Related articles
- Prepare for Zero Touch Installation of Windows 10 with Configuration Manager
- Create a custom Windows PE boot image with Configuration Manager
- Add a Windows 10 operating system image using Configuration Manager
- Create an application to deploy with Windows 10 using Configuration Manager
- Add drivers to a Windows 10 deployment with Windows PE using Configuration Manager
- Create a task sequence with Configuration Manager and MDT
- Deploy Windows 10 using PXE and Configuration Manager
- Refresh a Windows 7 SP1 client with Windows 10 using Configuration Manager
Feedback
Kommer snart: I hele 2024 udfaser vi GitHub-problemer som feedbackmekanisme for indhold og erstatter det med et nyt feedbacksystem. Du kan få flere oplysninger under: https://aka.ms/ContentUserFeedback.
Indsend og få vist feedback om