Enable just-in-time database access
This article provides the steps necessary to enable database access using a just-in-time (JIT) fashion. This is useful if access to the database is required for various troubleshooting efforts, running unplanned queries, or data upgrade problem solving. This process is available for both self-service as well as Microsoft-managed sandbox acceptance test environments. For more information about the available environment types, see Deployment overview.
Microsoft-managed environments without RDP access
If you no longer have Remote Desktop Protocol (RDP) access to your sandbox, you can add your IP address to the allow-list in a self-service manner from Lifecycle Services (LCS). When RDP is removed from an environment, the machine credentials section of the environment details page is removed. This leaves just the database accounts section, as shown in the following screenshot.
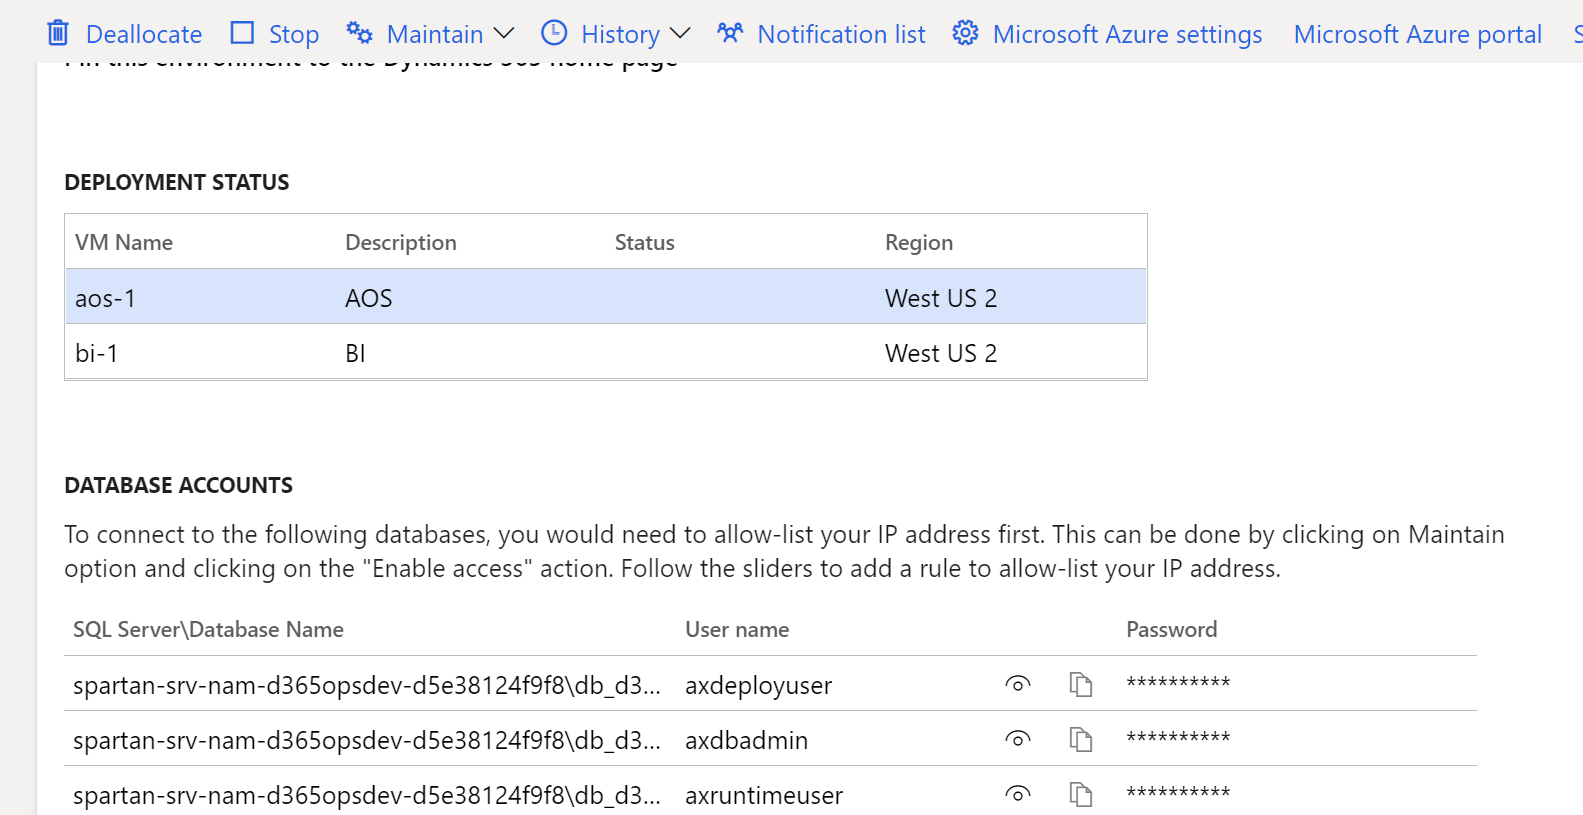
From the environment details page for your sandbox environment, select Maintain > Enable access, and then in the dialog box, add the IP address of your source environment. This entry will expire, with the expire date shown alongside the IP address you entered. It also will be lost after the database is replaced by a database movement operation, such as database refresh or database import.
You can now use tools like SQL Server Management Studio (SSMS) to connect to the database, using the accounts from LCS and the IP address that you enabled. LCS shows the server and database in the following format: serverName\databaseName. To connect in SSMS, you'll need to append the domain name suffix, such as serverName.database.windows.net if you are in Azure public cloud. On the Options tab in the SSMS connection window, you'll also need to explicitly enter the databaseName value in the Database field to successfully connect.
Self-service environments
The self-service environment type has never had Remote Desktop Protocol (RDP) access or static database accounts. However, it's still possible to access the database.
From the environment details page for your sandbox environment, select Maintain > Enable access, and then in the dialog box, add the IP address of your source environment. This firewall entry expires after 8 hours or it will be lost after the database is replaced by a database movement operation (whichever comes first). This includes operations such as database refresh or database import.
You also need to enter which type of access you require in the Database Accounts section. The available options include read or read-write access. Enter a short reason description and then select Request access.

When the page is refreshed, the database account will be shown with its expiry time.

You can now use tools like SQL Server Management Studio (SSMS) to connect to the database, using the accounts from LCS and the IP address that you enabled. Note that LCS shows the server and database in the following format: serverName\databaseName. To connect in SSMS, you'll need to append the domain name suffix, such as serverName.database.windows.net if you are in Azure public cloud. On the Options tab in the SSMS connection window, you'll also need to explicitly enter the databaseName value in the Database field to successfully connect.
Note
The domain name suffix might be different for Government Community Cloud (GCC).
Feedback
Bald verfügbar: Im Laufe des Jahres 2024 werden wir GitHub-Issues stufenweise als Feedbackmechanismus für Inhalte abbauen und durch ein neues Feedbacksystem ersetzen. Weitere Informationen finden Sie unter https://aka.ms/ContentUserFeedback.
Feedback senden und anzeigen für