Exploratory testing using Microsoft Test Manager
TFS 2017 | TFS 2015
Visual Studio 2017 | Visual Studio 2015
Note
Microsoft Test Manager has been deprecated. It has been replaced with Azure Test Plans, a fully featured test management solution. Microsoft Test Manager 2017, which shipped with Microsoft Visual Studio 2017, is the last version available.
For Azure DevOps and TFS, see Exploratory testing with the Test & Feedback extension.
While you work with your application, Microsoft Test Manager can record your actions, comments, screenshots and other data. The recording makes it easy to reproduce bugs. And you can quickly play back your tests whenever the application is updated.
To use all the features described in this article, you must have one of the following subscriptions:
Or, configure Basic + Test Plans access level.
See Manual testing permissions and access.
Explore your app
Install the latest build of your application. If it's a desktop application, install it on a machine that has Microsoft Test Manager. If it's a server, you can install it on any other machine, but you'll want to run the browser or client on the same machine where you have Microsoft Test Manager.
Connect Microsoft Test Manager to your test plan if you haven't already. The test plan stores default settings and test results.
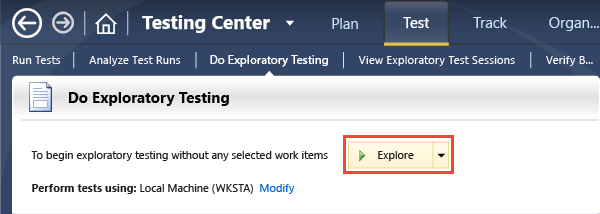
Start an exploratory test session in Microsoft Test Manager.
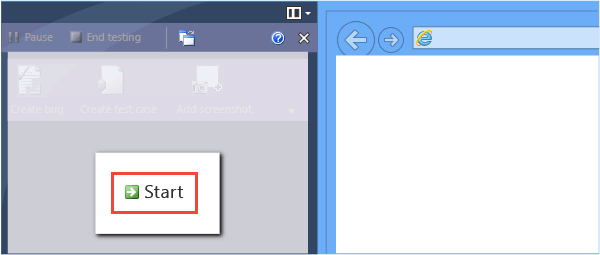
Test Runner appears at the side of the screen. It will stay there while you work with your application.
Get your app ready to start testing. For example, if it's a website, start the server.
When you're ready, start recording.
While you work with the application, add comments and screenshots in the Test Runner window.
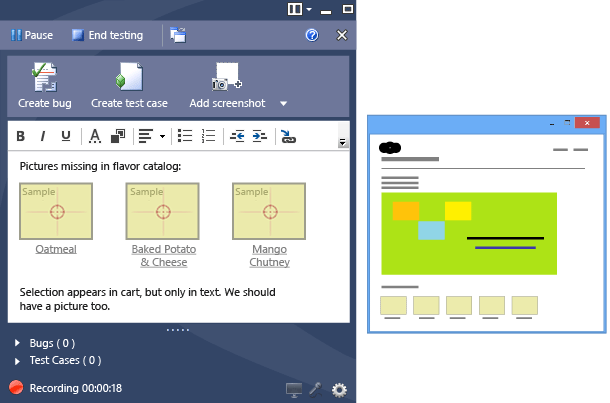
Double-click a screenshot if you want to edit it.
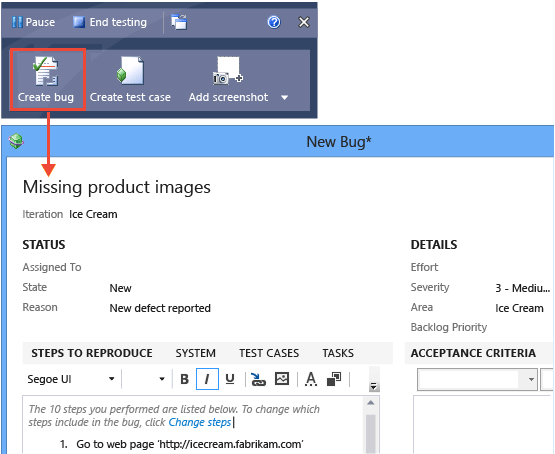
Create a bug if you find a problem. The bug will automatically include a list of your actions and comments.
Create a test case.
Why? When the application is updated, you'll want to run the test again to make sure everything is still working. With the list of your actions, it's easy for you or someone else to repeat the same test.
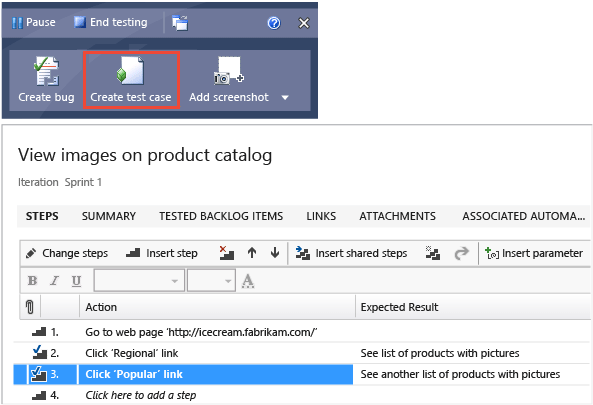
You'll probably want to use Change Steps to set how many recent actions are included.
Pause
 the recording if you need to attend to something else. You don't want your emails or passwords included in the recording.
Complete your test.

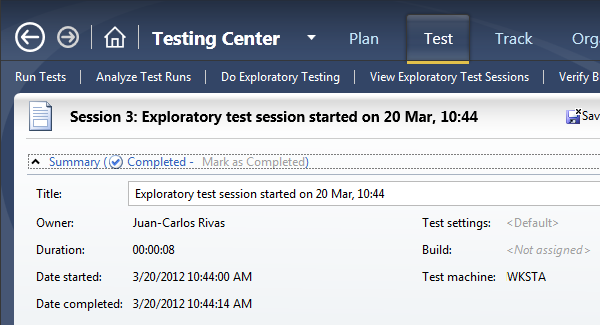
Give your test run a title that expresses the result, such as "Failed to open account" or "Successfully created an order."
Review the exploratory tests in this plan to see how well the sprint is progressing.
Enable screen recording during testing
In your test settings, open Plan, Properties, and - under Manual runs - choose Test settings = <New>.
In the test settings wizard, give the new settings a name.
On the Data and Diagnostics page, scroll down and select Screen and Voice recorder.
Choose Configure if you want to record your voice along with the screen.
Close the test settings and Save and Close the test plan properties.
When you start a test, a real-time screen recording will be added.
If you want to run tests without real-time recording, go back to the test plan properties and set Test Settings = <Default>.
Try this next
Plan manual tests with Microsoft Test Manager
Help and support
Report any problems on Developer Community, get advice on Stack Overflow, and get support via our Support page.