Tutorial: Use a Windows VM system-assigned managed identity to access Azure SQL
This tutorial shows you how to use a system-assigned identity for a Windows virtual machine (VM) to access Azure SQL Database. Managed Service Identities are automatically managed by Azure and enable you to authenticate to services that support Microsoft Entra authentication, without needing to insert credentials into your code. You learn how to:
- Grant your VM access to Azure SQL Database
- Enable Microsoft Entra authentication
- Create a contained user in the database that represents the VM's system assigned identity
- Get an access token using the VM identity and use it to query Azure SQL Database
Prerequisites
- If you're not familiar with the managed identities for Azure resources feature, see this overview.
- If you don't have an Azure account, sign up for a free account before you continue.
- To perform the required resource creation and role management, your account needs "Owner" permissions at the appropriate scope (your subscription or resource group). If you need assistance with role assignment, see Assign Azure roles to manage access to your Azure subscription resources.
Enable
Enabling a system-assigned managed identity is a one-click experience. You can either enable it during the creation of a VM or in the properties of an existing VM.

To enable a system-assigned managed identity on a new VM:
Grant access
To grant your VM access to a database in Azure SQL Database, you can use an existing logical SQL server or create a new one. To create a new server and database using the Azure portal, follow this Azure SQL quickstart. There are also quickstarts that use the Azure CLI and Azure PowerShell in the Azure SQL documentation.
There are two steps to granting your VM access to a database:
- Enable Microsoft Entra authentication for the server.
- Create a contained user in the database that represents the VM's system-assigned identity.
Enable Microsoft Entra authentication
To configure Microsoft Entra authentication:
- In the Azure portal, select SQL servers from the left-hand navigation.
- Select the SQL server to be enabled for Microsoft Entra authentication.
- In the Settings section of the blade, click Active Directory admin.
- In the command bar, click Set admin.
- Select a Microsoft Entra user account to be made an administrator of the server, and click Select.
- In the command bar, click Save.
Create contained user
This section shows how to create a contained user in the database that represents the VM's system assigned identity. For this step, you need Microsoft SQL Server Management Studio (SSMS). Before beginning, it may also be helpful to review the following articles for background on Microsoft Entra integration:
- Universal Authentication with SQL Database and Azure Synapse Analytics (SSMS support for MFA)
- Configure and manage Microsoft Entra authentication with SQL Database or Azure Synapse Analytics
SQL DB requires unique Microsoft Entra ID display names. With this, the Microsoft Entra accounts such as users, groups and Service Principals (applications), and VM names enabled for managed identity must be uniquely defined in Microsoft Entra ID regarding their display names. SQL DB checks the Microsoft Entra ID display name during T-SQL creation of such users and if it isn't unique, the command fails requesting to provide a unique Microsoft Entra ID display name for a given account.
To create a contained user:
Start SQL Server Management Studio.
In the Connect to Server dialog, Enter your server name in the Server name field.
In the Authentication field, select Active Directory - Universal with MFA support.
In the User name field, enter the name of the Microsoft Entra account that you set as the server administrator, for example, helen@woodgroveonline.com
Click Options.
In the Connect to database field, enter the name of the non-system database you want to configure.
Click Connect. Complete the sign-in process.
In the Object Explorer, expand the Databases folder.
Right-click on a user database and select New query.
In the query window, enter the following line, and click Execute in the toolbar:
Note
VMNamein the following command is the name of the VM that you enabled system assigned identity on in the prerequsites section.CREATE USER [VMName] FROM EXTERNAL PROVIDERThe command should complete successfully, creating the contained user for the VM's system-assigned identity.
Clear the query window, enter the following line, and click Execute in the toolbar:
Note
VMNamein the following command is the name of the VM that you enabled system assigned identity on in the prerequisites section.If you encounter the error "Principal
VMNamehas a duplicate display name", append the CREATE USER statement with WITH OBJECT_ID='xxx'.ALTER ROLE db_datareader ADD MEMBER [VMName]The command should complete successfully, granting the contained user the ability to read the entire database.
Code running in the VM can now get a token using its system-assigned managed identity and use the token to authenticate to the server.
Access data
This section shows how to get an access token using the VM's system-assigned managed identity and use it to call Azure SQL. Azure SQL natively supports Microsoft Entra authentication, so it can directly accept access tokens obtained using managed identities for Azure resources. This method doesn't require supplying credentials on the connection string.
Here's a .NET code example of opening a connection to SQL using Active Directory Managed Identity authentication. The code must run on the VM to be able to access the VM's system-assigned managed identity's endpoint. .NET Framework 4.6.2 or higher or .NET Core 3.1 or higher is required to use this method. Replace the values of AZURE-SQL-SERVERNAME and DATABASE accordingly and add a NuGet reference to the Microsoft.Data.SqlClient library.
using Microsoft.Data.SqlClient;

try
{
//
// Open a connection to the server using Active Directory Managed Identity authentication.
//
string connectionString = "Data Source=<AZURE-SQL-SERVERNAME>; Initial Catalog=<DATABASE>; Authentication=Active Directory Managed Identity; Encrypt=True";
SqlConnection conn = new SqlConnection(connectionString);
conn.Open();
Note
You can use managed identities while working with other programming options using our SDKs.
Alternatively, a quick way to test the end-to-end setup without having to write and deploy an app on the VM is using PowerShell.
In the portal, navigate to Virtual Machines and go to your Windows virtual machine and in the Overview, click Connect.
Enter in your VM admin credential which you added when you created the Windows VM.
Now that you have created a Remote Desktop Connection with the virtual machine, open PowerShell in the remote session.
Using PowerShell’s
Invoke-WebRequest, make a request to the local managed identity's endpoint to get an access token for Azure SQL.$response = Invoke-WebRequest -Uri 'http://169.254.169.254/metadata/identity/oauth2/token?api-version=2018-02-01&resource=https%3A%2F%2Fdatabase.windows.net%2F' -Method GET -Headers @{Metadata="true"}Convert the response from a JSON object to a PowerShell object.
$content = $response.Content | ConvertFrom-JsonExtract the access token from the response.
$AccessToken = $content.access_tokenOpen a connection to the server. Remember to replace the values for AZURE-SQL-SERVERNAME and DATABASE.
$SqlConnection = New-Object System.Data.SqlClient.SqlConnection
$SqlConnection.ConnectionString = "Data Source = <AZURE-SQL-SERVERNAME>; Initial Catalog = <DATABASE>; Encrypt=True;"
$SqlConnection.AccessToken = $AccessToken
$SqlConnection.Open()
Next, create, and send a query to the server. Remember to replace the value for TABLE.
$SqlCmd = New-Object System.Data.SqlClient.SqlCommand
$SqlCmd.CommandText = "SELECT * from <TABLE>;"
$SqlCmd.Connection = $SqlConnection
$SqlAdapter = New-Object System.Data.SqlClient.SqlDataAdapter
$SqlAdapter.SelectCommand = $SqlCmd
$DataSet = New-Object System.Data.DataSet
$SqlAdapter.Fill($DataSet)
Examine the value of $DataSet.Tables[0] to view the results of the query.
Disable
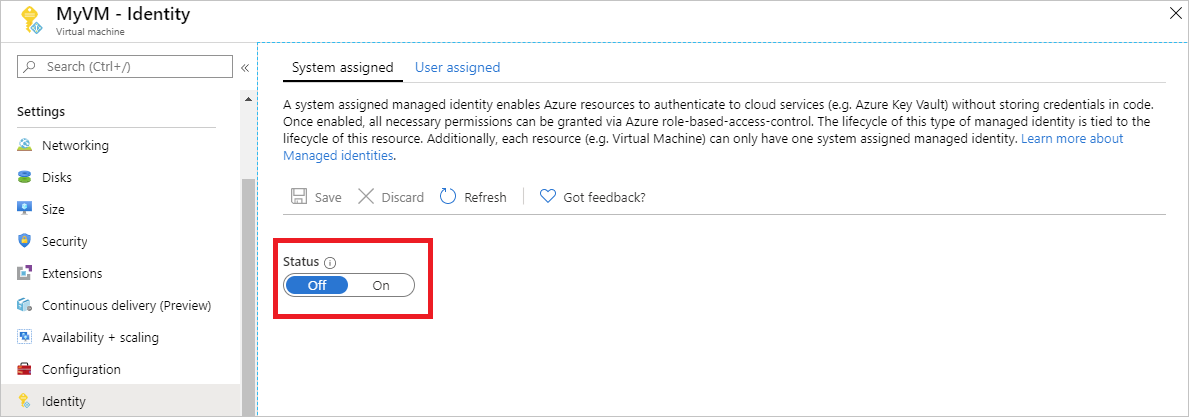
To disable the system-assigned identity on your VM, set the status of the system-assigned identity to Off.
Next steps
In this tutorial, you learned how to use a system-assigned managed identity to access Azure SQL Database. To learn more about Azure SQL Database see:
Feedback
Coming soon: Throughout 2024 we will be phasing out GitHub Issues as the feedback mechanism for content and replacing it with a new feedback system. For more information see: https://aka.ms/ContentUserFeedback.
Submit and view feedback for