Tutorial: Extend governance to endpoint remediation
Defender for Cloud Apps provides predefined governance options for policies, such as suspend a user or make a file private. Using the native integration with Microsoft Power Automate, you can use a large ecosystem of software as a service (SaaS) connectors to build workflows to automate processes including remediation.
For example, when detecting a possible malware threat, you can use workflows to start Microsoft Defender for Endpoint remediation actions such as running an antivirus scan or isolating an endpoint.
In this tutorial, you'll learn how to configure a policy governance action to use a workflow to run an antivirus scan on an endpoint where a user shows signs of suspicious behavior:
Note
These workflows are only relevant for policies that contains user activity. For example, you can't use these workflows with Discovery or OAuth policies.
If you don't have a Power Automate plan, sign up for a free trial account.
Prerequisites
- You must have a valid Microsoft Power Automate plan
- You must have a valid Microsoft Defender for Endpoint plan
- The Power Automate environment must be Microsoft Entra ID synced, Defender for Endpoint monitored, and domain-joined
Phase 1: Generate a Defender for Cloud Apps API token
Note
If you have previously created a workflow using a Defender for Cloud Apps connector, Power Automate automatically reuses the token and you can skip this step.
In the Microsoft Defender Portal, select Settings. Then choose Cloud Apps.
Under System, choose API tokens.
Select +Add token to generate a new API token.
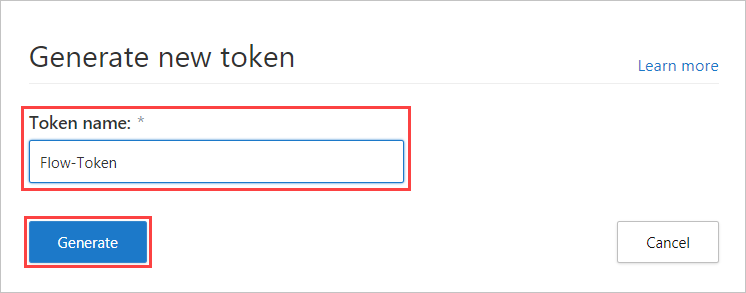
In the Generate new token pop-up, enter the token name (for example, "Flow-Token"), and then select Generate.
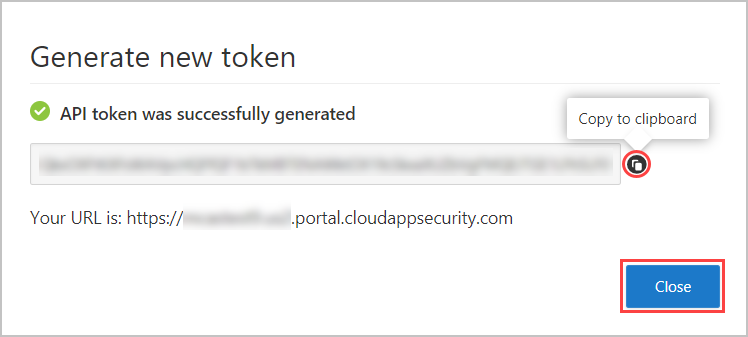
Once the token is generated, select the copy icon to the right of the generated token, and then select Close. You'll need the token later.
Phase 2: Create a flow to run an antivirus scan
Note
If you have previously created a flow using a Defender for Endpoint connector, Power Automate automatically reuses the connector and you can skip the Sign in step.
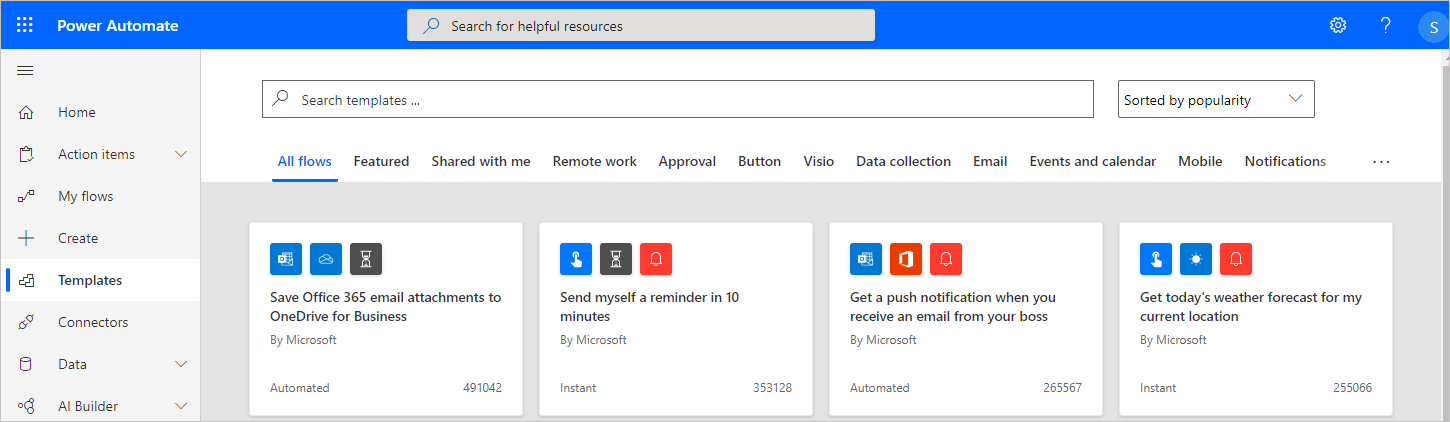
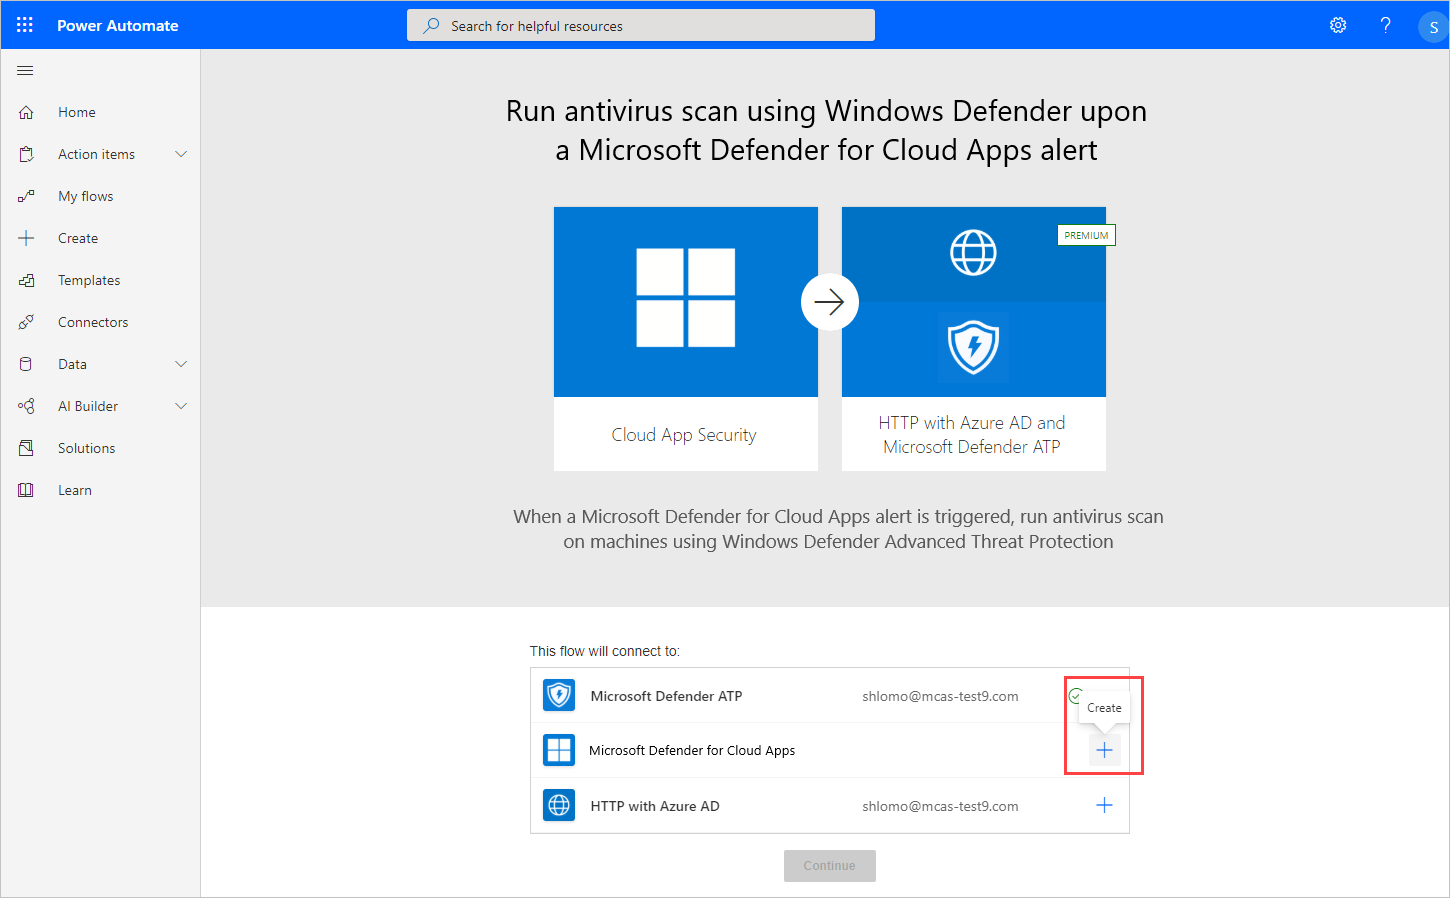
Go to the Power Automate portal and select Templates.
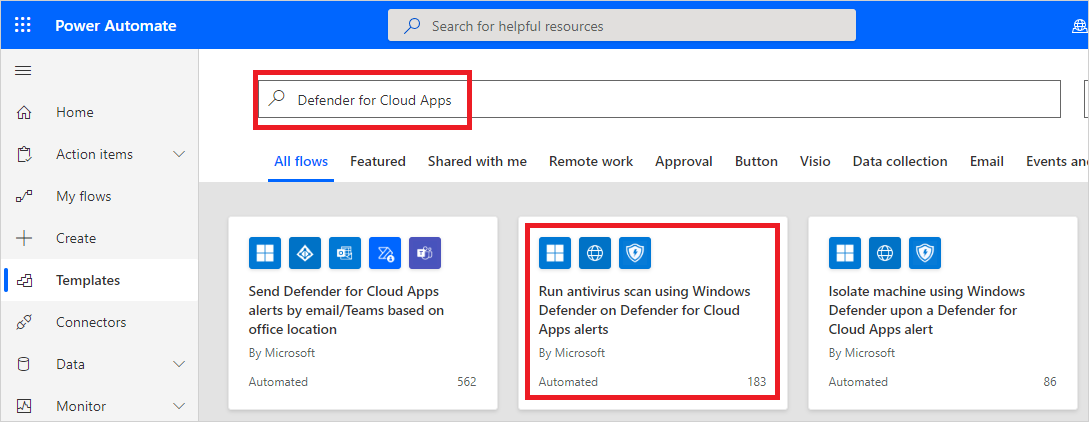
Search for Defender for Cloud Apps and select Run antivirus scan using Windows Defender on Defender for Cloud Apps alerts.
In the list of apps, on the row in which Microsoft Defender for Endpoint connector appears, select Sign in.

Phase 3: Configure the flow
Note
If you have previously created a flow using a Microsoft Entra connector, Power Automate automatically reuses the token and you can skip this step.
In the list of apps, on the row in which Defender for Cloud Apps appears, select Create.
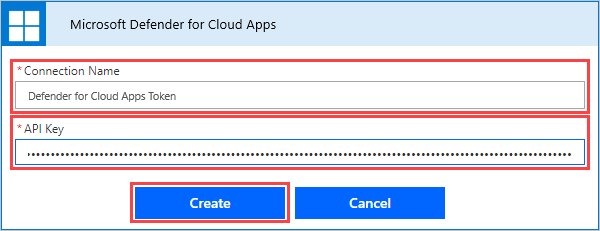
In the Defender for Cloud Apps pop-up, enter the connection name (for example, "Defender for Cloud Apps Token"), paste the API token you copied, and then select Create.
In the list of apps, on the row in which HTTP with Azure AD appears, select Sign in.
In the HTTP with Azure AD pop-up, for both the Base Resource URL and Azure AD Resource URI fields, enter
https://graph.microsoft.com, and then select Sign in and enter the admin credentials you want to use with the HTTP with Azure AD connector.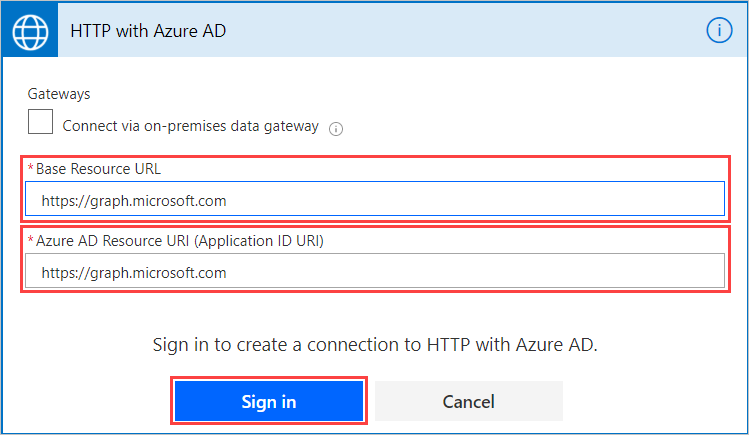
Select Continue.
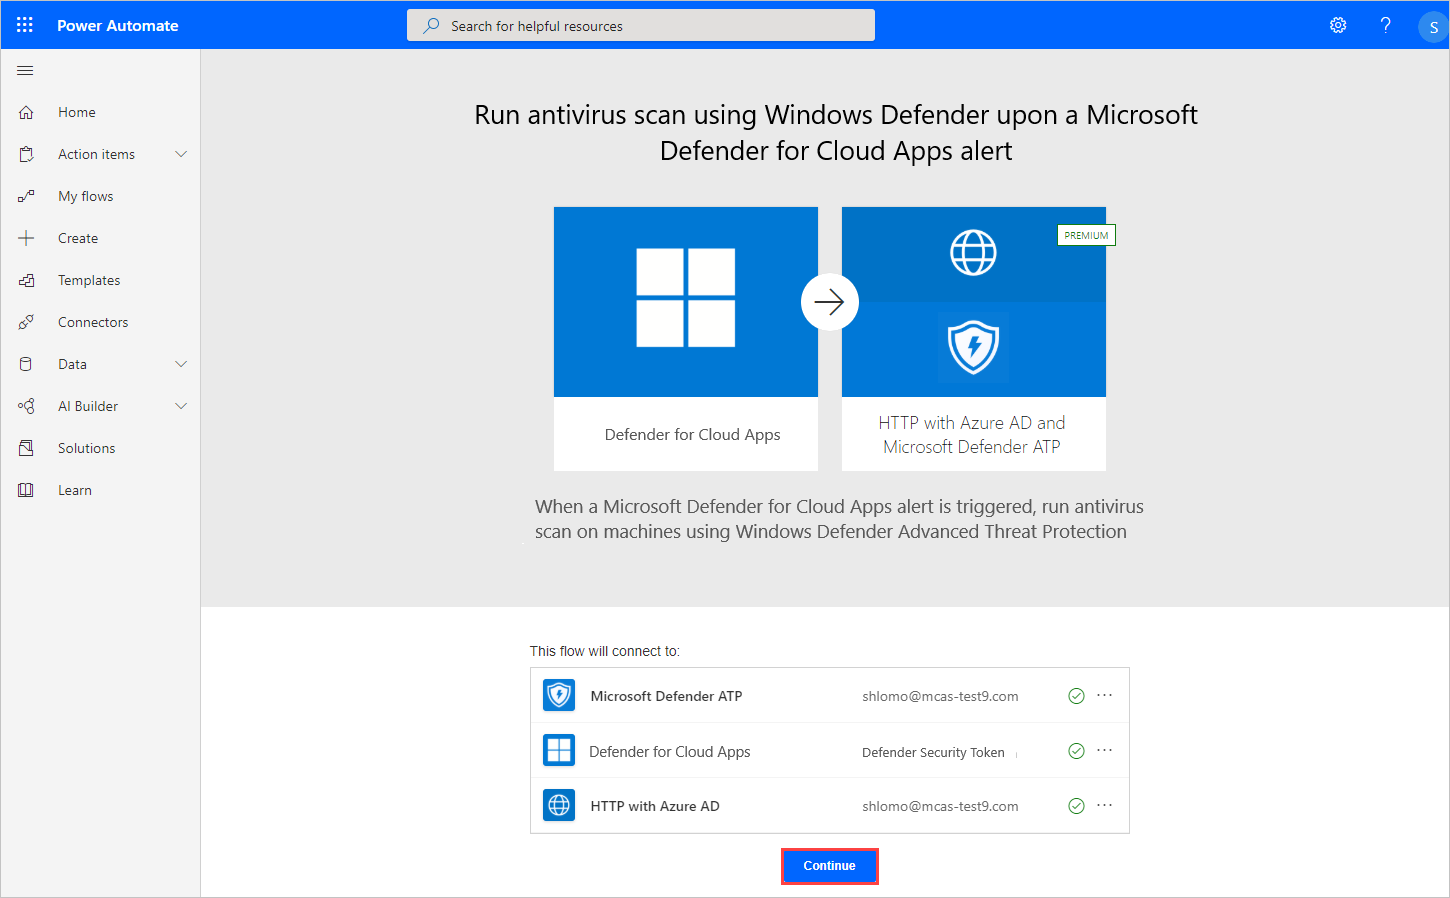
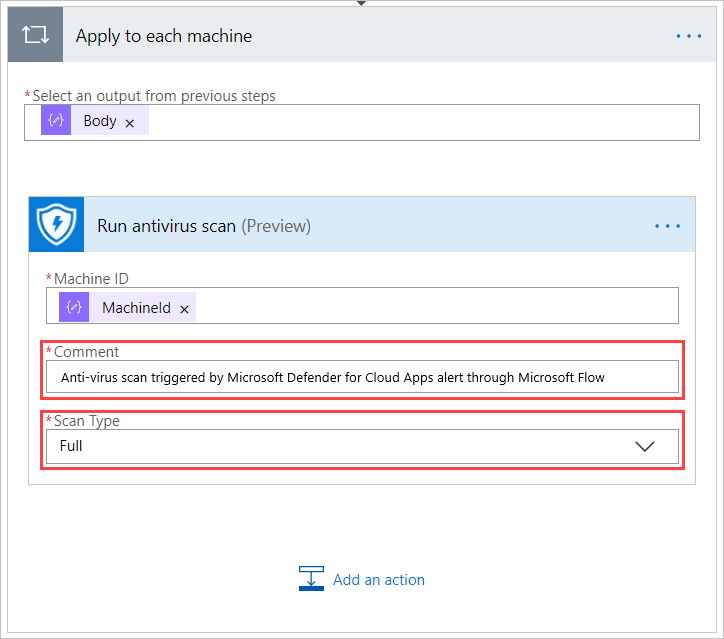
Once all the connecters are successfully connected, on the flow's page under Apply to each device, optionally modify the comment and scan type, and then select Save.
Phase 4: Configure a policy to run the flow
In the Microsoft Defender Portal, under Cloud Apps, go to Policies -> Policy management.
In the list of policies, on the row where the relevant policy appears, choose the three dots at the end of the row, and then choose Edit policy.
Under Alerts, select Send alerts to Power Automate, and then select Run antivirus scan using Windows Defender upon a Defender for Cloud Apps alert.
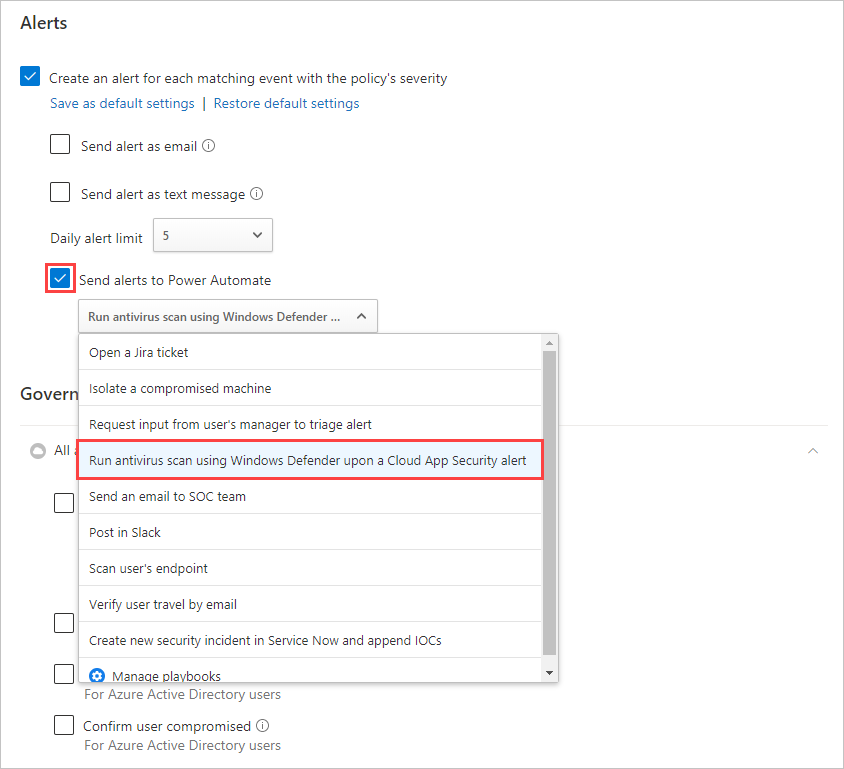
Now every alert raised for this policy will initiate the flow to run the antivirus scan.
You can use the steps in this tutorial to create a wide range of workflow-based actions to extend Defender for Cloud Apps remediation capabilities, including other Defender for Endpoint actions. To see a list of predefined Defender for Cloud Apps workflows, in Power Automate, search for "Defender for Cloud Apps".
See also
Feedback
Coming soon: Throughout 2024 we will be phasing out GitHub Issues as the feedback mechanism for content and replacing it with a new feedback system. For more information see: https://aka.ms/ContentUserFeedback.
Submit and view feedback for