Tutorial: Access a lab in Azure DevTest Labs
In this tutorial, you learn how to:
- Claim a lab virtual machine (VM) in Azure DevTest Labs.
- Connect to the lab VM.
- Unclaim the lab VM.
- Delete the lab VM when no longer needed.
Prerequisites
You need at least DevTest Labs User access to the lab created in Tutorial: Set up a lab in Azure DevTest Labs, or to another lab that has a claimable VM.
The owner or administrator of the lab can give you the URL to access the lab in the Azure portal, and the username and password to access the lab VM.
Claim a lab VM
To claim a lab VM, follow these steps. For more information about claiming VMs, see Use claim capabilities in Azure DevTest Labs.
Go to the URL for your lab in the Azure portal.
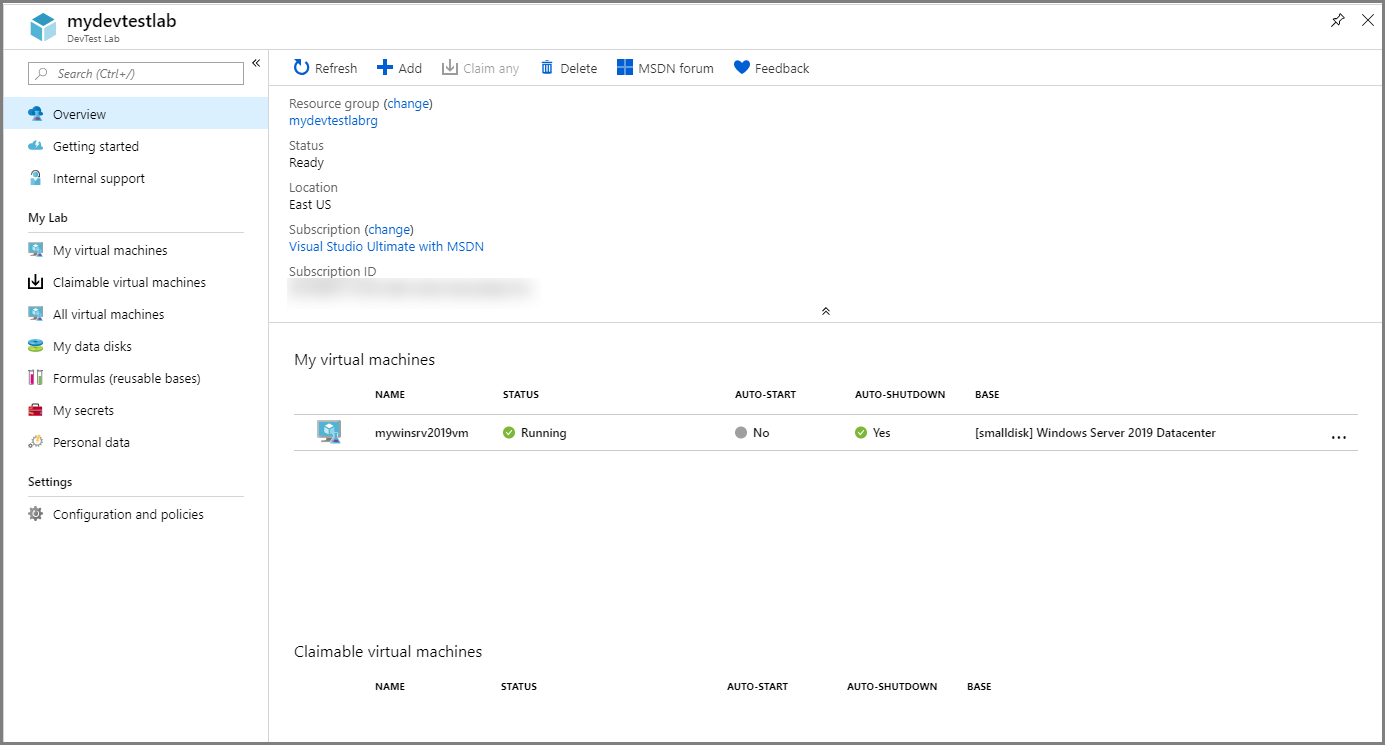
On the lab Overview page, select Claimable virtual machines under My Lab in the left navigation.
On the Claimable virtual machines page, select the ellipsis ... next to the listing for an available VM, and select Claim machine from the context menu.

On the lab Overview page, confirm that you now see the VM in the list under My virtual machines.

Connect to a lab VM
You can connect to any running lab VM. A claimable but unclaimed VM is stopped, so you must claim it to connect to it.
To connect to a Windows machine through Remote Desktop Protocol (RDP), follow these steps. For steps to connect to a Linux VM, see Connect to a Linux VM in your lab.
On the lab Overview page, select the VM from the list under My virtual machines.
On the VM's Overview page, select Connect from the top menu.
Open the *.rdp file that downloads to your machine.

On the Remote Desktop Connection dialog box, select Connect.
On the Enter your credentials dialog box, enter the username and password for the VM, and then select OK.
If you receive a dialog box that states, The identity of the remote computer cannot be verified, select the check box for Don't ask me again for connections to this computer. Then select Yes.

Once you connect to the VM, you can use it to do your work. You have Owner role on all lab VMs you claim or create, unless you unclaim them.
Unclaim a lab VM
After you're done using the VM, unclaim the VM so someone else can claim it, by following these steps:
On the lab Overview page, select the VM from the list under My virtual machines.
On the VM's Overview page, select Unclaim from the top menu.

The VM is shut down and unclaimed. You can select the Notifications icon at the top of the screen to see progress.
Return to the lab Overview page and confirm that the VM no longer appears under My virtual machines.
Select Claimable virtual machines in the left navigation and confirm that the VM is now available to be claimed.

Delete a lab VM
When you're done using a VM, you can delete it. Or, the lab owner can delete the entire lab when it's no longer needed, which deletes all lab VMs and resources. To delete an individual lab VM, follow these steps:
Select the ellipsis ... next to the VM in the My virtual machines list or on the Claimable virtual machines page, and select Delete from the context menu.
On the Are you sure you want to delete it page, select Delete.
Next steps
In this tutorial, you learned how to claim and connect to claimable VMs in Azure DevTest Labs. To create your own lab VMs, see Create lab virtual machines in Azure DevTest Labs.
Feedback
Coming soon: Throughout 2024 we will be phasing out GitHub Issues as the feedback mechanism for content and replacing it with a new feedback system. For more information see: https://aka.ms/ContentUserFeedback.
Submit and view feedback for