Exercise - Deploy your code to App Service
In this unit, you deploy your web application to App Service.
Deploy with ZIP deploy
Let's deploy the .NET application with ZIP deploy.
First, use dotnet publish to build the final app files and zip to package them into a zip file:
cd ~/BestBikeApp
dotnet publish -o pub
cd pub
zip -r site.zip *
Finally, perform the deployment with az webapp deployment source config-zip. Replace <your-app-name> in the following command with the name of your Azure web app and run it:
az webapp deployment source config-zip \
    --src site.zip \
    --resource-group <rgn>[sandbox resource group name]</rgn> \
    --name <your-app-name>
The deployment takes a few minutes, during which time you get status output. A 202 status code means the deployment was successful.
Verify the deployment
Let's browse to our application. Navigate back to the open browser tab containing the placeholder page and refresh it. If the placeholder page appears again, your App Service instance isn't fully restarted yet, so wait a moment and try again. When you refresh after your app is restarted, you get the splash page for a new ASP.NET Core web app.
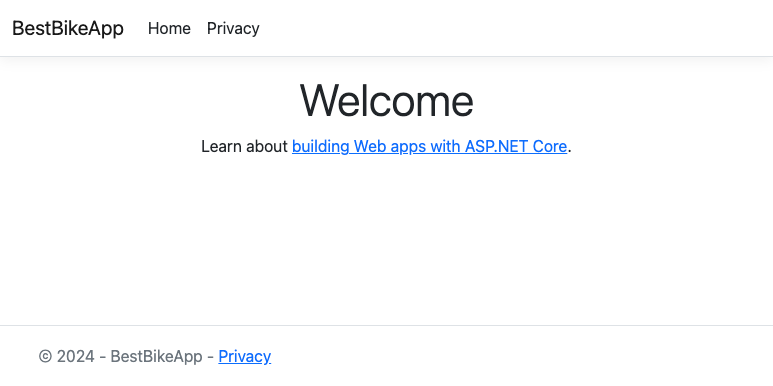
Congratulations, you successfully hosted your new ASP.NET Core application on App Service!
Configure deployment credentials
Some App Service deployment techniques, including the one we use here, require a username and password that are separate from your Azure credentials. Every web app comes preconfigured with its own username and password. The password can be reset to a new random value, but it can't be changed to something you choose.
Instead of searching for those random values for each one of your apps, you can use an App Service feature called User Deployment Credentials to create your own username and password. The values you choose will work for deployments on all App Service web apps to which you have permissions, including new web apps that you create in the future. The username and password you select are tied to your Azure credentials and intended only for your use, so don't share them with others. You can change both the username and password at any time.
The easiest way to create deployment credentials is from the Azure CLI.
Run the following command in the Cloud Shell to set deployment credentials, substituting
<username>and<password>with values you choose:az webapp deployment user set --user-name <username> --password <password>
Deploy the Java application package with WAR deploy
Let's deploy our Java application with WAR deploy. WAR deploy is part of the Kudu REST API, an administrative service interface available on all App Service web apps, which you can access over HTTP. The simplest way to use WAR deploy is with the curl HTTP utility from the command line.
Run the following commands to deploy your Java web app with WAR deploy. Replace <username> and <password> with the Deployment User username and password you created earlier, and replace <your-app-name> with the name of the web app you created in the Azure portal.
cd ~/helloworld/target
curl -v -X POST -u <username>:<password> https://<your-app-name>.scm.azurewebsites.net/api/wardeploy --data-binary @helloworld.war
When the command finishes running, open a new browser tab and go to https://<your-app-name>.azurewebsites.net. You get the greeting message from your app. You deployed successfully!
Deploy with az webapp up
Let's deploy our Node.js application with az webapp up. This command packages up our application and sends it to our App Service instance, where the app is built and deployed.
First, we need to gather some information about our web app resource. Run the following commands to set shell variables that contain our app name, resource group name, plan name, sku, runtime, and location. Each of these variables uses a different az command to request the information from Azure; az webapp up needs these values to target our existing web app.
export APPNAME=$(az webapp list --query [0].name --output tsv)
export APPRG=$(az webapp list --query [0].resourceGroup --output tsv)
export APPPLAN=$(az appservice plan list --query [0].name --output tsv)
export APPSKU=$(az appservice plan list --query [0].sku.name --output tsv)
export APPRUNTIME="node|20-LTS"
export APPLOCATION=$(az appservice plan list --query [0].location --output tsv)
Now, run az webapp up with the appropriate values. Make sure you're in the helloworld directory before running this command.
az webapp up --name $APPNAME --resource-group $APPRG --plan $APPPLAN --sku $APPSKU --runtime $APPRUNTIME --location "$APPLOCATION"
The deployment takes a few minutes to propagate. You're able to view the progress in the status output. A 202 status code means your deployment was successful.
Verify the deployment
Let's browse to our application. The last line of output from az webapp up before the JSON code block has a link to your app. Select it to navigate there in a new browser tab. The page takes a moment to load, as App Service is initializing your app for the first time.
Once it loads, you get the greeting message from your app. You deployed successfully!
Deploy with az webapp up
Let's deploy our Python application with az webapp up. This command packages up our application and sends it to our App Service instance, where the app is built and deployed.
First, we need to gather some information about our web app resource. Run these commands to set shell variables that contain our app's name, resource group name, plan name, sku, and location. These use different az commands to request the information from Azure; az webapp up needs these values to target our existing web app.
export APPNAME=$(az webapp list --query [0].name --output tsv)
export APPRG=$(az webapp list --query [0].resourceGroup --output tsv)
export APPPLAN=$(az appservice plan list --query [0].name --output tsv)
export APPSKU=$(az appservice plan list --query [0].sku.name --output tsv)
export APPLOCATION=$(az appservice plan list --query [0].location --output tsv)
Now, run az webapp up with the appropriate values. Make sure you're in the BestBikeApp directory before running this command.
cd ~/BestBikeApp
az webapp up --name $APPNAME --resource-group $APPRG --plan $APPPLAN --sku $APPSKU --location "$APPLOCATION"
The deployment takes a few minutes, during which time you get status output.
Verify the deployment
Let's browse to your application. In the output, just before the JSON code block, there's a line with a URL. Select that link to open your app in a new browser tab. The page might take a moment to load because the App Service is initializing your app for the first time.
Once your program loads, you get the greeting message from your app. You deployed successfully!
