Migrate to Windows 11 Pro or Enterprise on Surface Hub 3
This article describes how to convert the operating system to Windows 11 Pro or Enterprise and use Surface Hub 3 much like any other PC.
Before you begin
- Obtain a Windows 11 Pro or Enterprise license as explained in Windows commercial licensing overview.
- On your Surface Hub 3, back up your data using an external hard drive, cloud storage, or other preferred backup method.
- On a separate PC, insert a USB drive with at least 8 MB of storage.
Download Windows 11 and create a bootable USB drive
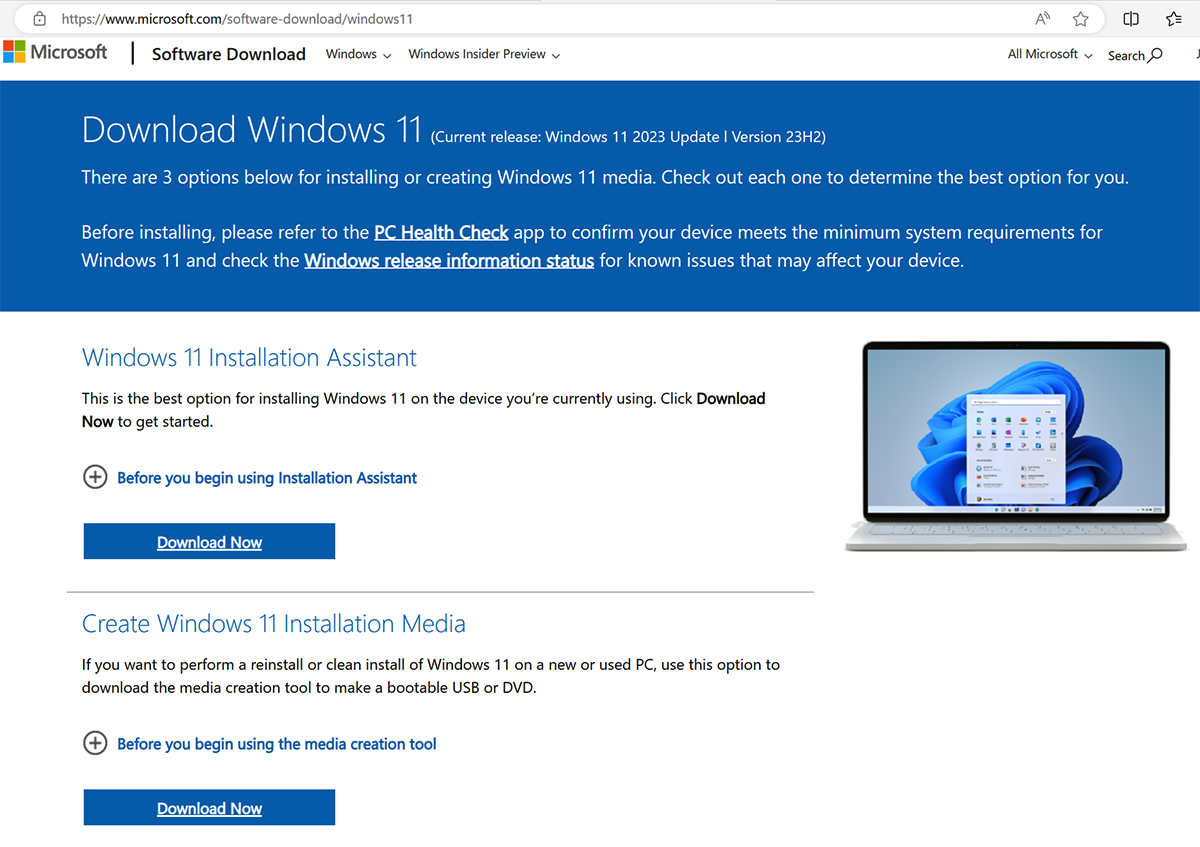
- Go to the Windows 11 software download page. Under Create Windows 11 Installation Media, select Download Now.
- Install the media creation tool, accept the license agreement and select Next.
- Follow the instructions to create a bootable USB drive with the Windows 11 installation files.
- Remove the USB drive and insert it into Surface Hub 3.
- While pressing the Volume down button, press the Power button. Keep pressing both buttons until you see the Windows logo. Release the Power button, but hold the Volume down button until the Install UI begins.
- Follow the on-screen instructions to install Windows 11. This will include selecting the language, time, keyboard input, and edition (Pro or Enterprise).
Feedback
Coming soon: Throughout 2024 we will be phasing out GitHub Issues as the feedback mechanism for content and replacing it with a new feedback system. For more information see: https://aka.ms/ContentUserFeedback.
Submit and view feedback for