Get started using DICOM data in analytics workloads
This article describes how to get started by using DICOM® data in analytics workloads with Azure Data Factory and Microsoft Fabric.
Prerequisites
Before you get started, complete these steps:
- Create a storage account with Azure Data Lake Storage Gen2 capabilities by enabling a hierarchical namespace:
- Create a container to store DICOM metadata, for example, named
dicom.
- Create a container to store DICOM metadata, for example, named
- Deploy an instance of the DICOM service.
- (Optional) Deploy the DICOM service with Data Lake Storage to enable direct access to DICOM files.
- Create a Data Factory instance:
- Enable a system-assigned managed identity.
- Create a lakehouse in Fabric.
- Add role assignments to the Data Factory system-assigned managed identity for the DICOM service and the Data Lake Storage Gen2 storage account:
- Add the DICOM Data Reader role to grant permission to the DICOM service.
- Add the Storage Blob Data Contributor role to grant permission to the Data Lake Storage Gen2 account.
Configure a Data Factory pipeline for the DICOM service
In this example, a Data Factory pipeline is used to write DICOM attributes for instances, series, and studies into a storage account in a Delta table format.
From the Azure portal, open the Data Factory instance and select Launch studio to begin.

Create linked services
Data Factory pipelines read from data sources and write to data sinks, which are typically other Azure services. These connections to other services are managed as linked services.
The pipeline in this example reads data from a DICOM service and writes its output to a storage account, so a linked service must be created for both.
Create a linked service for the DICOM service
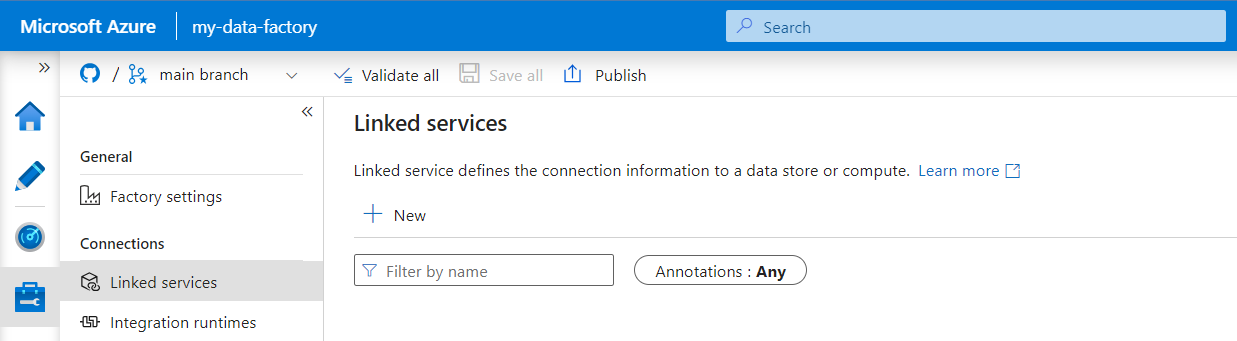
In Azure Data Factory Studio, select Manage from the menu on the left. Under Connections, select Linked services and then select New.
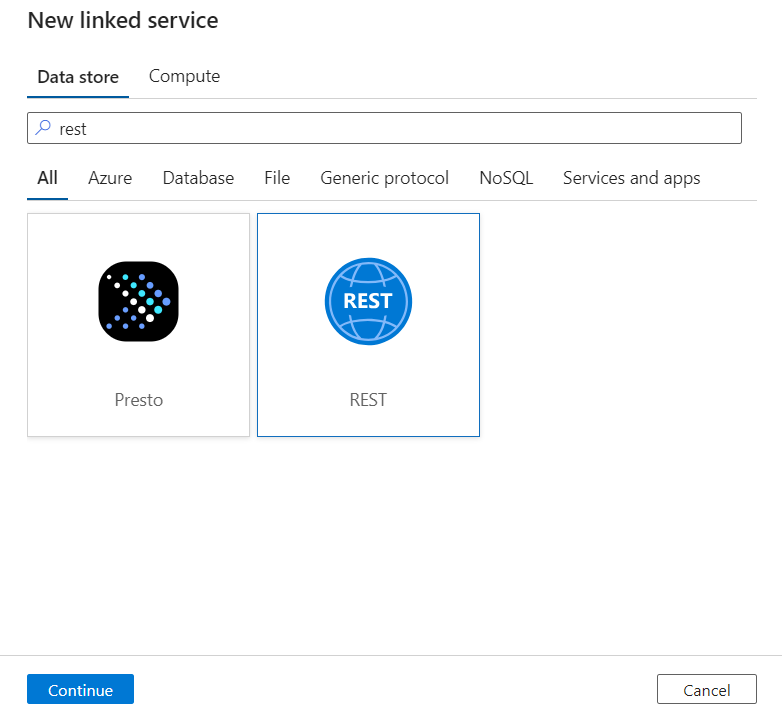
On the New linked service pane, search for REST. Select the REST tile and then select Continue.
Enter a Name and Description for the linked service.
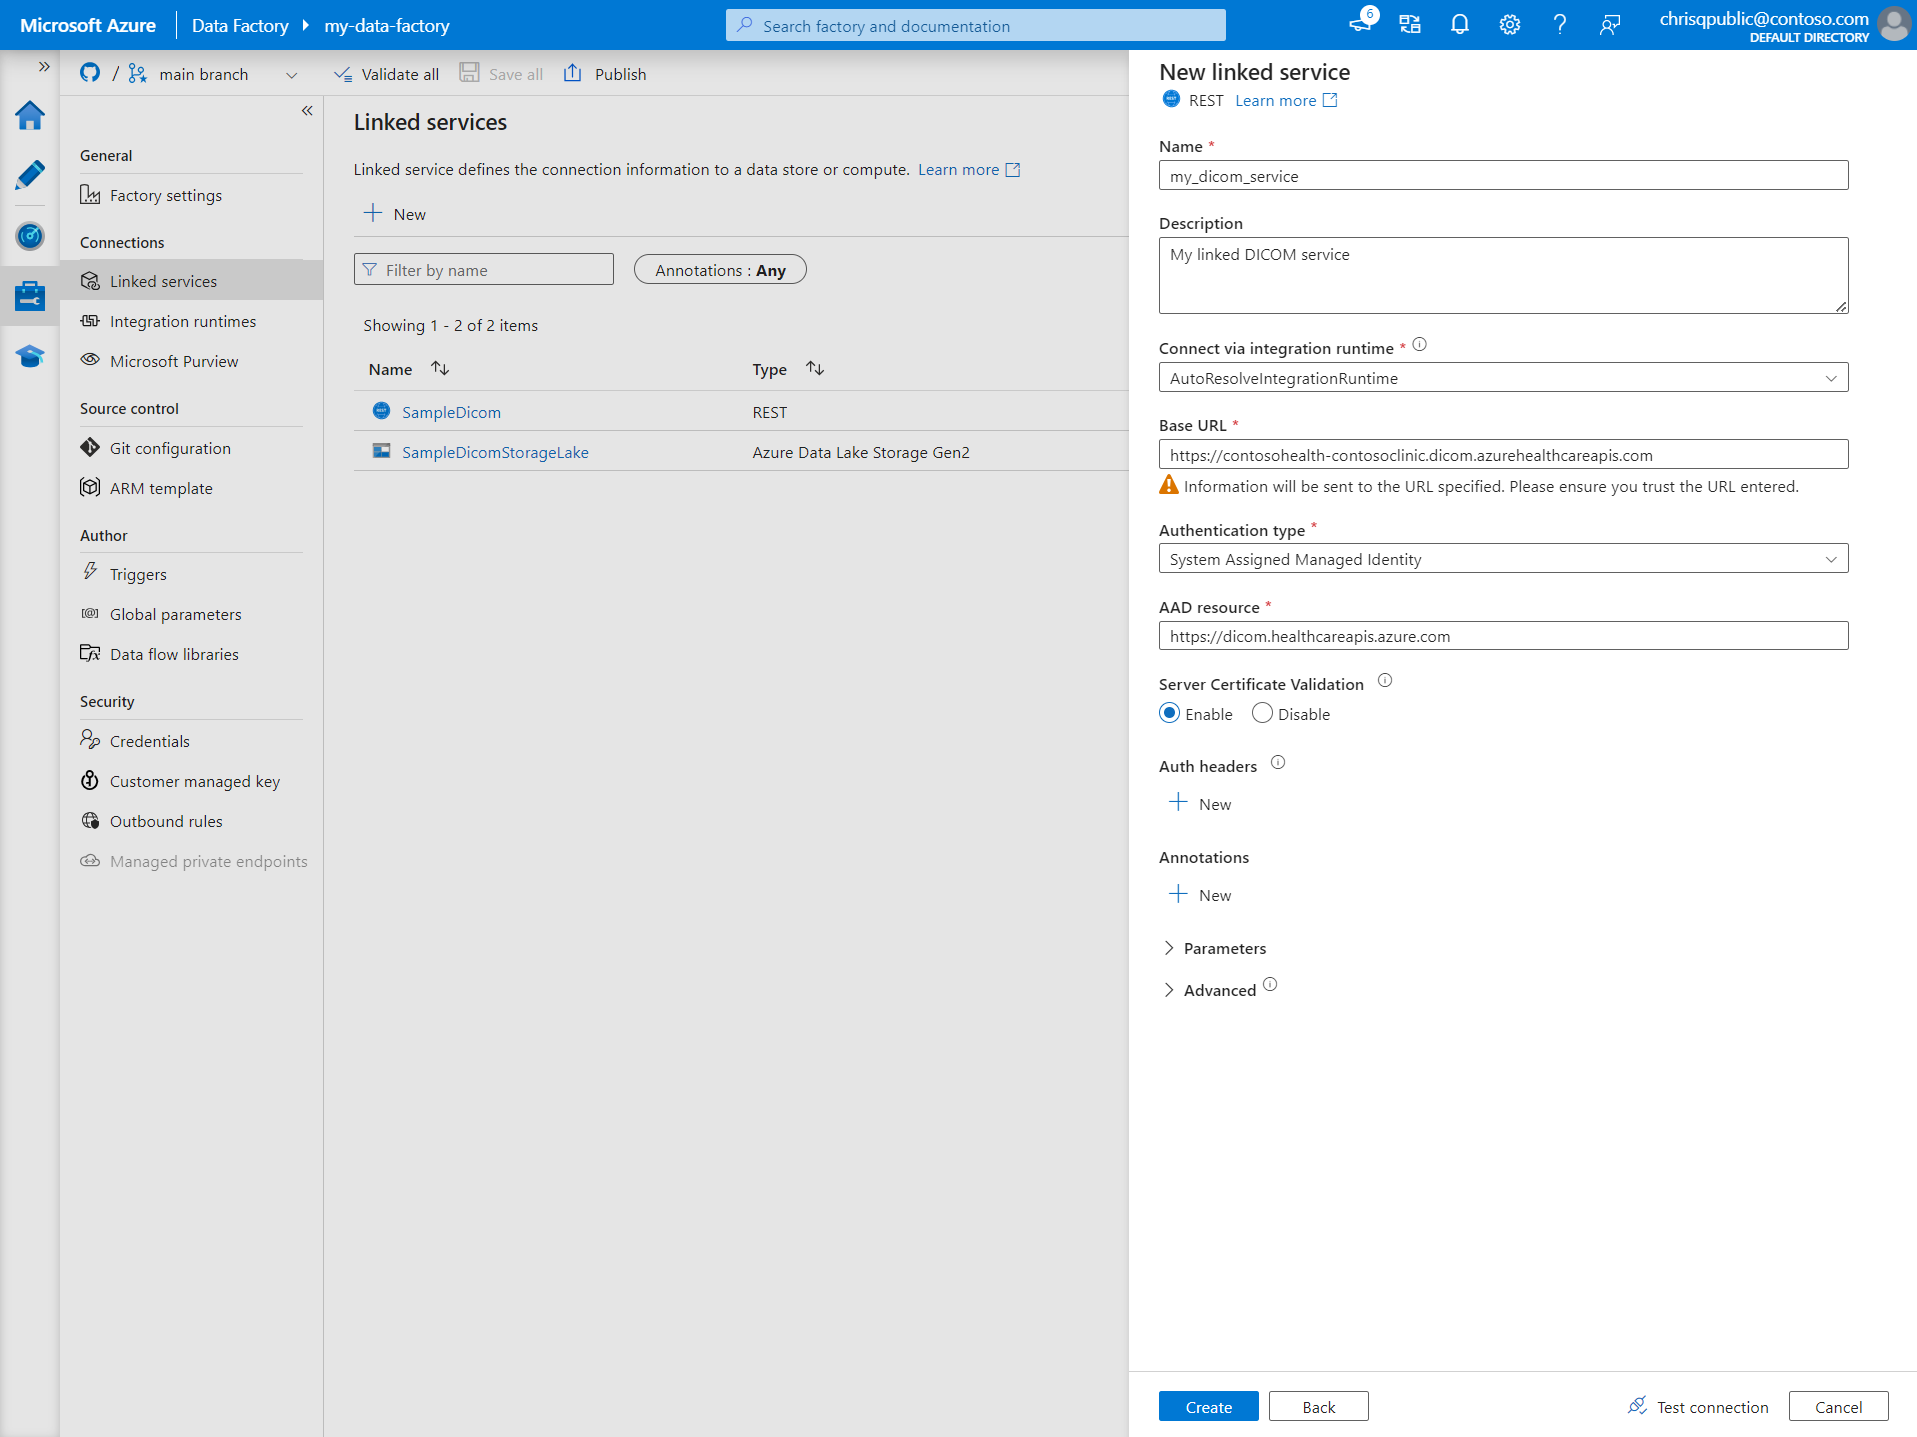
In the Base URL field, enter the service URL for your DICOM service. For example, a DICOM service named
contosoclinicin thecontosohealthworkspace has the service URLhttps://contosohealth-contosoclinic.dicom.azurehealthcareapis.com.For Authentication type, select System Assigned Managed Identity.
For AAD resource, enter
https://dicom.healthcareapis.azure.com. This URL is the same for all DICOM service instances.After you fill in the required fields, select Test connection to ensure the identity's roles are correctly configured.
When the connection test is successful, select Create.


Create a linked service for Azure Data Lake Storage Gen2
In Data Factory Studio, select Manage from the menu on the left. Under Connections, select Linked services and then select New.
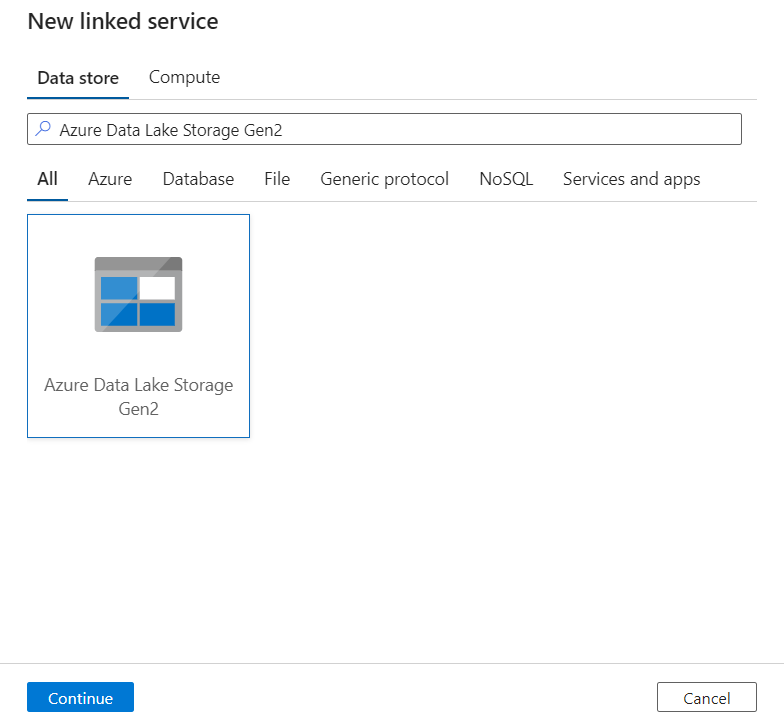
On the New linked service pane, search for Azure Data Lake Storage Gen2. Select the Azure Data Lake Storage Gen2 tile and then select Continue.
Enter a Name and Description for the linked service.

For Authentication type, select System Assigned Managed Identity.
Enter the storage account details by entering the URL to the storage account manually. Or you can select the Azure subscription and storage account from dropdowns.
After you fill in the required fields, select Test connection to ensure the identity's roles are correctly configured.
When the connection test is successful, select Create.


Create a pipeline for DICOM data
Data Factory pipelines are a collection of activities that perform a task, like copying DICOM metadata to Delta tables. This section details the creation of a pipeline that regularly synchronizes DICOM data to Delta tables as data is added to, updated in, and deleted from a DICOM service.
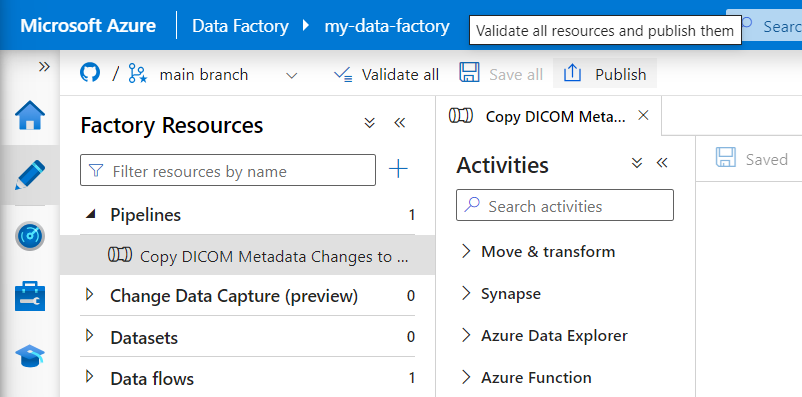
Select Author from the menu on the left. In the Factory Resources pane, select the plus sign (+) to add a new resource. Select Pipeline and then select Template gallery from the menu.
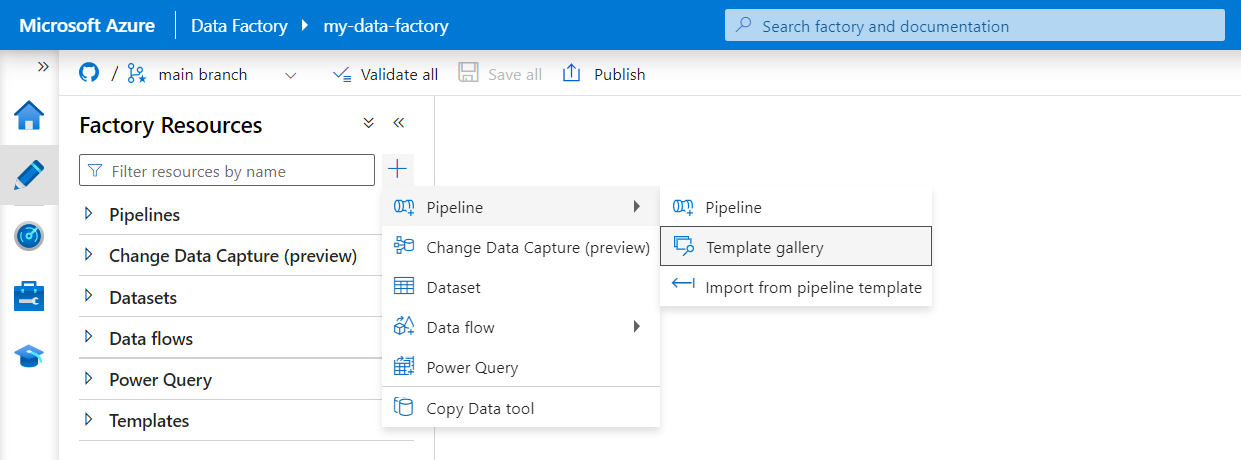
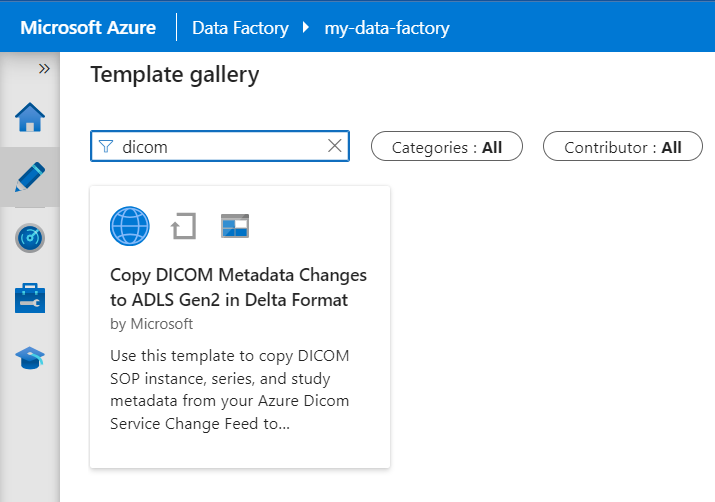
In the Template gallery, search for DICOM. Select the Copy DICOM Metadata Changes to ADLS Gen2 in Delta Format tile and then select Continue.
In the Inputs section, select the linked services previously created for the DICOM service and Data Lake Storage Gen2 account.
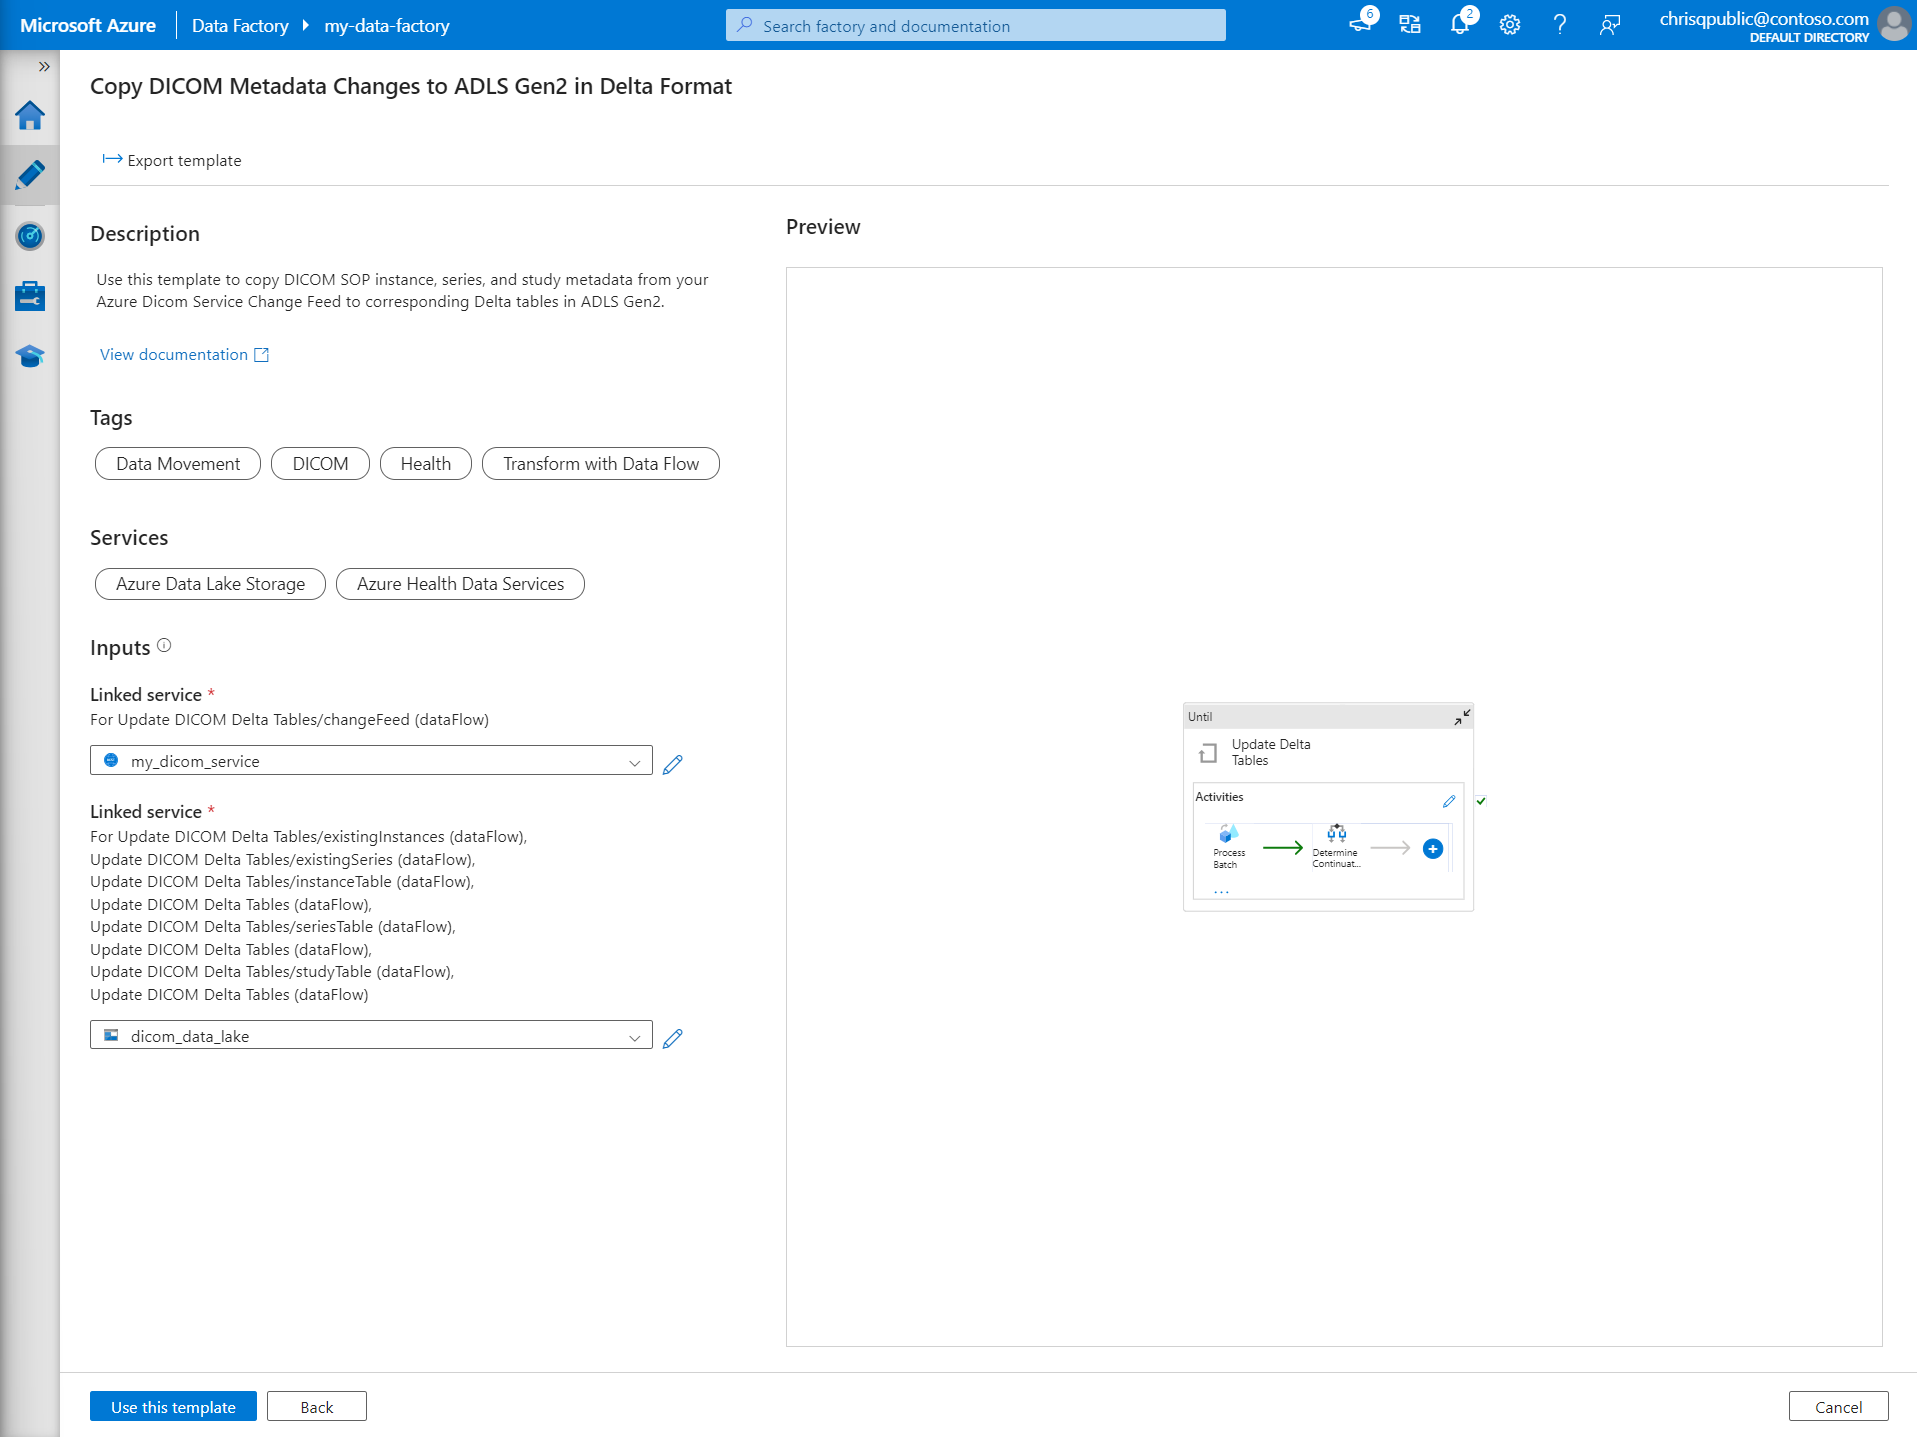
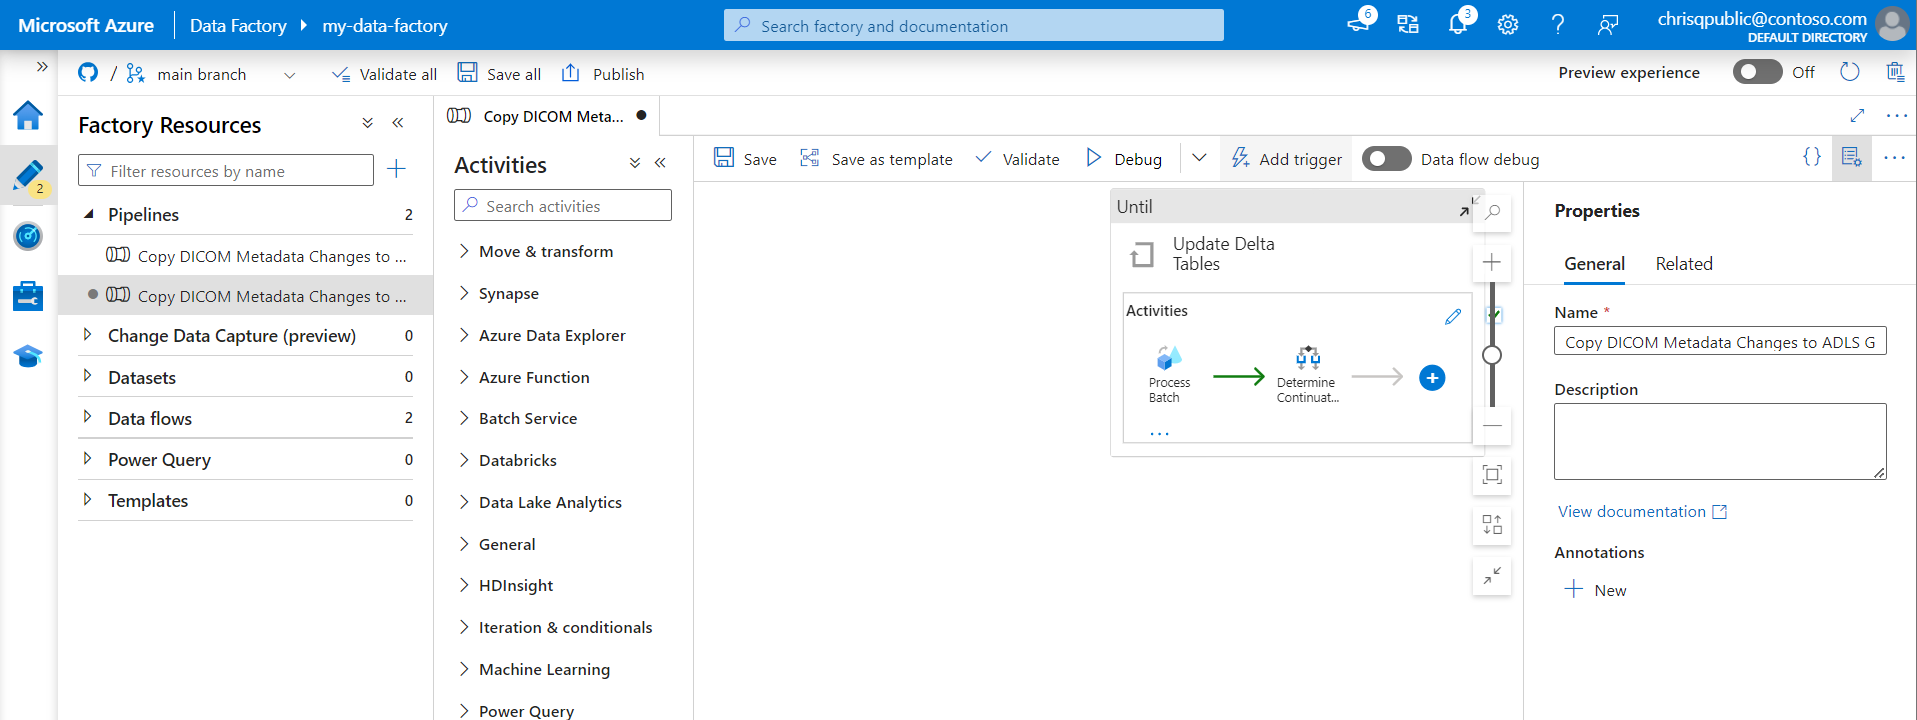
Select Use this template to create the new pipeline.


Create a pipeline for DICOM data
If you created the DICOM service with Azure Data Lake Storage, you need to use a custom template to include a new fileName parameter in the metadata pipeline. Instead of using the template from the template gallery, follow these steps to configure the pipeline.
Download the template from GitHub. The template file is a compressed (zipped) folder. You don't need to extract the files because they're already uploaded in compressed form.
In Azure Data Factory, select Author from the left menu. On the Factory Resources pane, select the plus sign (+) to add a new resource. Select Pipeline and then select Import from pipeline template.
In the Open window, select the template that you downloaded. Select Open.
In the Inputs section, select the linked services created for the DICOM service and Azure Data Lake Storage Gen2 account.
Select Use this template to create the new pipeline.
Schedule a pipeline
Pipelines are scheduled by triggers. There are different types of triggers. Schedule triggers allow pipelines to be triggered on a wall-clock schedule, which means they run at specific times of the day, such as every hour or every day at midnight. Manual triggers trigger pipelines on demand, which means they run whenever you want them to.
In this example, a tumbling window trigger is used to periodically run the pipeline given a starting point and regular time interval. For more information about triggers, see Pipeline execution and triggers in Azure Data Factory or Azure Synapse Analytics.
Create a new tumbling window trigger
Select Author from the menu on the left. Select the pipeline for the DICOM service and select Add trigger and New/Edit from the menu bar.
On the Add triggers pane, select the Choose trigger dropdown and then select New.
Enter a Name and Description for the trigger.

Select Tumbling window as the Type.
To configure a pipeline that runs hourly, set the Recurrence to 1 Hour.
Expand the Advanced section and enter a Delay of 15 minutes. This setting allows any pending operations at the end of an hour to complete before processing.
Set Max concurrency to 1 to ensure consistency across tables.
Select OK to continue configuring the trigger run parameters.


Configure trigger run parameters
Triggers define when to run a pipeline. They also include parameters that are passed to the pipeline execution. The Copy DICOM Metadata Changes to Delta template defines a few parameters that are described in the following table. If no value is supplied during configuration, the listed default value is used for each parameter.
| Parameter name | Description | Default value |
|---|---|---|
| BatchSize | The maximum number of changes to retrieve at a time from the change feed (maximum 200) | 200 |
| ApiVersion | The API version for the Azure DICOM service (minimum 2) | 2 |
| StartTime | The inclusive start time for DICOM changes | 0001-01-01T00:00:00Z |
| EndTime | The exclusive end time for DICOM changes | 9999-12-31T23:59:59Z |
| ContainerName | The container name for the resulting Delta tables | dicom |
| InstanceTablePath | The path that contains the Delta table for DICOM SOP instances within the container | instance |
| SeriesTablePath | The path that contains the Delta table for DICOM series within the container | series |
| StudyTablePath | The path that contains the Delta table for DICOM studies within the container | study |
| RetentionHours | The maximum retention in hours for data in the Delta tables | 720 |
On the Trigger Run Parameters pane, enter the ContainerName value that matches the name of the storage container created in the prerequisites.

For StartTime, use the system variable
@formatDateTime(trigger().outputs.windowStartTime).For EndTime, use the system variable
@formatDateTime(trigger().outputs.windowEndTime).Note
Only tumbling window triggers support the system variables:
@trigger().outputs.windowStartTimeand@trigger().outputs.windowEndTime
Schedule triggers use different system variables:
@trigger().scheduledTimeand@trigger().startTime
Learn more about trigger types.
Select Save to create the new trigger. Select Publish to begin your trigger running on the defined schedule.


After the trigger is published, it can be triggered manually by using the Trigger now option. If the start time was set for a value in the past, the pipeline starts immediately.
Monitor pipeline runs
You can monitor trigger runs and their associated pipeline runs on the Monitor tab. Here, you can browse when each pipeline ran and how long it took to run. You can also potentially debug any problems that arose.

Microsoft Fabric
Fabric is an all-in-one analytics solution that sits on top of Microsoft OneLake. With the use of a Fabric lakehouse, you can manage, structure, and analyze data in OneLake in a single location. Any data outside of OneLake, written to Data Lake Storage Gen2, can be connected to OneLake as shortcuts to take advantage of Fabric's suite of tools.
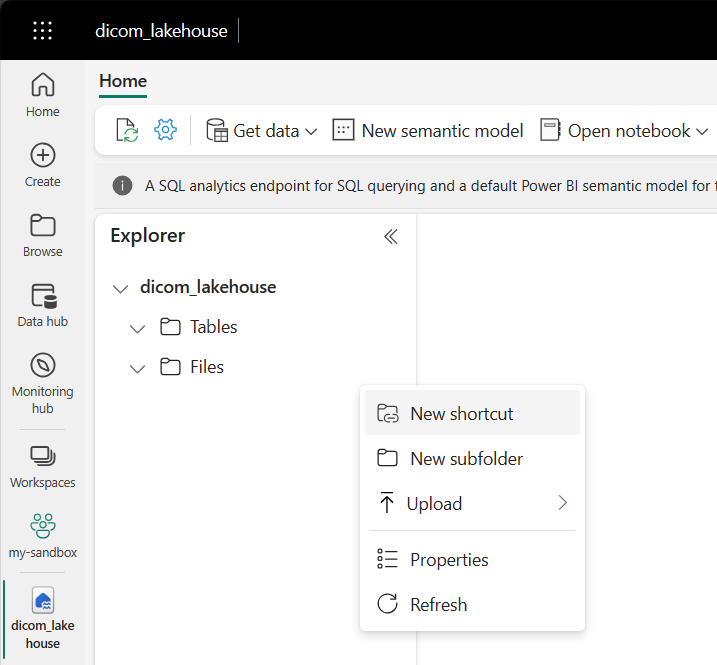
Create shortcuts to metadata tables
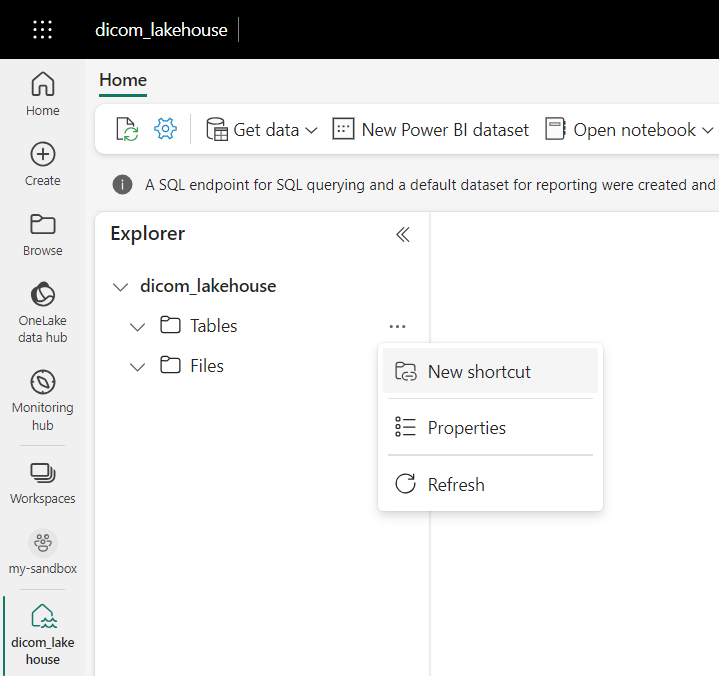
Go to the lakehouse created in the prerequisites. In the Explorer view, select the ellipsis menu (...) next to the Tables folder.
Select New shortcut to create a new shortcut to the storage account that contains the DICOM analytics data.
Select Azure Data Lake Storage Gen2 as the source for the shortcut.
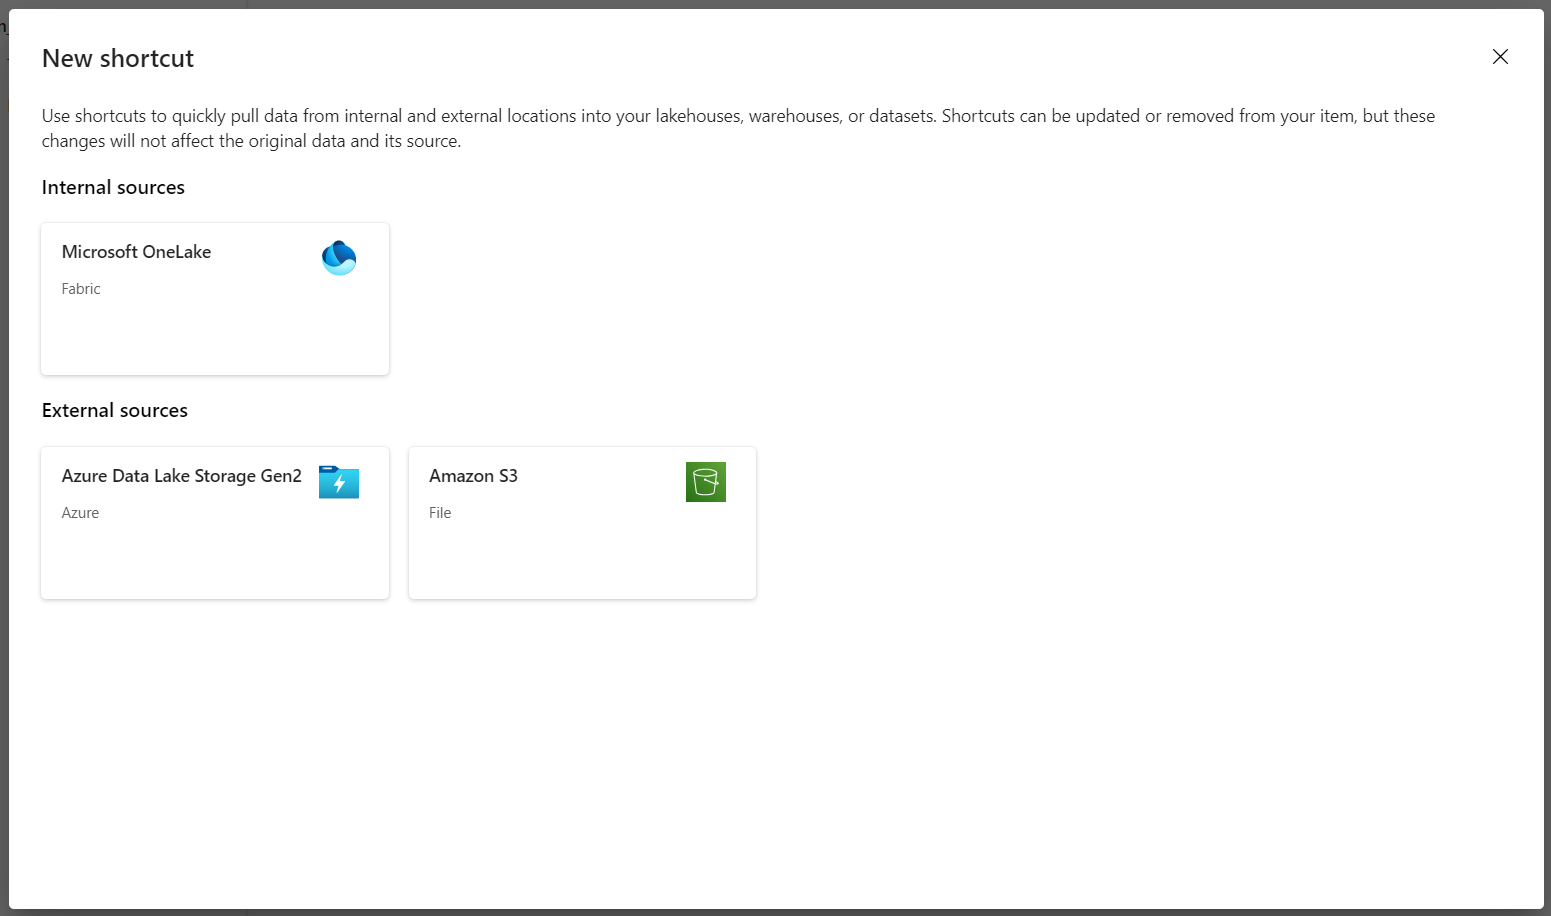
Under Connection settings, enter the URL you used in the Linked services section.
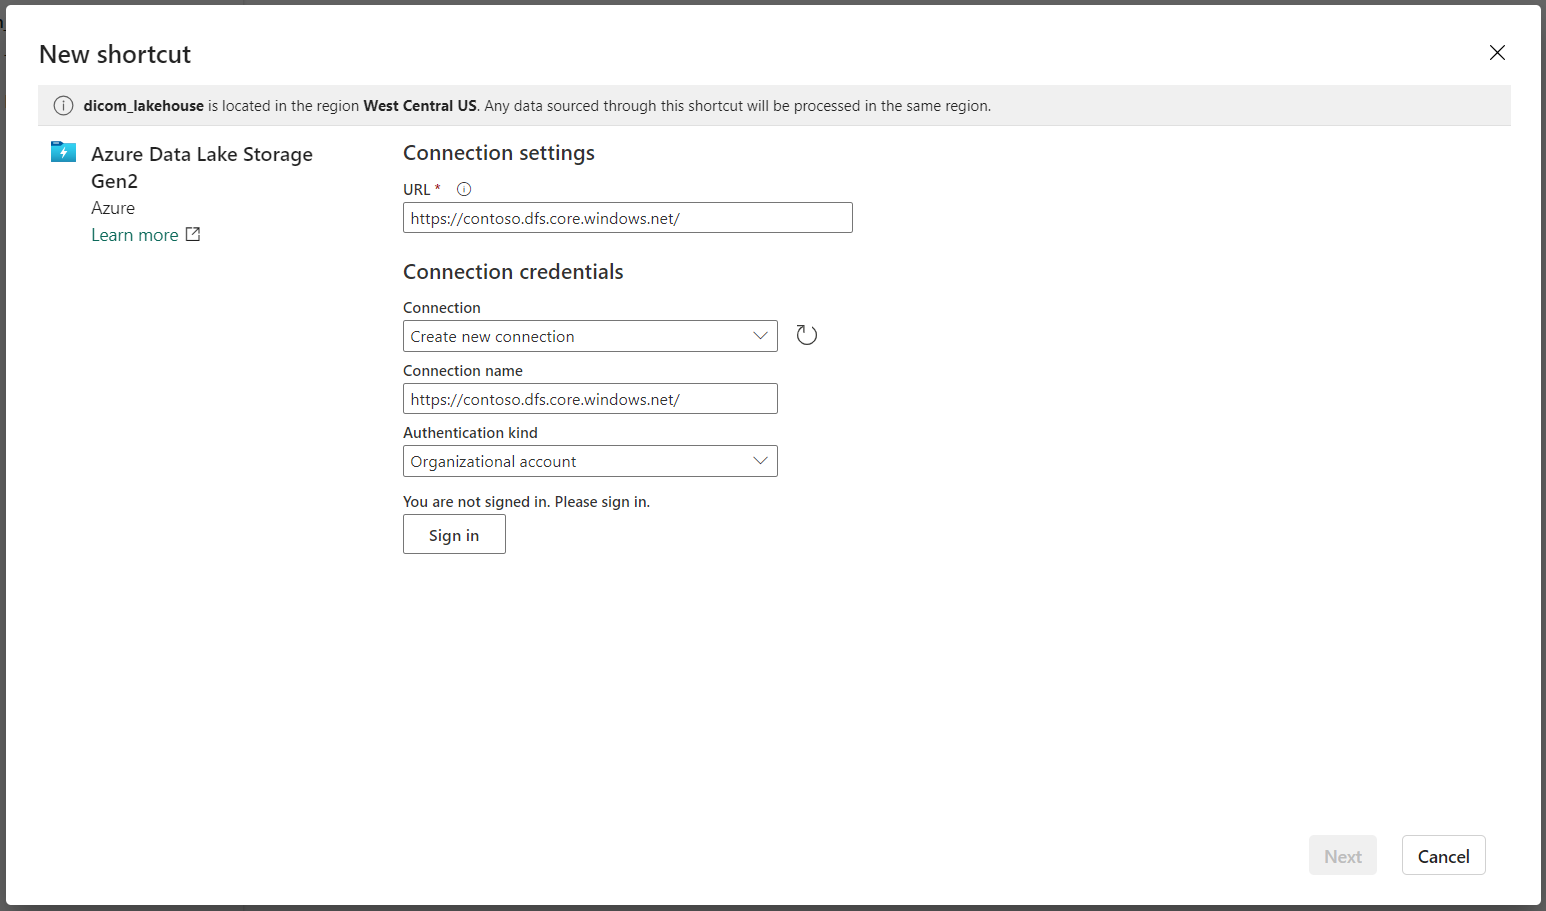
Select an existing connection or create a new connection by selecting the Authentication kind you want to use.
Note
There are a few options for authenticating between Data Lake Storage Gen2 and Fabric. You can use an organizational account or a service principal. We don't recommend using account keys or shared access signature tokens.
Select Next.
Enter a Shortcut Name that represents the data created by the Data Factory pipeline. For example, for the
instanceDelta table, the shortcut name should probably be instance.Enter the Sub Path that matches the
ContainerNameparameter from run parameters configuration and the name of the table for the shortcut. For example, use/dicom/instancefor the Delta table with the pathinstancein thedicomcontainer.Select Create to create the shortcut.
Repeat steps 2 to 9 to add the remaining shortcuts to the other Delta tables in the storage account (for example,
seriesandstudy).


After you create the shortcuts, expand a table to show the names and types of the columns.

Create shortcuts to files
If you're using a DICOM service with Data Lake Storage, you can additionally create a shortcut to the DICOM file data stored in the data lake.
Go to the lakehouse created in the prerequisites. In the Explorer view, select the ellipsis menu (...) next to the Files folder.
Select New shortcut to create a new shortcut to the storage account that contains the DICOM data.
Select Azure Data Lake Storage Gen2 as the source for the shortcut.
Under Connection settings, enter the URL you used in the Linked services section.
Select an existing connection or create a new connection by selecting the Authentication kind you want to use.
Select Next.
Enter a Shortcut Name that describes the DICOM data. For example, contoso-dicom-files.
Enter the Sub Path that matches the name of the storage container and folder used by the DICOM service. For example, if you wanted to link to the root folder the Sub Path would be /dicom/AHDS. Note that the root folder is always
AHDS, but you can optionally link to a child folder for a specific workspace or DICOM service instance.Select Create to create the shortcut.


Run notebooks
After the tables are created in the lakehouse, you can query them from Fabric notebooks. You can create notebooks directly from the lakehouse by selecting Open Notebook from the menu bar.
On the notebook page, the contents of the lakehouse can still be viewed on the left side, including the newly added tables. At the top of the page, select the language for the notebook. The language can also be configured for individual cells. The following example uses Spark SQL.
Query tables by using Spark SQL
In the cell editor, enter a Spark SQL query like a SELECT statement.
SELECT * from instance
This query selects all the contents from the instance table. When you're ready, select Run cell to run the query.

After a few seconds, the results of the query appear in a table underneath the cell like the example shown here. The amount of time might be longer if this Spark query is the first in the session because the Spark context needs to be initialized.

Access DICOM file data in notebooks
If you used the template to create the pipeline and created a shortcut to the DICOM file data, you can use the filePath column in the instance table to correlate instance metadata to file data.
SELECT sopInstanceUid, filePath from instance

Summary
In this article, you learned how to:
- Use Data Factory templates to create a pipeline from the DICOM service to a Data Lake Storage Gen2 account.
- Configure a trigger to extract DICOM metadata on an hourly schedule.
- Use shortcuts to connect DICOM data in a storage account to a Fabric lakehouse.
- Use notebooks to query for DICOM data in the lakehouse.
Next steps
Note
DICOM® is the registered trademark of the National Electrical Manufacturers Association for its Standards publications relating to digital communications of medical information.
Feedback
Coming soon: Throughout 2024 we will be phasing out GitHub Issues as the feedback mechanism for content and replacing it with a new feedback system. For more information see: https://aka.ms/ContentUserFeedback.
Submit and view feedback for