Migrate log disk to Ultra disk
Applies to: ![]() SQL Server on Azure VM
SQL Server on Azure VM
Azure ultra disks deliver high throughput, high IOPS, and consistently low latency disk storage for SQL Server on Azure Virtual Machine (VM).
This article teaches you to migrate your log disk to an ultra SSD to take advantage of the performance benefits offered by ultra disks.
Back up database
Complete a full backup up of your database.
Attach disk
Attach the Ultra SSD to your virtual machine once you have enabled ultradisk compatibility on the VM.
Ultra disk is supported on a subset of VM sizes and regions. Before proceeding, validate that your VM is in a region, zone, and size that supports ultra disk. You can determine and validate VM size and region using the Azure CLI or PowerShell.
Enable compatibility
To enable compatibility, follow these steps:
Go to your virtual machine in the Azure portal.
Stop/deallocate the virtual machine.
Select Disks under Settings and then select Additional settings.
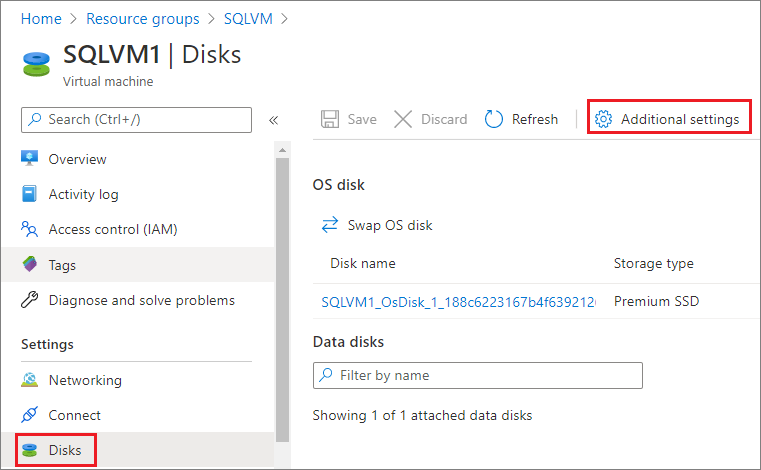
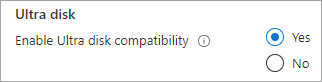
Select Yes to Enable Ultra disk compatibility.
Select Save.
Attach disk
Use the Azure portal to attach an ultra disk to your virtual machine. For details, see Attach an ultra disk.
Once the disk is attached, start your VM once more using the Azure portal.
Format disk
Connect to your virtual machine and format your ultra disk.
To format your ultra disk, follow these steps:
- Connect to your VM by using Remote Desktop Protocol (RDP).
- Use Disk Management to format and partition your newly attached ultra disk.
Use disk for log
Configure SQL Server to use the new log drive. You can do so using Transact-SQL (T-SQL) or SQL Server Management Studio (SSMS). The account used for the SQL Server service account must have full control of the new log file location.
Configure permissions
- Verify the service account used by SQL Server. You can do so by using SQL Server Configuration Manager or Services.msc.
- Navigate to your new disk.
- Create a folder (or multiple folders) to be used for your log file.
- Right-click the folder and select Properties.
- On the Security tab, grant full control access to the SQL Server service account.
- Select OK to save your settings.
- Repeat this for every root-level folder where you plan to have SQL data.
Use new log drive
After permission has been granted, use either Transact-SQL (T-SQL) or SQL Server Management Studio (SSMS) to detach the database and move existing log files to the new location.
Caution
Detaching the database will take it offline, closing connections and rolling back any transactions that are in-flight. Proceed with caution and during a down-time maintenance window.
Use T-SQL to move the existing files to a new location:
Connect to your database in SQL Server Management Studio and open a New Query window.
Get the existing files and locations:
USE AdventureWorks2022;
GO

sp_helpfile
GO
Detach the database:
USE master
GO

sp_detach_db 'AdventureWorks'
GO
Use file explorer to move the log file to the new location on the ultra disk.
Attach the database, specifying the new file locations:
 sp_attach_db 'AdventureWorks'
'E:\Fixed_FG\AdventureWorks.mdf',
'E:\Fixed_FG\AdventureWorks_2.ndf',
'F:\New_Log\AdventureWorks_log.ldf'
GO
At this point, the database comes online with the log in the new location.
Next steps
Review the performance best practices for additional settings to improve performance.
For an overview of SQL Server on Azure Virtual Machines, see the following articles:
Feedback
Coming soon: Throughout 2024 we will be phasing out GitHub Issues as the feedback mechanism for content and replacing it with a new feedback system. For more information see: https://aka.ms/ContentUserFeedback.
Submit and view feedback for