Build and deploy a Node.js web application using Express on an Azure Cloud Services (classic)
Important
Cloud Services (classic) is now deprecated for new customers and will be retired on August 31st, 2024 for all customers. New deployments should use the new Azure Resource Manager based deployment model Azure Cloud Services (extended support).
Node.js includes a minimal set of functionality in the core runtime. Developers often use 3rd party modules to provide additional functionality when developing a Node.js application. In this tutorial you'll create a new application using the Express module, which provides an MVC framework for creating Node.js web applications.
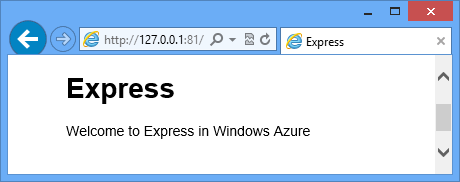
A screenshot of the completed application is below:

Create a Cloud Service Project
Note
To successfully complete this section, you must have a working installation of Node.js and the Azure SDK for Node.js for your platform.
- Install the Azure SDK for Node.js: Windows installer
Perform the following steps to create a new cloud service project named expressapp:
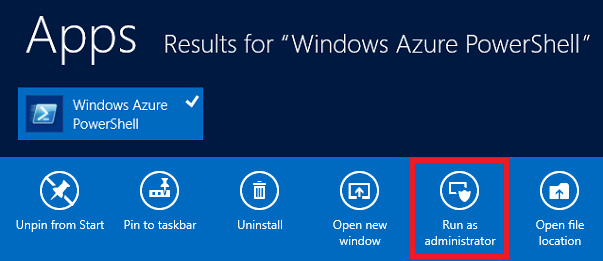
From the Start Menu or Start Screen, search for Windows PowerShell. Finally, right-click Windows PowerShell and select Run As Administrator.
Change directories to the c:\node directory and then enter the following commands to create a new solution named
expressappand a web role named WebRole1:PS C:\node> New-AzureServiceProject expressapp PS C:\Node\expressapp> Add-AzureNodeWebRole PS C:\Node\expressapp> Set-AzureServiceProjectRole WebRole1 Node 0.10.21Note
By default, Add-AzureNodeWebRole uses an older version of Node.js. The Set-AzureServiceProjectRole statement above instructs Azure to use v0.10.21 of Node. Note the parameters are case-sensitive. You can verify the correct version of Node.js has been selected by checking the engines property in WebRole1\package.json.
Install Express
Install the Express generator by issuing the following command:
PS C:\node\expressapp> npm install express-generator -gThe output of the npm command should look similar to the result below.

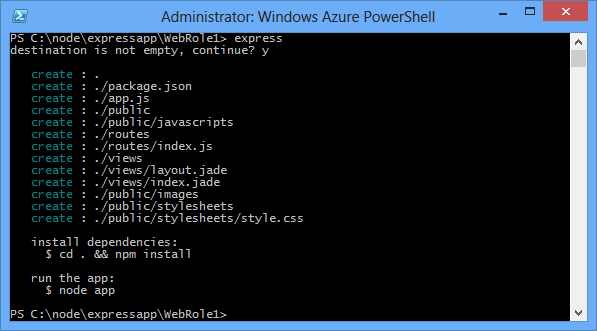
Change directories to the WebRole1 directory and use the express command to generate a new application:
PS C:\node\expressapp\WebRole1> expressYou'll be prompted to overwrite your earlier application. Enter y or yes to continue. Express will generate the app.js file and a folder structure for building your application.
To install additional dependencies defined in the package.json file, enter the following command:
PS C:\node\expressapp\WebRole1> npm install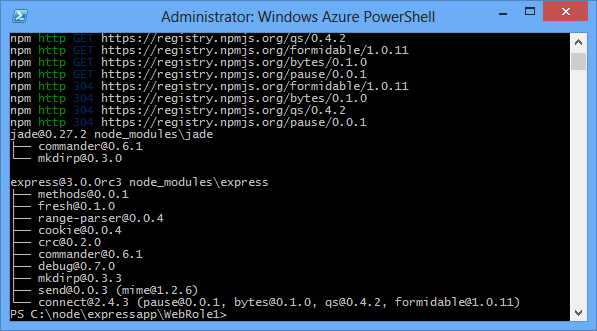
Use the following command to copy the bin/www file to server.js. This is so the cloud service can find the entry point for this application.
PS C:\node\expressapp\WebRole1> copy bin/www server.jsAfter this command completes, you should have a server.js file in the WebRole1 directory.
Modify the server.js to remove one of the '.' characters from the following line.
var app = require('../app');After making this modification, the line should appear as follows.
var app = require('./app');This change is required since we moved the file (formerly
bin/www) to the same directory as the app file being required. After making this change, save the server.js file.Use the following command to run the application in the Azure emulator:
PS C:\node\expressapp\WebRole1> Start-AzureEmulator -launch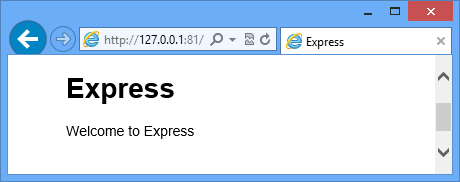
Modifying the View
Now modify the view to display the message "Welcome to Express in Azure".
Enter the following command to open the index.jade file:
PS C:\node\expressapp\WebRole1> notepad views/index.jade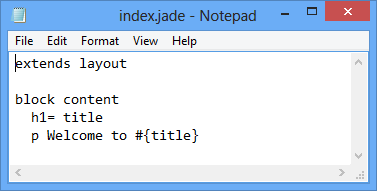
Jade is the default view engine used by Express applications.
Modify the last line of text by appending in Azure.
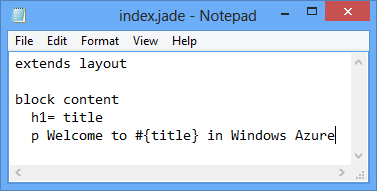
Save the file and exit Notepad.
Refresh your browser and you'll see your changes.
After testing the application, use the Stop-AzureEmulator cmdlet to stop the emulator.
Publishing the Application to Azure
In the Azure PowerShell window, use the Publish-AzureServiceProject cmdlet to deploy the application to a cloud service
PS C:\node\expressapp\WebRole1> Publish-AzureServiceProject -ServiceName myexpressapp -Location "East US" -Launch
Once the deployment operation completes, your browser will open and display the web page.
Next steps
For more information, see the Node.js Developer Center.
Feedback
Coming soon: Throughout 2024 we will be phasing out GitHub Issues as the feedback mechanism for content and replacing it with a new feedback system. For more information see: https://aka.ms/ContentUserFeedback.
Submit and view feedback for