Customize the track regarding contact card
An app maker can modify the columns on a contact card that is used to track an email or appointment using Set Regarding.
To modify these columns, an app maker needs to edit the App for Outlook Contact Card form.
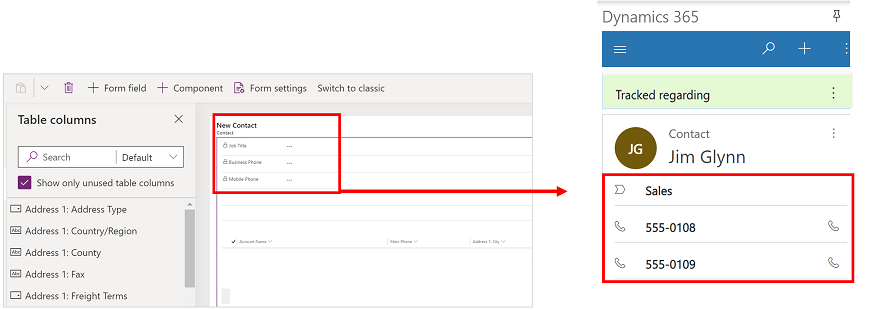
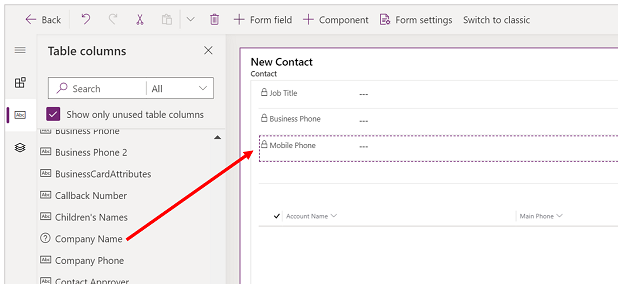
In the example below, the App for Outlook Contact Card form has three columns titled Job Title, Business Phone, and Mobile Phone. These are also the same columns a user sees on the contact card.
To replace the Mobile Phone column with Company Name instead, you need to update the App for Outlook Contact Card form.
To modify columns that appear on the contact card, follow these steps:
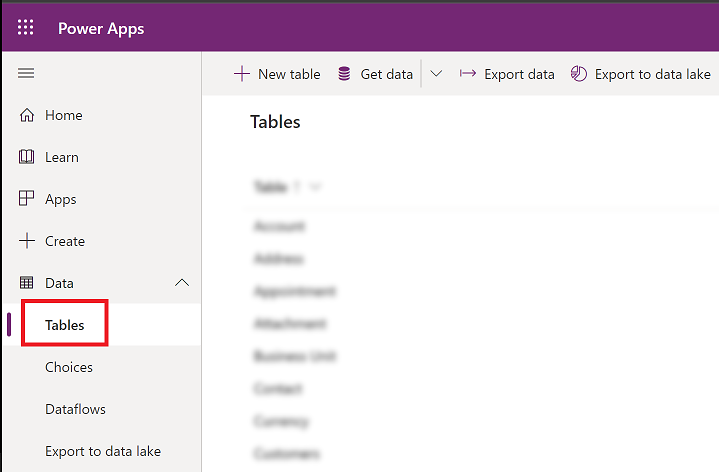
Sign in to Power Apps.
On the left nav, select Data to expand it and then select Tables.
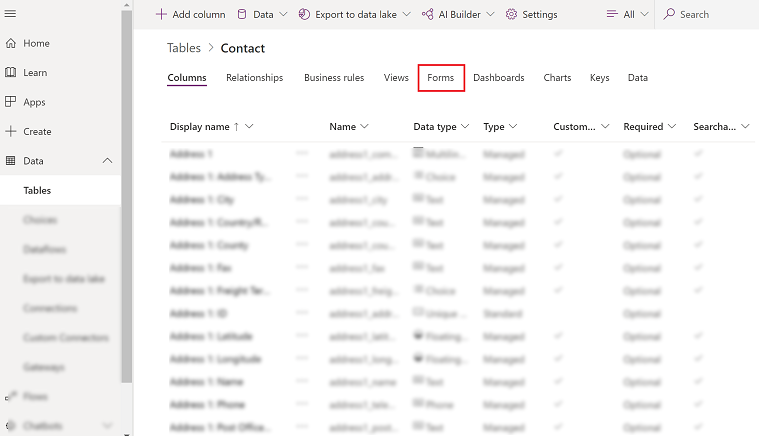
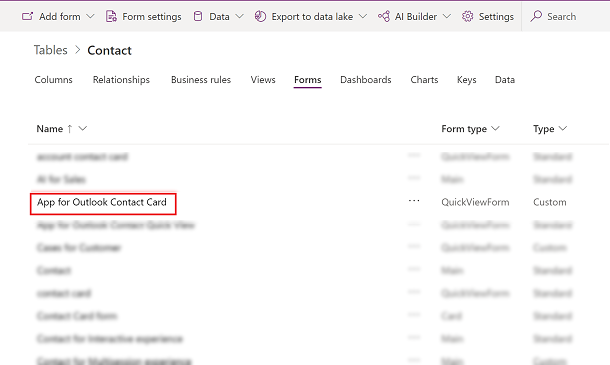
Select a table such as Contact and then select the Forms tab.
Select the App for Outlook Contact Card form.
In the form designer drag Company Name above Mobile Phone. It's important to note, that only the first three columns appear in the track regarding contact card. Although a related subgrid can be added to the quick view form, but it doesn't render within the Track Regarding contact card.
Select Save > Publish and then close the form editor.
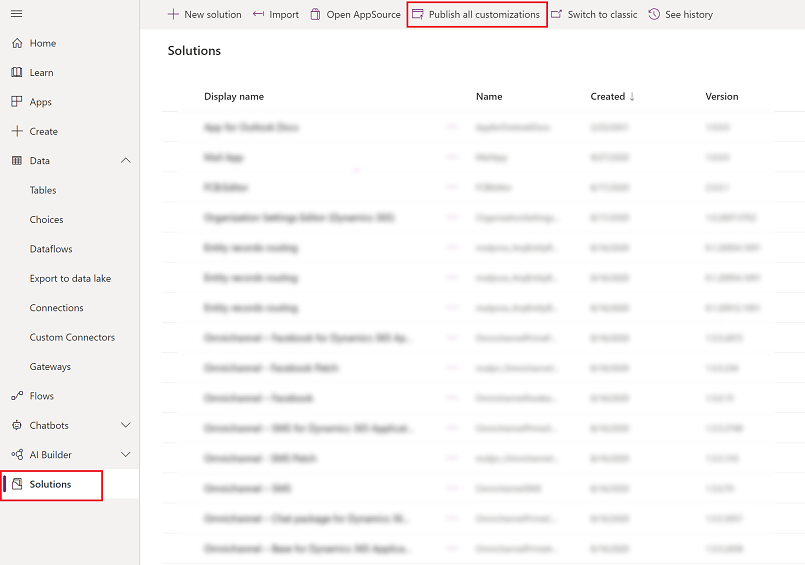
On the solutions page, select Publish All Customizations and then close the solutions page.
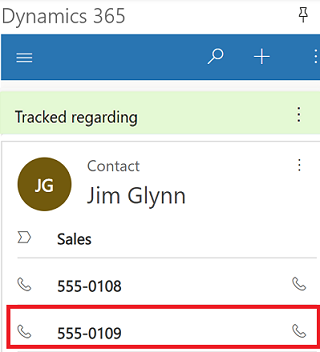
After completing the above, right-click in the track regarding card, and then choose Refresh. It will take a few minutes for the synchronization to complete and the changes to appear. Once synchronization is complete, the company name now appears at the bottom instead of the mobile phone number.

Feedback
Coming soon: Throughout 2024 we will be phasing out GitHub Issues as the feedback mechanism for content and replacing it with a new feedback system. For more information see: https://aka.ms/ContentUserFeedback.
Submit and view feedback for