Configure Dataverse virtual tables
Important
The functionality noted in this article is currently available for customers on the stand-alone Dynamics 365 Human Resources. Some or all of the functionality will be available as part of a future release on the Finance infrastructure after Finance release 10.0.25.
Applies to these Dynamics 365 apps:
Human Resources
Dynamics 365 Human Resources is a virtual data source in Microsoft Dataverse. It provides full create, read, update, and delete (CRUD) operations from Dataverse and Microsoft Power Platform. The data for virtual tables isn't stored in Dataverse, but in the application database.
To enable CRUD operations on Human Resources entities from Dataverse, you must make the entities available as virtual tables in Dataverse. This lets you perform CRUD operations from Dataverse and Microsoft Power Platform on data that's in Human Resources. The operations also support the full business logic validations of Human Resources to ensure data integrity when writing data to the entities.
Note
Human Resources entities correspond to Dataverse tables. For more information about Dataverse (formerly Common Data Service) and terminology updates, see What is Microsoft Dataverse?
Available virtual tables for Human Resources
All Open Data Protocol (OData) entities in Human Resources are available as virtual tables in Dataverse. They're also available in Power Platform. You can now build apps and experiences with data directly from Human Resources with full CRUD capability, without copying or synchronizing data to Dataverse. You can use Power Apps portals to build external-facing websites that enable collaboration scenarios for business processes in Human Resources.
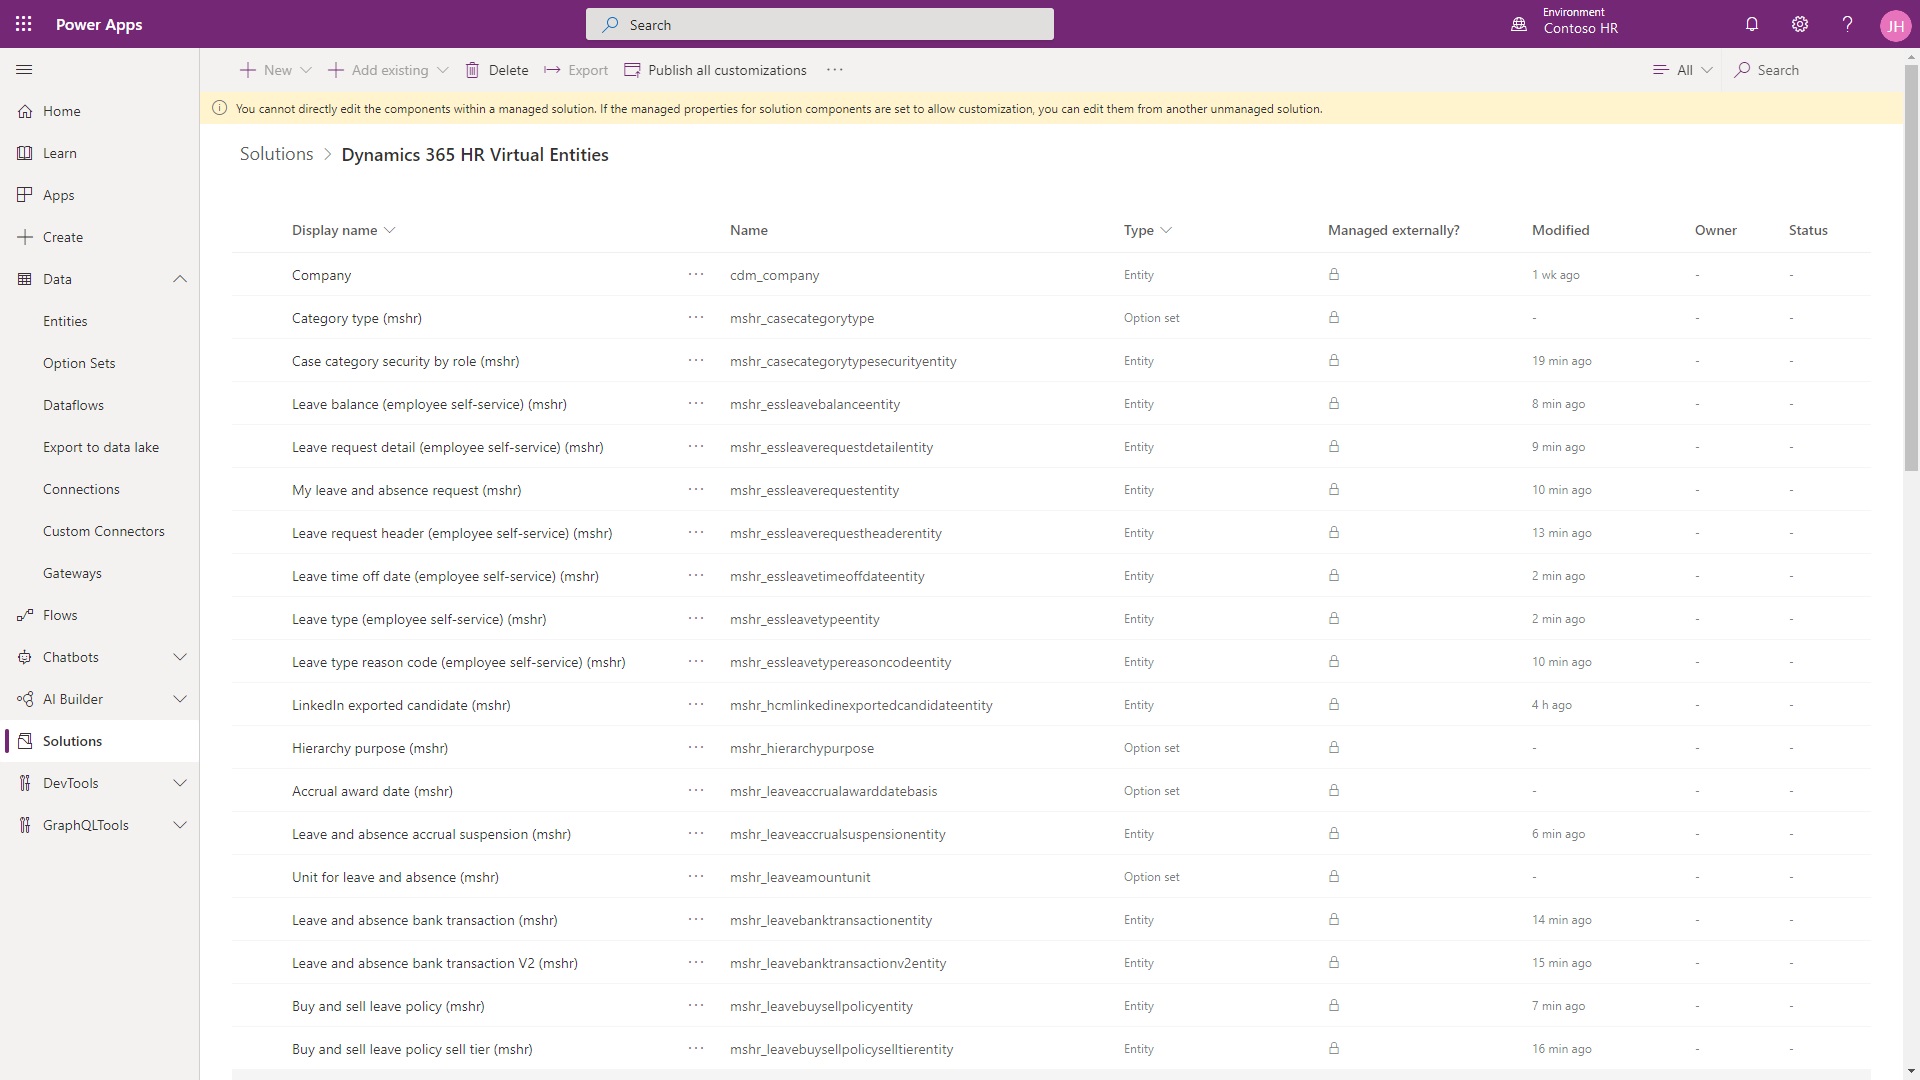
You can view the list of virtual tables enabled in the environment, and begin working with the tables in Power Apps, in the Dynamics 365 HR Virtual Tables solution.
Virtual tables versus native tables
Virtual tables for Human Resources aren't the same as the native Dataverse tables created for Human Resources.
The native tables for Human Resources are generated separately and maintained in the HCM Common solution in Dataverse. With native tables, the data is stored in Dataverse and requires synchronization with the Human Resources application database.
Note
For a list of the native Dataverse tables for Human Resources, see Dataverse tables.
Setup
Follow these setup steps to enable virtual tables in your environment.
Enable virtual tables in Human Resources
First, you must enable virtual tables in the Feature management workspace.
In Human Resources, select System administration.
Select the Feature management tile.
Select Virtual table support for HR in Dataverse, and then select Enable.
For more information about enabling and disabling features, see Manage features.
Register the app in Microsoft Azure
You must register your Human Resources instance in the Azure portal so the Microsoft identity platform can provide authentication and authorization services for the app and users. For more information about registering apps in Azure, see Quickstart: Register an application with the Microsoft identity platform.
Open the Microsoft Azure portal.
In the Azure services list, select App registrations.
Select New registration.
In the Name field, enter a descriptive name for the app. For example, Dynamics 365 Human Resources Virtual Tables.
In the Redirect URI field, enter the namespace URL of your instance of Human Resources.
Select Register.
When registration completes, the Azure portal displays the app registration's Overview pane, which includes its Application (client) ID. Take note of the Application (client) ID at this time. You'll enter this information when you Configure the virtual table data source.
In the left navigation pane, select Certificates and secrets.
In the Client secrets section of the page, select New client secret.
Provide a description, select a duration, and select Add.
Record the secret's value from the Value property of the table. You'll enter this information when you Configure the virtual table data source.
Important
Be sure to take note of the secret's value at this time. The secret is never displayed again after you leave this page.
Install the Dynamics 365 HR Virtual Table app
Install the Dynamics 365 HR Virtual Table app in your Power Apps environment to deploy the virtual table solution package to Dataverse.
In Human Resources, open the Microsoft Dataverse integration page.
Select the Virtual tables tab.
Select Install virtual table app.
Configure the virtual table data source
The next step is to configure the virtual table data source in the Power Apps environment.
Open the Power Platform admin center.
In the Environments list, select the Power Apps environment associated with your Human Resources instance.
Select the Environment URL in the Details section of the page.
In the Solution Health Hub, select Advanced Settings from the Settings menu.
In Settings, select the Advanced Find icon in the top right of the application page.
6.On the Advanced Find page, in the Look for dropdown list, select Finance and operations Virtual Data Source Configurations.
Note
The installation of the virtual table app from the previous setup step can take a few minutes. If Finance and operations Virtual Data Source Configurations isn't available in the list, wait for a minute and refresh the list.
Select Results.
Select the Microsoft HR Data Source record.
Enter the required information for the data source configuration:
Target URL: The URL of your Human Resources namespace. The format of the target URL is:
https://<hostname>.hr.talent.dynamics.com/namespaces/<namespaceID>/
For example:
https://aos.rts-sf-5ea54e35c68-westus2.hr.talent.dynamics.com/namespaces/49d24c565-8f4d-4891-b174-bf83d948ed0c/Note
Be sure to include the "/" character at the end of the URL to avoid receiving an error.
Note
The Target URL determines the Human Resources environment that virtual tables will point to for data. If you create a sandbox environment by creating a copy of your production environment, update this value to the namespace URL of your new sandbox environment. This ensures the virtual tables are connected to the sandbox environment data rather than continuing to point to the production environment.
Tenant ID: The Microsoft Entra tenant ID.
Microsoft Entra Application ID: The application (client) ID created for the application registered in the Microsoft Azure portal. You received this information earlier during the step Register the app in Microsoft Azure.
Microsoft Entra Application Secret: The client secret created for the application registered in the Microsoft Azure portal. You received this information earlier during the step Register the app in Microsoft Azure.

Select Save & Close.
Grant app permissions in Human Resources
Grant permissions for the two Microsoft Entra applications in Human Resources:
- The app created for your tenant in the Microsoft Azure portal
- The Dynamics 365 HR Virtual Table app installed in the Power Apps environment
In Human Resources, open the Microsoft Entra applications page.
Select New to create a new application record:
- In the Client ID field, enter the client ID of the app you registered in the Microsoft Azure portal.
- In the Name field, enter the name of the app you registered in the Microsoft Azure portal.
- In the User ID field, select the user ID of a user with admin permissions in Human Resources and the Power Apps environment.
Select New to create a second application record:
- Client Id: f9be0c49-aa22-4ec6-911a-c5da515226ff
- Name: Dynamics 365 HR Virtual Table
- In the User ID field, select the user ID of a user with admin permissions in Human Resources and the Power Apps environment.
Generate virtual tables
When setup completes, you can select the virtual tables you want to generate and enable in your Dataverse instance.
In Human Resources, open the Microsoft Dataverse integration page.
Select the Virtual tables tab.
Note
The Enable virtual tables toggle will be set to Yes automatically when all required setup has been completed. If the toggle is set to No, review the steps in previous sections of this document to ensure all prerequisite setup is completed.
Select the table or tables you want to generate in Dataverse.
Select Generate/refresh.

Check table generation status
Virtual tables are generated in Dataverse through an asynchronous background process. Updates on the process display in the action center. Details on the process, including error logs, appear in the Process automations page.
In Human Resources, open the Process automations page.
Select the Background processes tab.
Select Virtual table poll async operation background process.
Select View most recent results.
The slideout pane displays the most recent execution results for the process. You can view the log for the process, including any errors returned from Dataverse.
See also
What is Dataverse?
Tables in Dataverse
Table relationships overview
Create and edit virtual tables that contain data from an external data source
What is Power Apps portals?
Overview of creating apps in Power Apps
Feedback
Coming soon: Throughout 2024 we will be phasing out GitHub Issues as the feedback mechanism for content and replacing it with a new feedback system. For more information see: https://aka.ms/ContentUserFeedback.
Submit and view feedback for