How to search in Windows Terminal
Windows Terminal comes with a search feature that allows you to look through the text buffer for a specific keyword. This is useful when trying to find a command you had run before or for a specific file name.
Using search
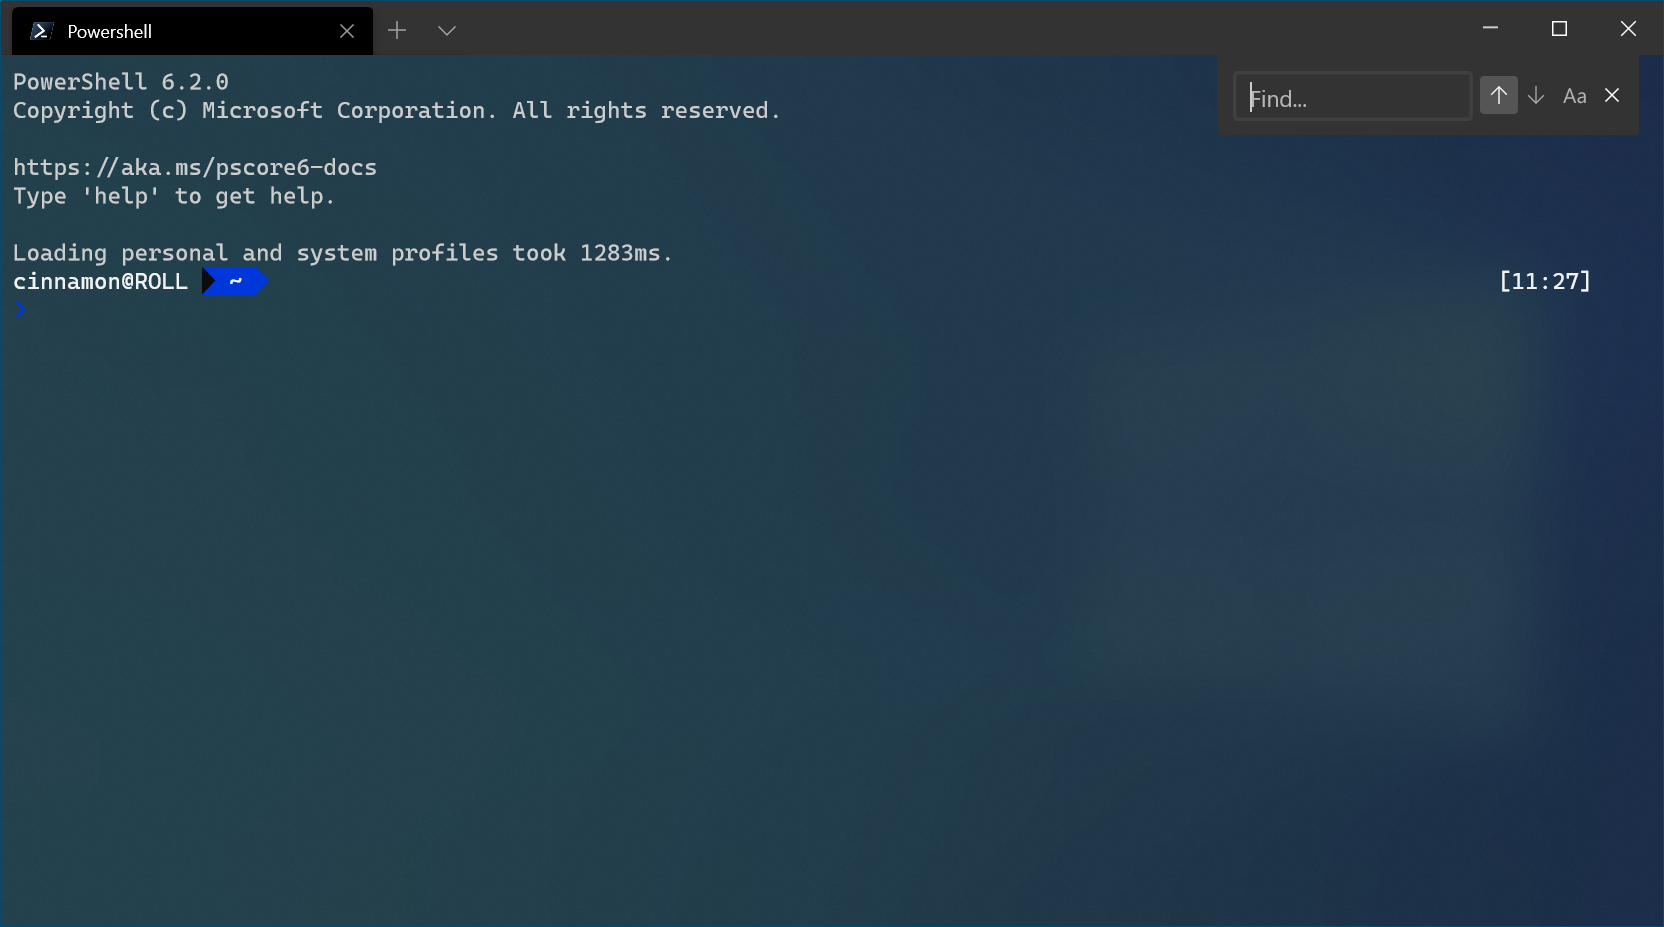
By default, you can open the search dialog by typing Ctrl+Shift+F. Once opened, you can type the keyword you're looking for into the text box and hit Enter to search.
Directional search
The terminal will default to searching from the bottom to the top of the text buffer. You can change the search direction by selecting one of the arrows in the search dialog.

Case match search
If you'd like to narrow down your search results, you can add case matching as an option in your search. You can toggle case matching by selecting the case match button, and the results that appear will only match the keyword entered with its specific letter casing.

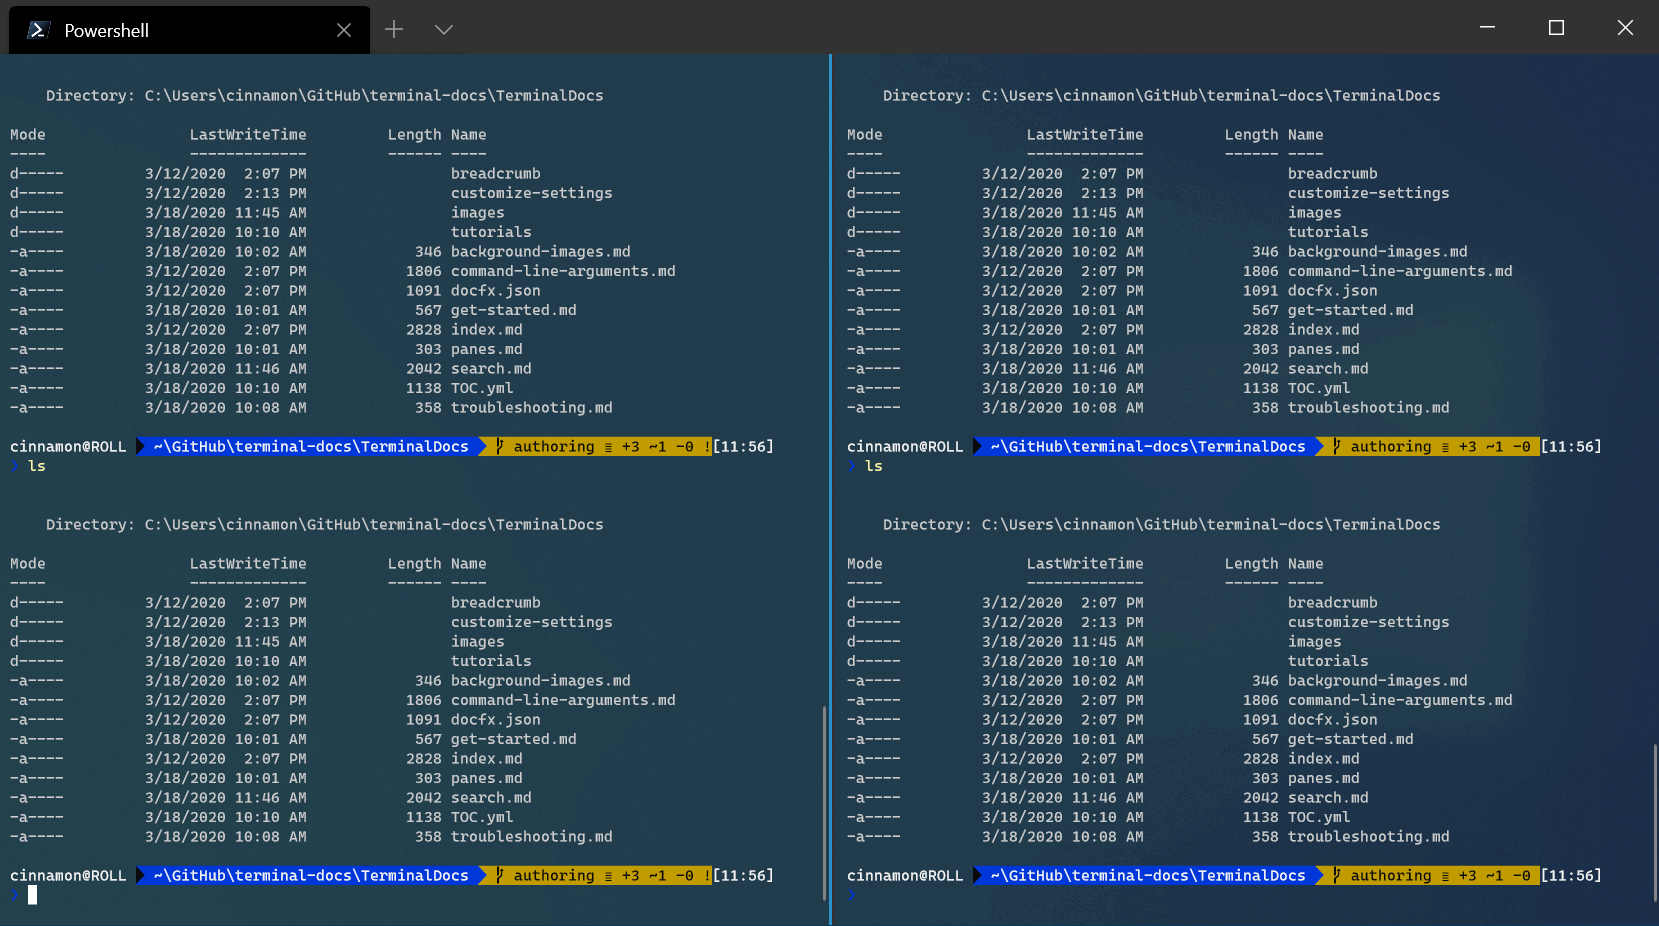
Searching within panes
The search dialog works with panes as well. When focused on a pane, you can open the search dialog and it will appear on the upper-right of that pane. Then any keyword you enter will only show results found within that pane.
Customize the search key binding
You can open the search dialog with any key binding (shortcut key combination) that you prefer. To change the search key binding, open your settings.json file and search for the find command. By default, this command is set to Ctrl+Shift+F.
// Press ctrl+shift+f to open the search box
        { "command": "find", "keys": "ctrl+shift+f" },
For example, you can change "ctrl+shift+f" to "ctrl+f", so when typing Ctrl+F.
To learn more about key bindings, visit the Actions page.

Windows Terminal
Feedback
Coming soon: Throughout 2024 we will be phasing out GitHub Issues as the feedback mechanism for content and replacing it with a new feedback system. For more information see: https://aka.ms/ContentUserFeedback.
Submit and view feedback for