Import any Linux distribution to use with WSL
You can use any Linux distribution inside of the Windows Subsystem for Linux (WSL), even if it is not available in the Microsoft Store, by importing it with a tar file.
This article shows how to import the Linux distribution, CentOS, for use with WSL by obtaining its tar file using a Docker container. This process can be applied to import any Linux distribution.
Obtain a tar file for the distribution
First you'll need to obtain a tar file that contains all the Linux binaries for the distribution.
You can obtain a tar file in a variety of ways, two of which include:
- Download a provided tar file. You can find an example for Alpine in the "Mini Root Filesystem" section of the Alpine Linux downloads site.
- Find a Linux distribution container and export an instance as a tar file. The example below will show this process using the CentOS container.
Obtaining a tar file for CentOS example
In this example, we'll use Docker inside of a WSL distribution to obtain the tar file for CentOS.
Prerequisites
- You must have WSL enabled with a Linux distribution installed running WSL 2.
- You must have Docker Desktop for Windows installed with the WSL 2 engine enabled and integration checked See the Docker Desktop license agreement for updates on the terms of use.
Export the tar from a container
Open the command line (Bash) for a Linux distribution that you've already installed from the Microsoft Store (Ubuntu in this example).
Start the Docker service:
sudo service docker startRun the CentOS container inside Docker:
docker run -t centos bash ls /Grab the CentOS container ID using grep and awk:
dockerContainerID=$(docker container ls -a | grep -i centos | awk '{print $1}')Export the container ID to a tar file on your mounted c-drive:
docker export $dockerContainerID > /mnt/c/temp/centos.tar
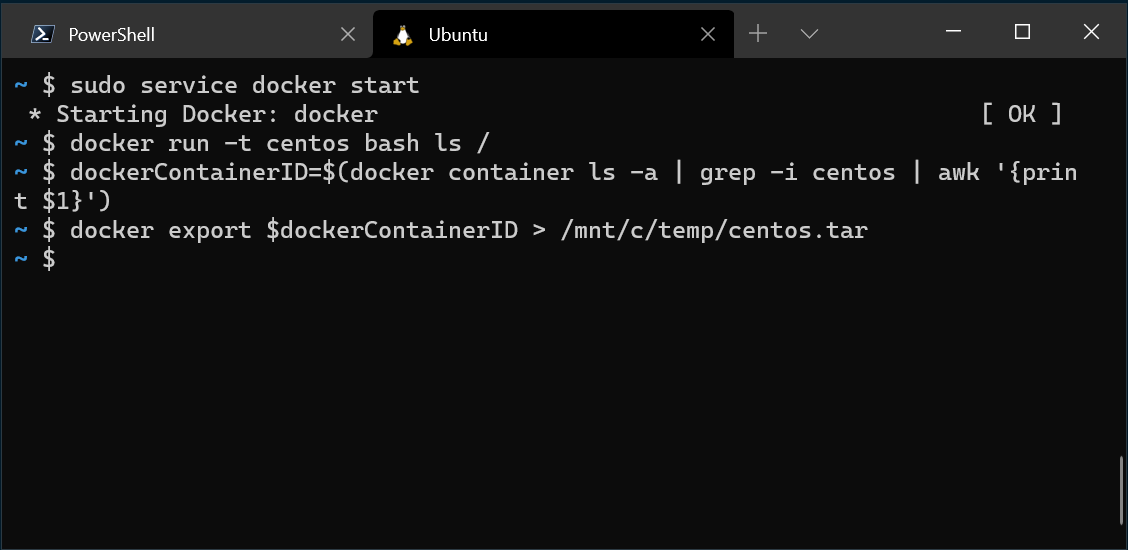
This process exports the CentOS tar file from the Docker container so that we can now import it for use locally with WSL.
Import the tar file into WSL
Once you have a tar file ready, you can import it using the command: wsl --import <Distro> <InstallLocation> <FileName>.
Importing CentOS example
To import the CentOS distribution tar file into WSL:
Open PowerShell and ensure that you have a folder created where you'd like the distribution to be stored.
cd C:\temp
mkdir E:\wslDistroStorage\CentOS
Use the command
wsl --import <DistroName> <InstallLocation> <InstallTarFile>to import the tar file.wsl --import CentOS E:\wslDistroStorage\CentOS .\centos.tarUse the command
wsl -l -vto check which distributions you have installed.
Finally, use the command
wsl -d CentOSto run your newly imported CentOS Linux distribution.
Add WSL specific components like a default user
By default when using --import, you are always started as the root user. You can set up your own user account, but note that the set up process will vary slightly based on each different Linux distribution.
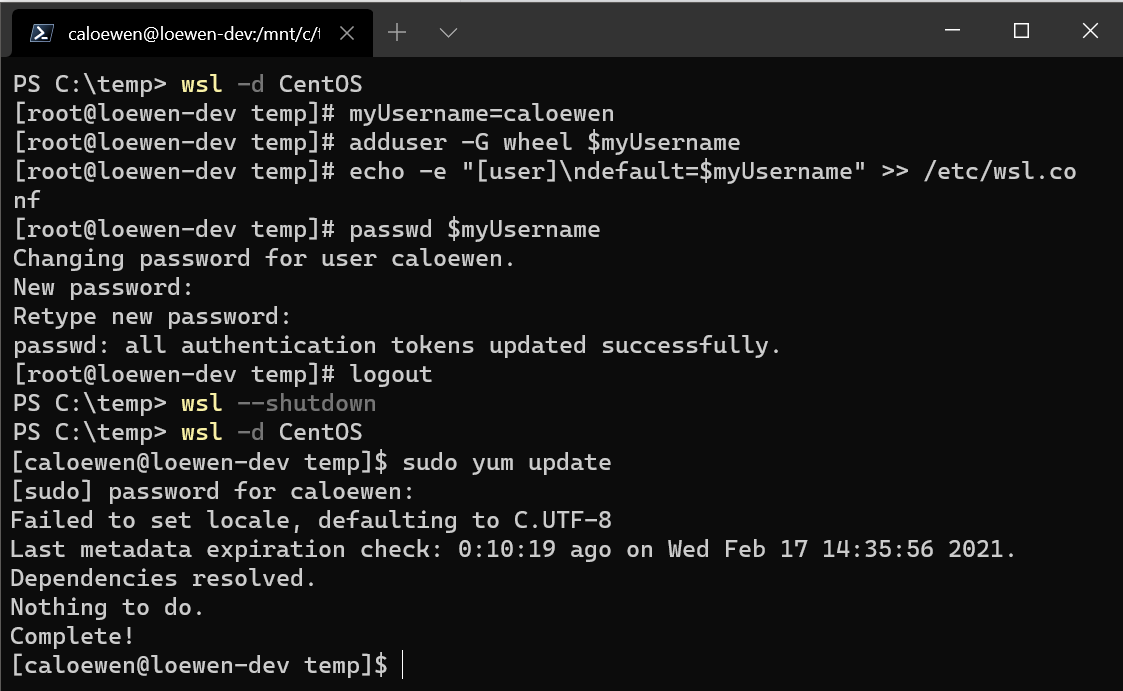
To set up user account with the CentOS distribution we just imported, first open PowerShell and boot into CentOS, using the command:
wsl -d CentOS
Next, open your CentOS command line. Use this command to install sudo and password setting tools into CentOS, create a user account, and set it as the default user. In this example, the username will be 'caloewen'.
Note
You will want to add the username to the sudoers file so that enables the user to use sudo. The command adduser -G wheel $myUsername adds the user myUsername to the wheel group. Users in the wheel group are automatically granted sudo privileges and can perform tasks requiring elevated permission.
yum update -y && yum install passwd sudo -y
myUsername=caloewen
adduser -G wheel $myUsername
echo -e "[user]\ndefault=$myUsername" >> /etc/wsl.conf
passwd $myUsername
You must now quit out of that instance and ensure that all WSL instances are terminated. Start your distribution again to see your new default user by running this command in PowerShell:
wsl --terminate CentOS
wsl -d CentOS
You will now see [caloewen@loewen-dev]$ as the output based on this example.
To learn more about configuring WSL settings, see Configure settings with .wslconfig and wsl.conf.
Use a custom Linux distribution
You can create your own customized Linux distribution, packaged as a UWP app, that will behave exactly like the WSL distributions available in the Microsoft Store. To learn how, see Creating a Custom Linux Distribution for WSL.
Windows Subsystem for Linux
Feedback
Coming soon: Throughout 2024 we will be phasing out GitHub Issues as the feedback mechanism for content and replacing it with a new feedback system. For more information see: https://aka.ms/ContentUserFeedback.
Submit and view feedback for