Work with the Data management workspace
This unit explains how to work with the Data management workspace in finance and operations apps.
The Data management workspace provides access to important tasks for data management. It also provides information about projects and project execution tasks.
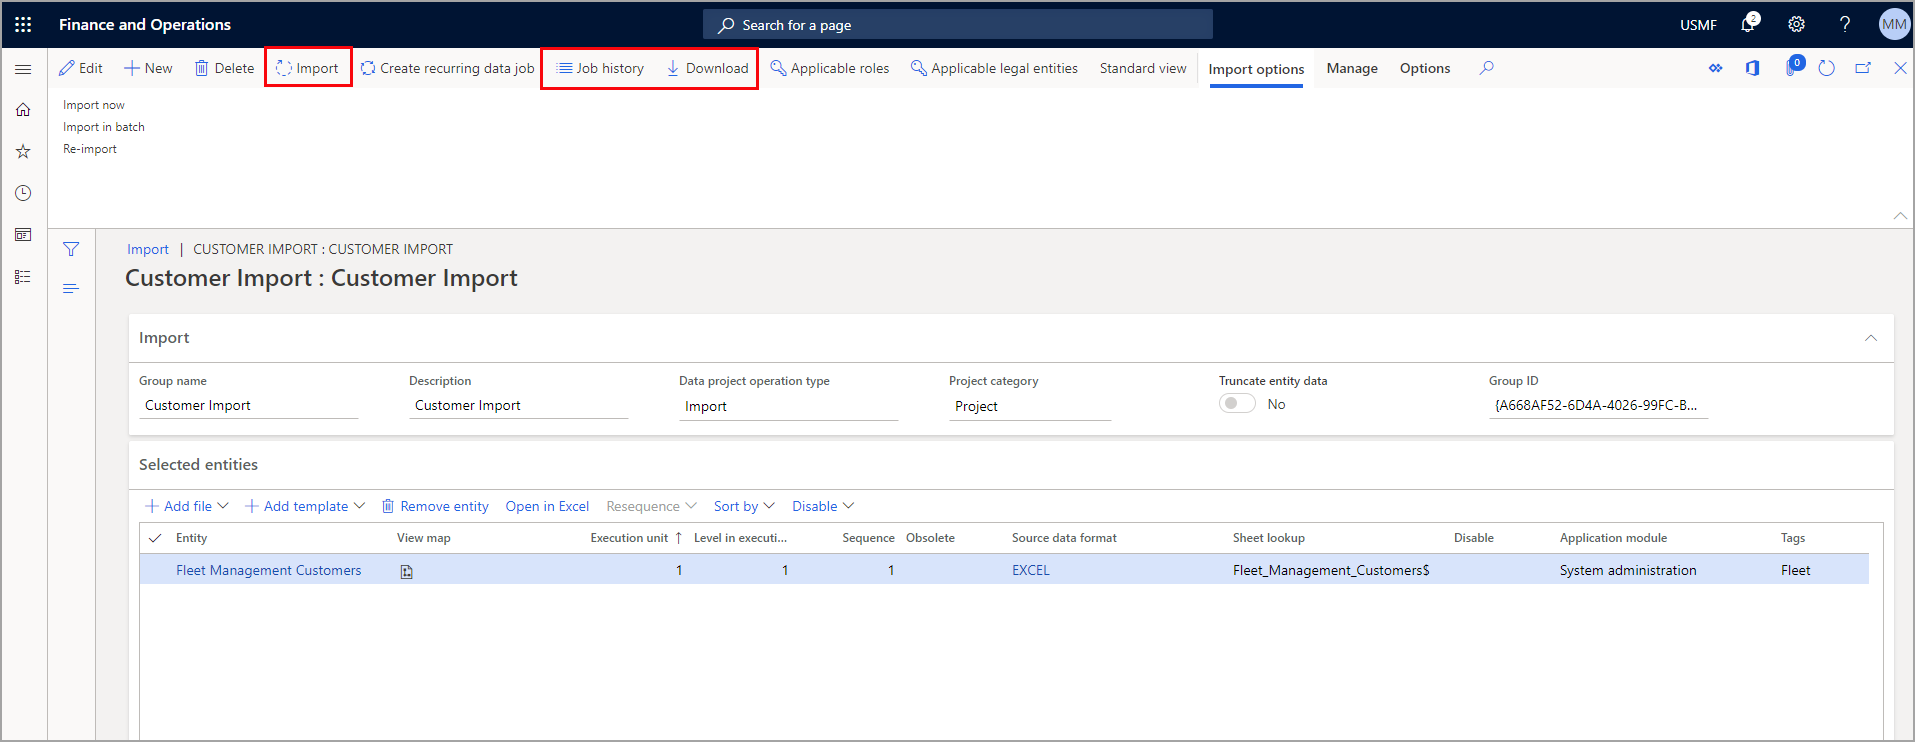
After you've created a configuration data project, it appears in the Data projects grid in the Data management workspace.
For each project, the type of configuration (import or export) and the project category (Project, Configuration, Integration, or Other) are shown. Use the options to the left of the grid to filter by the appropriate project. The project definition is shared across legal entities
To open a project, select the project, and then select Load project to open the Import or Export page. Use the Delete button to delete the selected projects.
You can also download the project definitions by using the Download button. Use Job history to find more details about the projects that you've run. Use the data range filters to filter by the dates when data projects were run. You can view execution details by selecting a job and then using the Execution details menu.
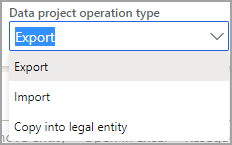
For export tasks, you can also download the data from the workspace by using the Download page button. The available projects in the Data management workspace are as follows:
- Export
- Import
- Copy into legal entity
The All projects option is a filter to decide which type of project in the workspace to work with.
Sequencing
Two types of sequencing should be considered when you are working with data entities.
- Sequencing data entities within a data package
- Sequencing the order of data package imports
Sequence data entities within a data package
When a user adds data entities to a data project, by default, a sequence is set for the order in which the entities will load. The first entity added to the project will be set as the first entity to load, the next entity added will be second, the next entity will be third, and so on.
For example, if a user added two entities in this order, Sales tax codes and Sales Tax groups, then Sales tax codes is assigned an entity sequence of 1.1.1, and Sales tax groups is assigned an entity sequence of 1.1.2. The sequence level indicates that the second entity will not start the import process until the first level is finished.
To view or edit a sequence, select the Entity sequence button (available only in Standard view) on the Action Pane of the data project.
In the Definition group entity sequence, you can view the execution units and the sequence. You can change sequence by selecting the data entity in the list, setting a different Execution unit or Sequence in level, and then selecting Update selected. After selecting Update selected, the entity will move up or down in the entity list.
To continue with the example in step 2, to successfully import sales tax codes and groups, the sales tax codes and details have to be loaded before sales tax groups can be imported. Sales tax codes and groups are all in Execution unit = 1, but the sequences are in the order that they will be imported. Other related sales tax entities that are not dependent upon other data entities being loaded are included in the package.
For example, the sales tax exempt numbers entity is set in its own Execution unit = 2. This data entity will start loading immediately because there are no dependencies on other entities loading before it.
Finance and operations apps can determine the sequences of selected data entities in a project by selecting the Auto sequence button.
Sequence data package imports
To successfully load data, it's important to set the correct order for importing data packages because of dependencies that exist within and across modules. There is a suggested numbering format that has been created for the data packages within Lifecycle Services, so you can identify which data packages you need to load first.
This could be as follows:
- First segment: Module
- Second segment: Data type (setup, master, transaction)
- Third segment: Sequence number
Mapping
When you are working with data entities, mapping an entity to a source is automatic. The automatic mapping of fields can be overridden, if needed.
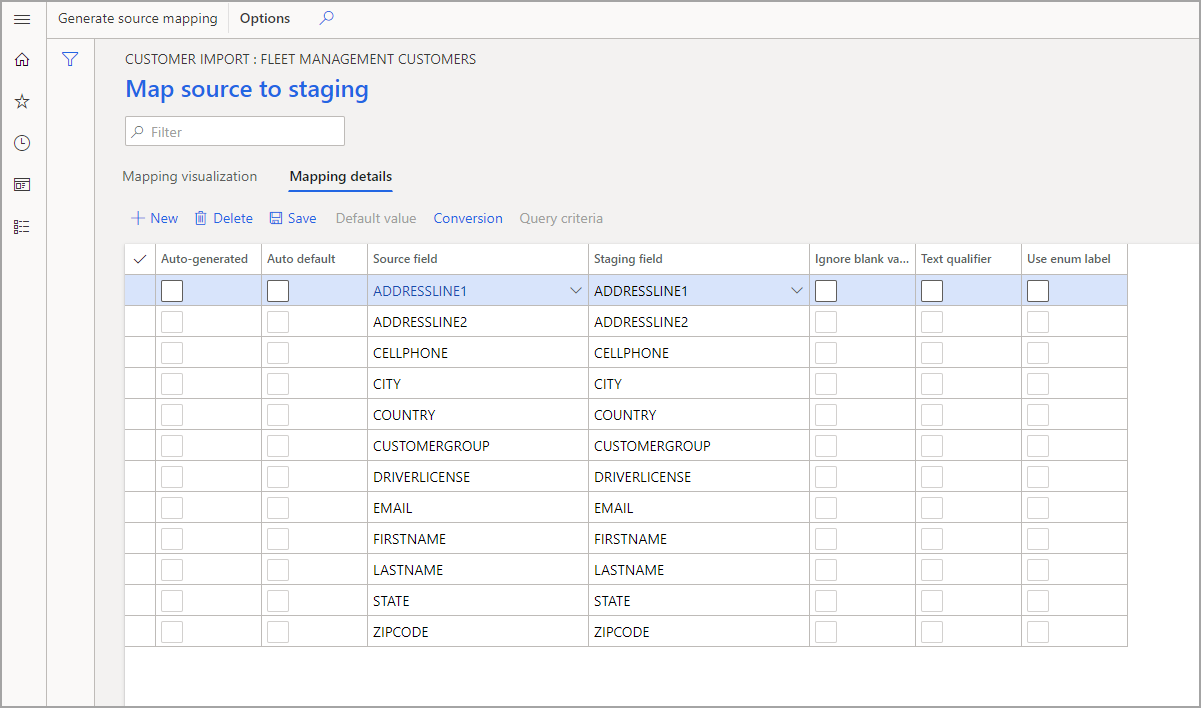
To view how an entity is mapped, locate the tile for the entity in the project, and then select View map.
The Data management framework provides a mapping visualization view (default) and a mapping details view. A red asterisk (*) identifies any required fields in an entity. These fields must be mapped for you to be able to work with the entity. Other fields can be unmapped as required when you are working with the entity.
- To unmap a field, highlight the field in either column (Entity or Source), select Delete selection, and then select Save. After the changes are saved, close the form to return to the project.
After import, you can also edit the field mapping from source to staging by using the same process.
Regenerate a map
If you have extended an entity (added fields) or if the automatic mapping appears to be incorrect, the mapping of the entity can be regenerated in the Mapping page.
- To do this, select Generate source mapping. A message will display asking, "Do you want to generate the mapping from scratch?"
- Select Yes to regenerate the mapping.
Generate data
You may have fields in entities that are not specified in your imported source file. In this case, you can use the auto-generated functionality in the mapping details. This makes the system generate data for a specified field. For example, let’s say you are trying to import customers and customer address information, but your Party number field is not included in the import file. You can simply toggle the Auto-generated checkbox by the field, and the system will generate a party number automatically.
However, notice that in the import project, the data source is coming from other systems, such as those legacy applications. finance and operations apps uses the business logics of each data entity, discovers the dependencies, and sequences the data entities based on their relationships and dependencies.
For example, if you want to import customers and customer address information, but the address information was not previously imported with the Global Address Book (GAB) entities, you can have the entity auto-generate the party number upon import and the GAB information will be created. To access this functionality, view the map of the entity, and then select the Mapping details tab. Select the fields that you want to auto-generate. This will change the source field to Auto.


