Connect a bot to Alexa
APPLIES TO: SDK v4
You can configure your bot to communicate with people through an Alexa custom skill. This article describes how to create an Alexa skill using the Alexa Developer Console, connect your bot to your Alexa skill in Azure, and test your bot in Alexa.
Prerequisites
- An Azure subscription. If you don't already have one, create a free account before you begin.
- A bot published to Azure that you want to connect to Alexa.
- An Amazon account.
Important
Your bot must use the Bot Framework SDK version 4.8 or later. If you have an existing bot you may need to update your SDK version and republish your bot.
Create an Alexa skill
Sign in to the Alexa Developer Console and select Create Skill.
On the next page:
- Enter a name for your new skill.
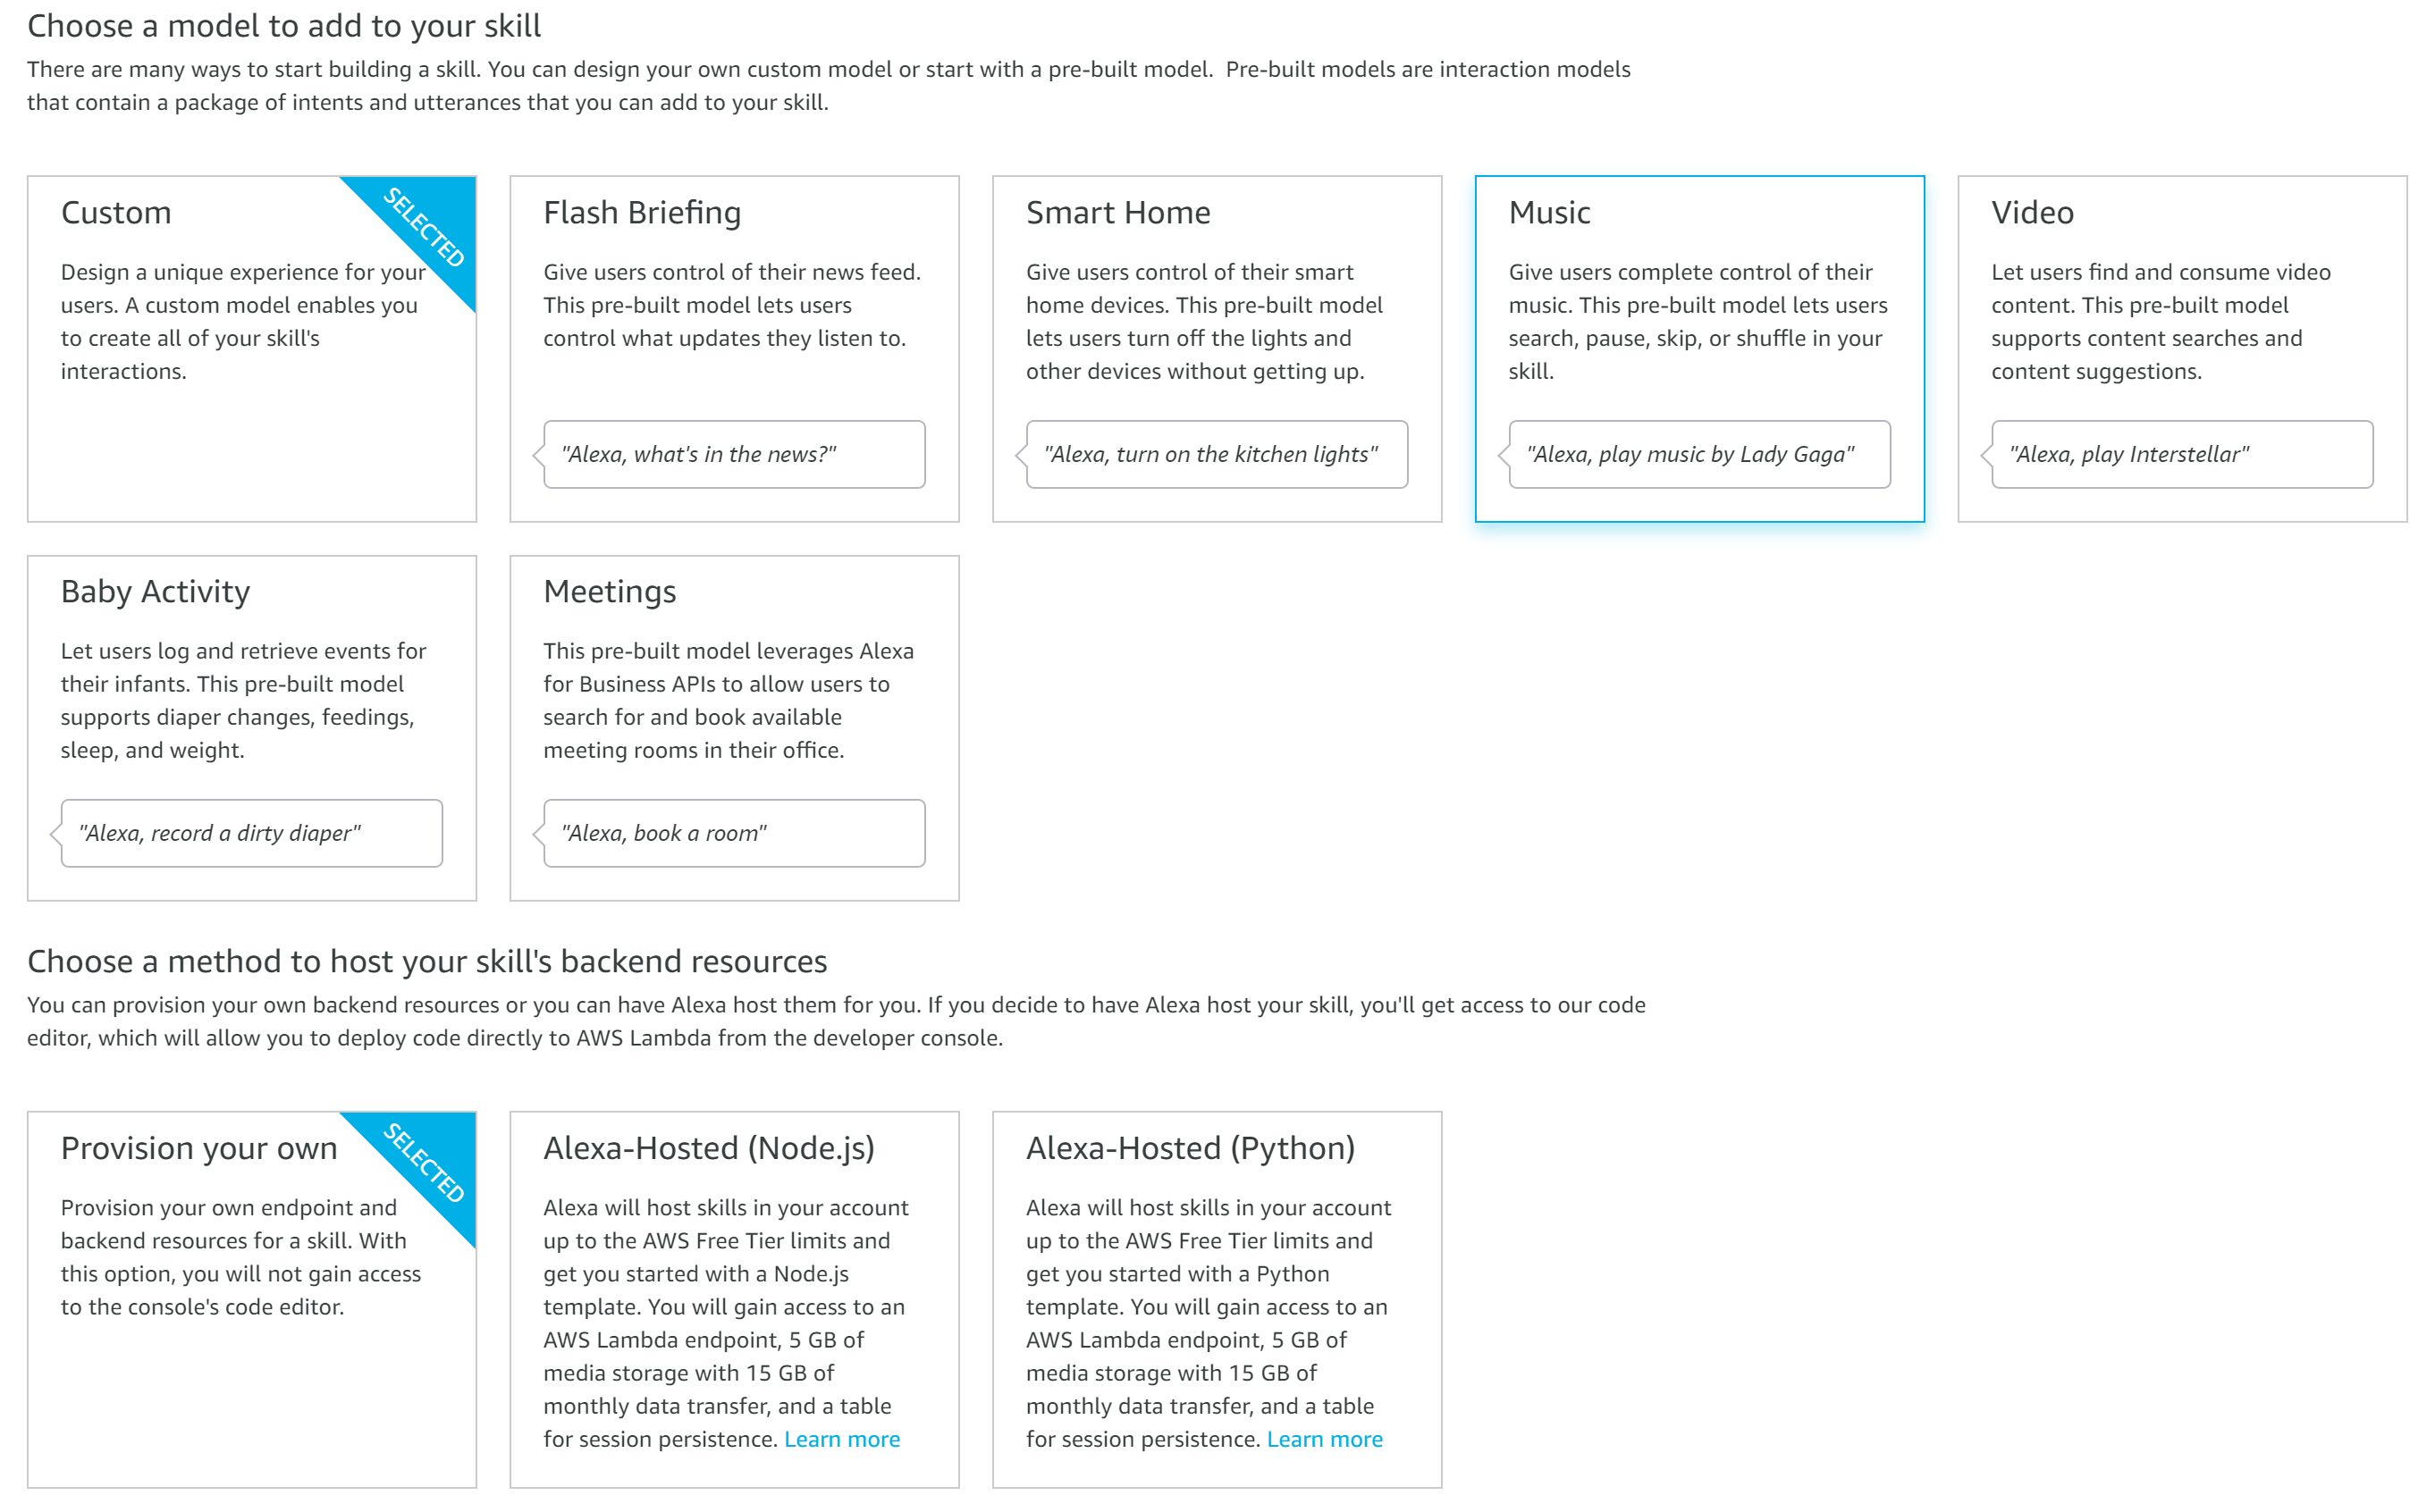
- Make sure that Choose a model to add to your skill is set to Custom.
- Make sure that Choose a method to host your skill's backend resources is set to Provision your own.
- Select Create Skill.
On the next page:
- Make sure that Choose a template is set to Start from scratch
- Select Choose.

On your skill dashboard under Interaction Model, select JSON Editor.
In the JSON editor:
Replace the existing contents with the following JSON.
{
    "interactionModel": {
        "languageModel": {
            "invocationName": "<your-skill-invocation-name>",
            "intents": [
                {
                    "name": "GetUserIntent",
                    "slots": [
                        {
                            "name": "phrase",
                            "type": "phrase"
                        }
                    ],
                    "samples": [
                        "{phrase}"
                    ]
                },
                {
                    "name": "AMAZON.StopIntent",
                    "samples": []
                }
            ],
            "types": [
                {
                    "name": "phrase",
                    "values": [
                        {
                            "name": {
                                "value": "<example-phrase>"
                            }
                        },
                        {
                            "name": {
                                "value": "<example-phrase>"
                            }
                        },
                        {
                            "name": {
                                "value": "<example-phrase>"
                            }
                        }
                    ]
                }
            ]
        }
    }
}
For
invocationName, change <your-skill-invocation-name> to the name that users will use to invoke your skill on Alexa. For example, if your skill invocation name was "adapter helper", then a user could say "Alexa, launch adapter helper" to launch the skill.In the
valuesarray undertypes, replace the three instances of<example-phrase>with phrases that users can say to trigger your skill. For example, if a user says "Alexa, ask adapter helper to give me details of the alexa adapter", one example phrase could be "give me details of the alexa adapter".
Select Save Model, then select Build Model. This updates your skill's configuration on Alexa.
Configure your bot in Azure
To complete this step, you'll need your Alexa Skill ID. Get the ID either from the URL in the Alexa portal or by going to the Alexa Developer Console and selecting Copy Skill ID. Your Alexa Skill ID should be a value like "amzn1.ask.skill.<some-guid>".
- Open the Azure portal.
- Open the Azure Bot resource blade for your bot.
- Open Channels and select Alexa.
- In Alexa Channel Configuration, enter the information you copied in the previous step.
- In Enter skill Id, enter the Alexa skill ID that you copied from the Alexa Developer Console.
- Select Apply.
- Copy the Azure-generated Alexa service endpoint URI.
Update your Alexa bot registration
Sign in to the Alexa Developer Console.
Find and open your skill's configuration page.
Select Endpoint.
For Service Endpoint Type, select HTTPS.
For Default Region:
- Enter the Alexa service endpoint URI you copied from the Azure portal.
- In the drop-down, select My development endpoint is a sub-domain of a domain that has a wildcard certificate from a certificate authority.

Select Save Endpoints.
Test and publish your skill
If you own an Alexa device, you can test your skill before you publish it.
See the Alexa Skills Kit developer documentation for custom voice model skills for information on how to test and publish your skill on their platform.
Additional information
For more information about Alexa skills, see the Amazon developer documentation:
User authentication in Alexa
User authentication in Alexa is done by setting up and using Account Linking on the Alexa skill. For more information, see Understand Account Linking for Alexa Skills. You can require account linking when the user enables the skill, or you can require it as part of a conversation flow.
If you add user authentication as part of the conversation:
Attach a sign-in card on the outgoing activity. This will be converted to an Alexa LinkAccount card that prompts the user to sign in using the Alexa app.
If the user successfully links their account into the app, a token is then available on subsequent requests in the channel data.
Next steps
- For information about building bots, see How bots work and the Create a bot with the Bot Framework SDK quickstart.
- For information about deploying bots, see Tutorial: Provision a bot in Azure and Tutorial: Publish a basic bot.
- For information about channel support in the Bot Connector Service, see Connect a bot to channels.
- For more information about the Bot Framework schemas, see the Bot Framework activity schema and the Bot Framework cards schema.
Feedback
Coming soon: Throughout 2024 we will be phasing out GitHub Issues as the feedback mechanism for content and replacing it with a new feedback system. For more information see: https://aka.ms/ContentUserFeedback.
Submit and view feedback for