Tutorial: Create a Jupyter Notebook to analyze data in your Azure Cosmos DB for NoSQL account using Visual Studio Code Jupyter notebooks
APPLIES TO: ![]() NoSQL
NoSQL
This tutorial walks through how to use the Visual Studio Code Jupyter notebooks to interact with your Azure Cosmos DB for NoSQL account. You'll see how to connect to your account, import data, and run queries.
Prerequisites
- An existing Azure Cosmos DB for NoSQL account.
- If you have an existing Azure subscription, create a new account.
- No Azure subscription? You can try Azure Cosmos DB free with no credit card required.
- Install Visual Studio Code and setup your environment to use notebooks.
Create a new notebook
In this section, you'll create the Azure Cosmos database, container, and import the retail data to the container.
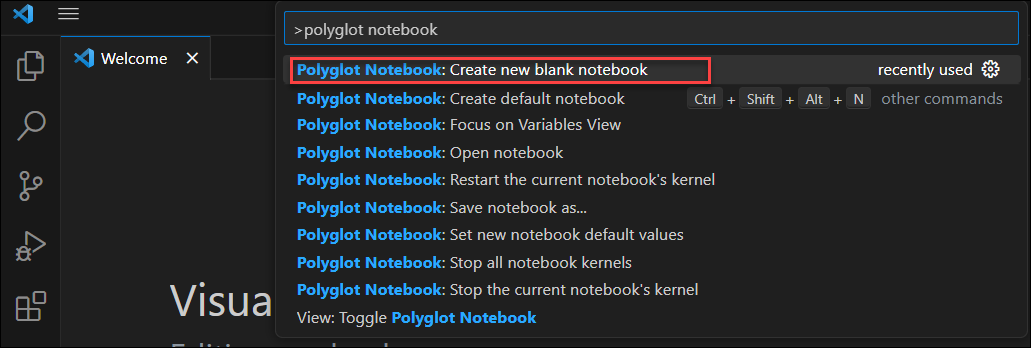
- Open Visual Studio Code.
- Run the Create: New Jupyter Notebook command from the Command Palette (Ctrl+Shift+P) or create a new .ipynb file in your workspace.
Tip
Now that the new notebook has been created, you can save it and name it something like AnalyzeRetailData.ipynb.
Create a database and container using the SDK
Start in the default code cell.
Install the Azure.cosmos package. Run this cell before continuing.
%pip install azure.cosmosImport any packages you require for this tutorial.
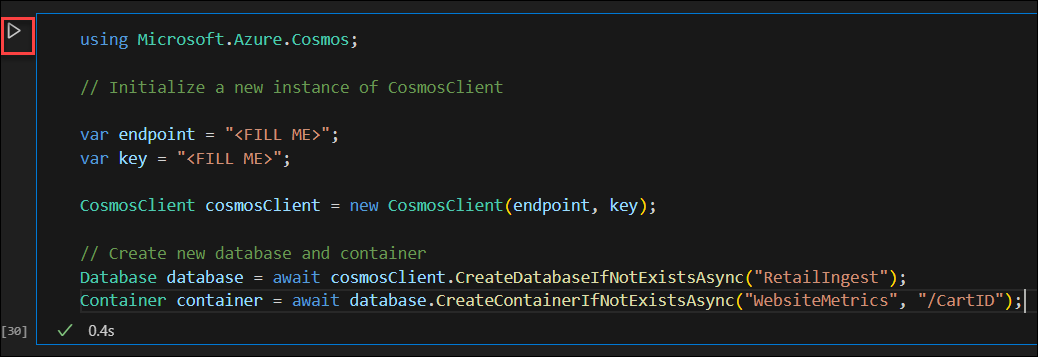
import azure.cosmos
from azure.cosmos.partition_key import PartitionKey
from azure.cosmos import CosmosClient
Create a new instance of CosmosClient.
endpoint = "<FILL ME>"
key = "<FILL ME>"
cosmos_client = CosmosClient(url=endpoint, credential=key)
Create a database named RetailIngest using the built-in SDK.
database = cosmos_client.create_database_if_not_exists('RetailIngest')Create a container named WebsiteMetrics with a partition key of
/CartID.container = database.create_container_if_not_exists(id='WebsiteMetrics', partition_key=PartitionKey(path='/CartID'))Select Run to create the database and container resource.

Import data into container
Add a new code cell
Within the code cell, add the following code to upload data from this url: https://cosmosnotebooksdata.blob.core.windows.net/notebookdata/websiteData.json.
    import urllib.request
    import json

    with urllib.request.urlopen("https://cosmosnotebooksdata.blob.core.windows.net/notebookdata/websiteData.json") as url:
        docs = json.loads(url.read().decode())

    for doc in docs:
        container.upsert_item(doc)
Run the cell. This will take 45 seconds to 1 minute to run.
Analyze your data
Create another new code cell.
In the code cell, use a SQL query to populate a Pandas DataFrame. Run this cell.
import pandas as pd
from pandas import DataFrame

QUERY = "SELECT c.Action, c.Price as ItemRevenue, c.Country, c.Item FROM c"
results = container.query_items(
    query=QUERY, enable_cross_partition_query=True
)

df_cosmos = pd.DataFrame(results)
Create another new code cell.
In the code cell, output the top 10 items from the dataframe. Run this cell.
df_cosmos.head(10)Observe the output of running the command.
Action ItemRevenue Country Item 0 Purchased 19.99 Macedonia Button-Up Shirt 1 Viewed 12.00 Papua New Guinea Necklace 2 Viewed 25.00 Slovakia (Slovak Republic) Cardigan Sweater 3 Purchased 14.00 Senegal Flip Flop Shoes 4 Viewed 50.00 Panama Denim Shorts 5 Viewed 14.00 Senegal Flip Flop Shoes 6 Added 14.00 Senegal Flip Flop Shoes 7 Added 50.00 Panama Denim Shorts 8 Purchased 33.00 Palestinian Territory Red Top 9 Viewed 30.00 Malta Green Sweater Create another new code cell.
In the code cell, import the pandas package to customize the output of the dataframe. Run this cell.
import pandas as pd
df_cosmos.groupby("Item").size().reset_index()
Observe the output of running the command.
Item Test 0 Flip Flop Shoes 66 1 Necklace 55 2 Athletic Shoes 111 ... ... ... 45 Windbreaker Jacket 56
Next steps
Feedback
Coming soon: Throughout 2024 we will be phasing out GitHub Issues as the feedback mechanism for content and replacing it with a new feedback system. For more information see: https://aka.ms/ContentUserFeedback.
Submit and view feedback for