Deploy Azure Health Data Services workspace using Azure portal
In this article, you’ll learn how to create a workspace by deploying Azure Health Data Services through the Azure portal. The workspace is a centralized logical container for all your Azure Health Data services such as FHIR services, DICOM® services, and MedTech services. It allows you to organize and manage certain configuration settings that are shared among all the underlying datasets and services where applicable.
Prerequisite
Before you can create a workspace in the Azure portal, you must have an account subscription. If you don’t have an Azure subscription, see Create your free Azure account today.
Create new Azure service
In the Azure portal, select Create a resource.

Search for Azure Health Data Services
In the search box, enter Azure Health Data Services.

Create Azure Health Data Services account
Select Create to create a new Azure Health Data Services account.

Enter subscription and workspace details
Under the Project details section of the Basics tab, select a Subscription and Resource group from their drop-down lists. Select Create new to create a new resource group.

Enter a Name for the workspace, and then select a Region. The name must be 3 to 24 alphanumeric characters, all in lowercase. Don't use a hyphen "-" as it's an invalid character for the name. For information about regions and availability zones, see Regions and Availability Zones in Azure.
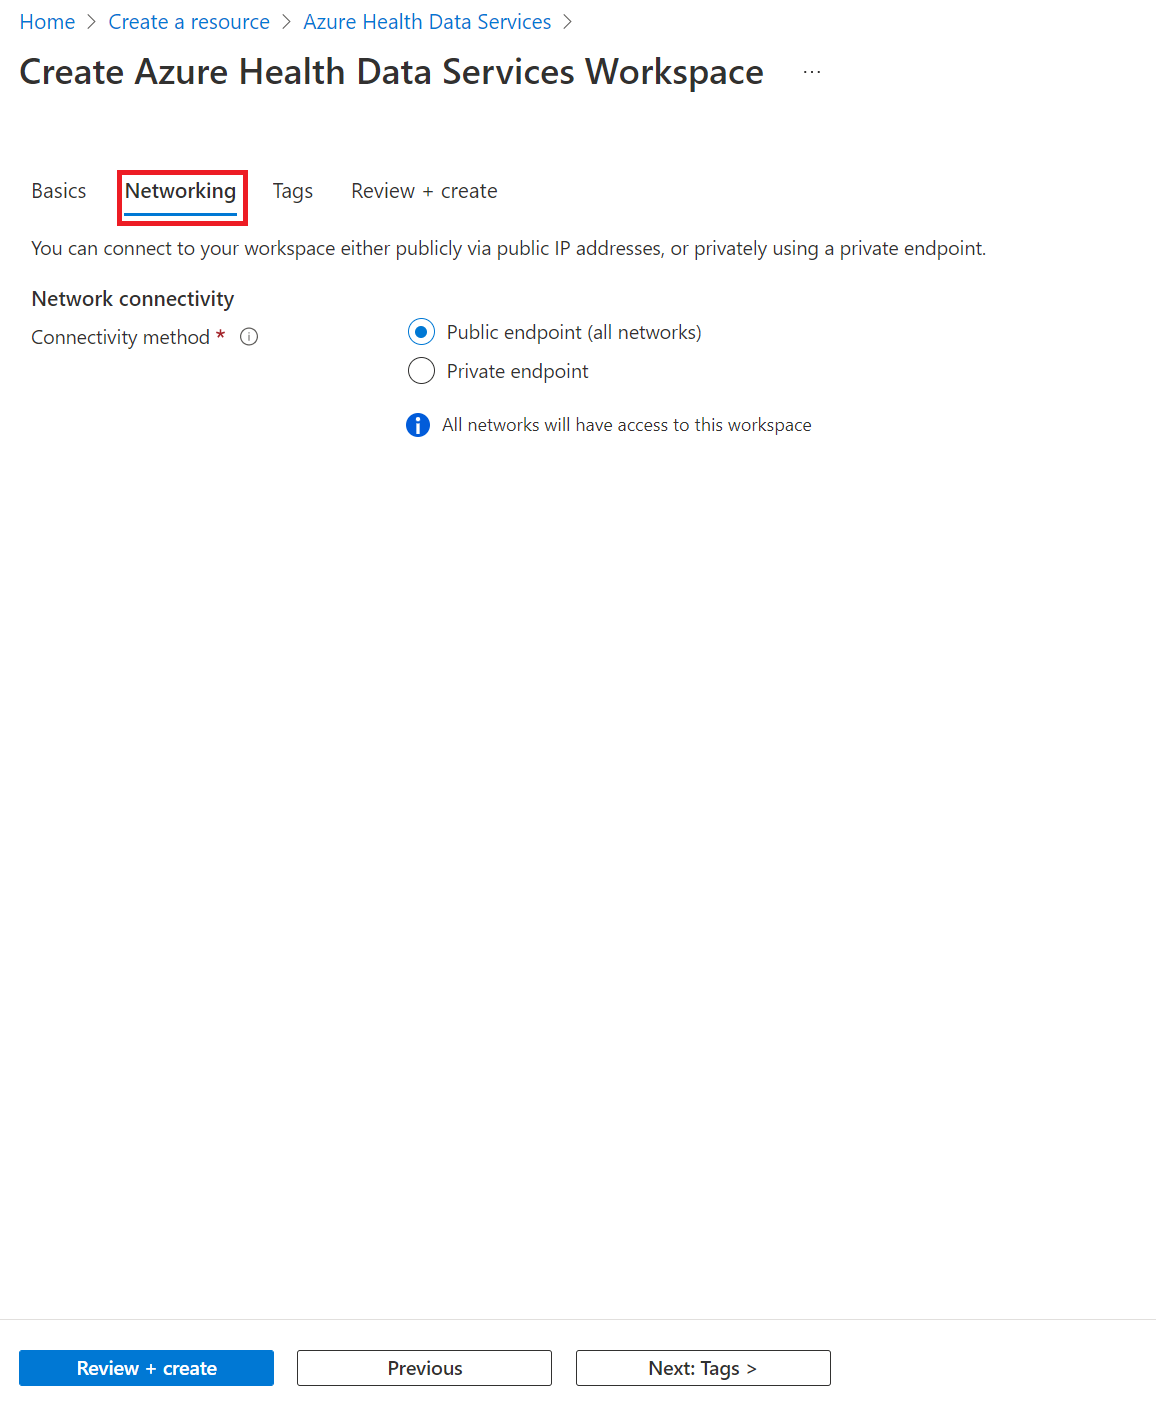
Select Next: Networking >. It's here that you can connect a workspace publicly with the default Public endpoint (all networks) option selected. You may also connect a workspace using a private endpoint by selecting the Private endpoint option. For more information about accessing Azure Health Data Services over a private endpoint, see Configure Private Link for Azure Health Data Services.
Select Next: Tags > if you want to include name and value pairs to categorize resources and view consolidated billing by applying the same tag to multiple resources and resource groups. Enter a Name and Value for the workspace, and then select Review + create or Next: Review + create. For more information about tags, see Use tags to organize your Azure resources and management hierarchy.


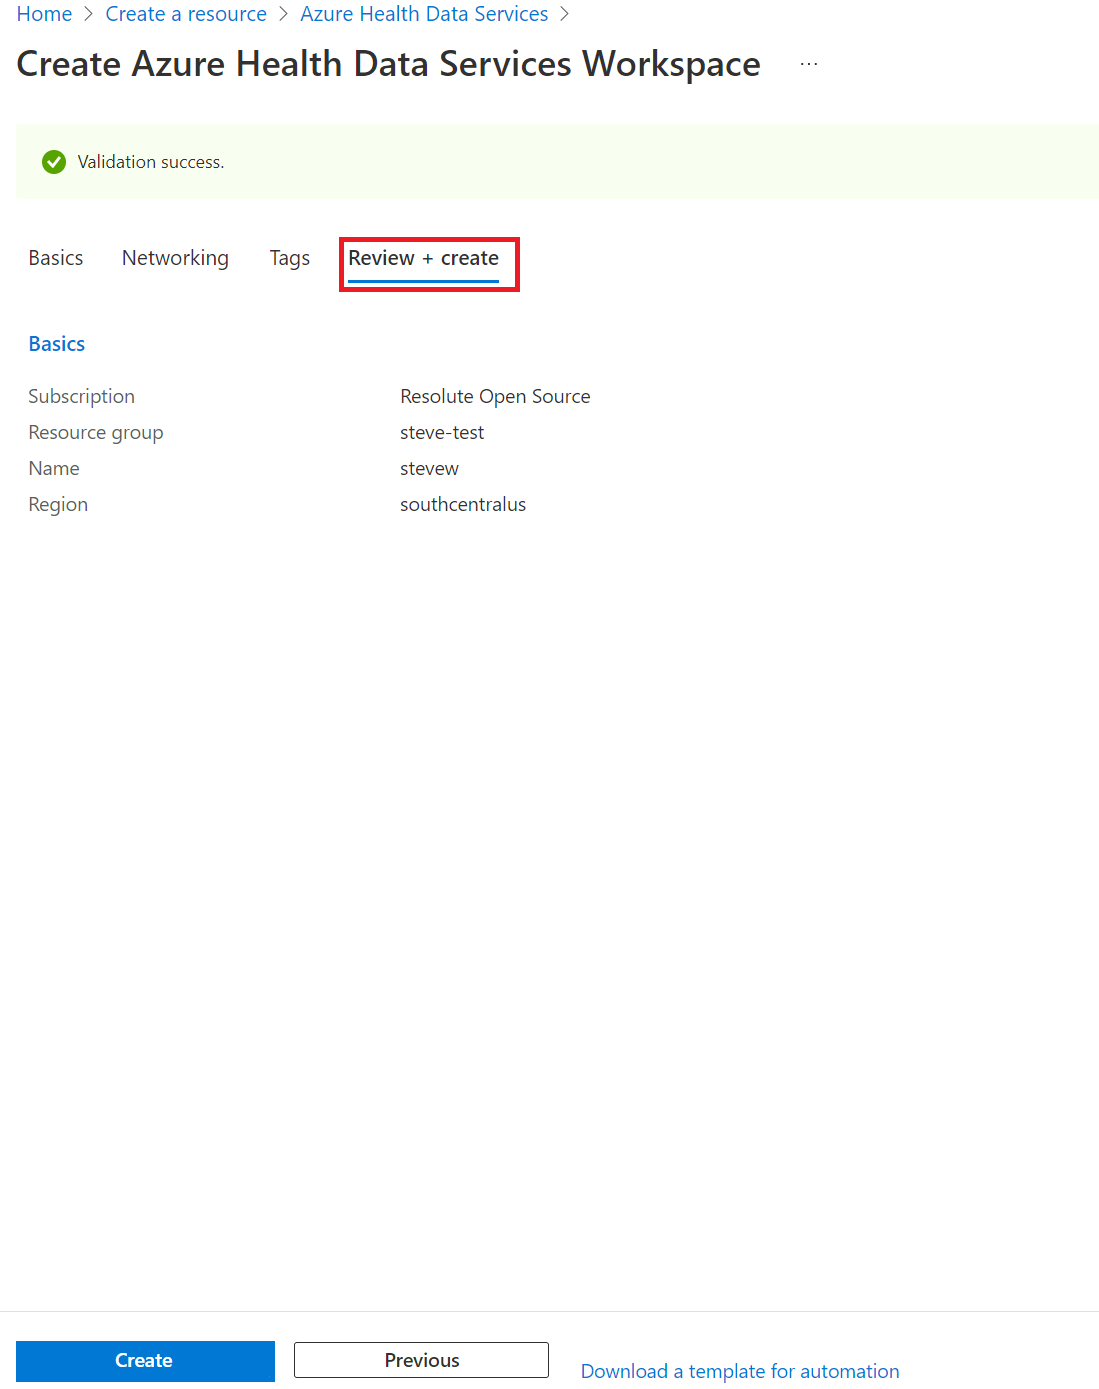
Select Create if you don't need to make any changes to the workspace project and instance details. If you must make changes to the project and instance details, select Previous.
Optional: You may select Download a template for automation of your newly created workspace.
After the workspace deployment process is complete, select Go to resource.

You now can create a FHIR service, DICOM service, and MedTech service from the newly deployed Azure Health Data Services workspace.


Next steps
Now that the workspace is created, you can do the following:
For more information about Azure Health Data Services workspace, see
FHIR® is a registered trademark of HL7 and is used with the permission of HL7.
Feedback
Coming soon: Throughout 2024 we will be phasing out GitHub Issues as the feedback mechanism for content and replacing it with a new feedback system. For more information see: https://aka.ms/ContentUserFeedback.
Submit and view feedback for