Create a custom image for Azure DevTest Labs virtual machines from VHD files
In this article, you learn how to create a virtual machine (VM) custom image for Azure DevTest Labs by using a virtual hard drive (VHD) file.
In Azure DevTest Labs, you can use custom images to:
- Create a VM from a VHD file that has all the software you need preinstalled.
- Create VMs quickly, because you don't have to install all the required software on the target machines.
- Clone a VM by creating a custom image from a VM, and then creating VMs based on that image.
This article describes how to create a custom image in the Azure portal. You can also use PowerShell to create a custom image.
Prerequisites
To work through this tutorial, you need a virtual hard disk (VHD) file uploaded to the Azure Storage account for the lab where you want to create the custom image. To upload a VHD file to your storage account, follow the instructions in one of these articles:
- Upload a VHD file by using the AzCopy command-line utility.
- Upload a VHD file by using Microsoft Azure Storage Explorer.
- Upload a VHD file by using PowerShell.
Create custom images for Azure DevTest Labs in Azure portal
To create a custom image from a VHD file in DevTest Labs in the Azure portal, follow these steps:
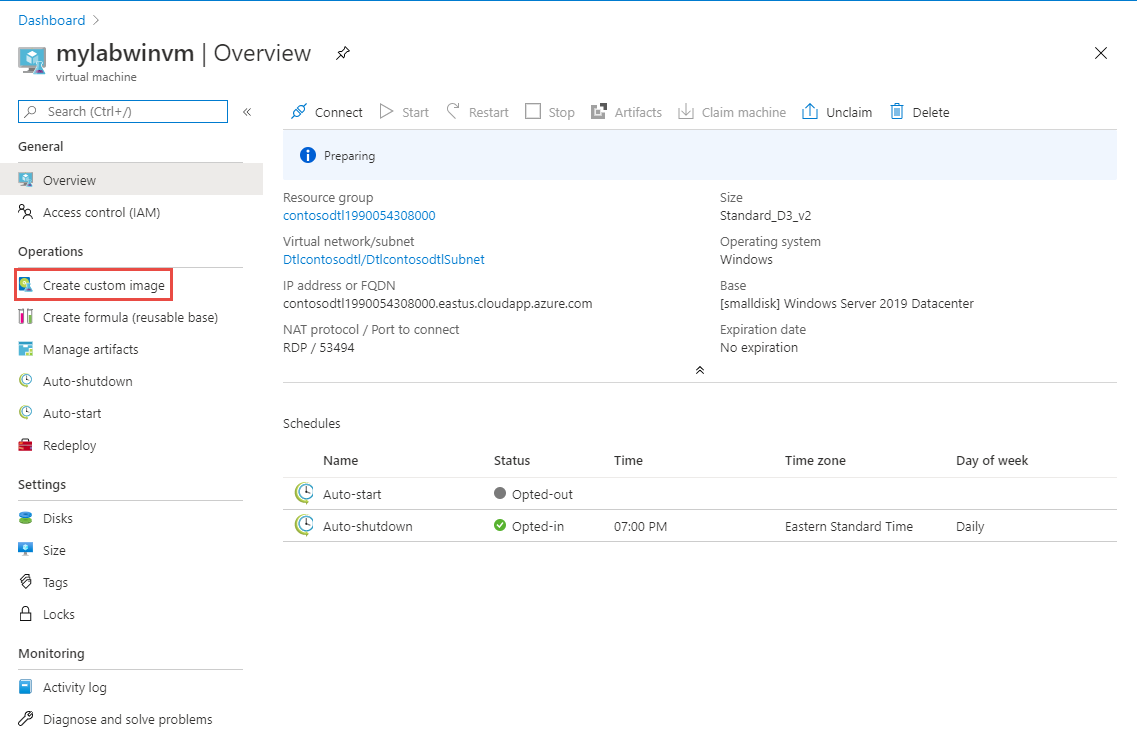
In the Azure portal, go to the Overview page for the lab that has the uploaded VHD file.
Select Configuration and policies in the left navigation.
On the Configuration and policies pane, select Custom images under Virtual machine bases in the left navigation.
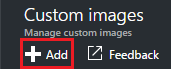
On the Custom images page, select Add.
On the Add custom image page:
- Enter a name for the custom image to display in the list of base images for creating a VM.
- Enter an optional description to display in the base image list.
- Under OS type, select whether the OS for the VHD and custom image is Windows or Linux.
- If you choose Windows, select the checkbox if you ran sysprep on the machine before creating the VHD file.
- If you choose Linux, select the checkbox if you ran deprovision on the machine before creating the VHD file.
Under VHD, select the uploaded VHD file for the custom image from the drop-down menu.
Optionally, enter a plan name, plan offer, and plan publisher if the VHD image isn't a licensed image published by Microsoft. If the image is a licensed image, these fields are pre-populated with the plan information.
- Plan name: Name of the non-Microsoft Marketplace image or SKU used to create the VHD image.
- Plan offer: Product or offer name for the Marketplace image.
- Plan publisher: Publisher of the Marketplace image.
Select OK.
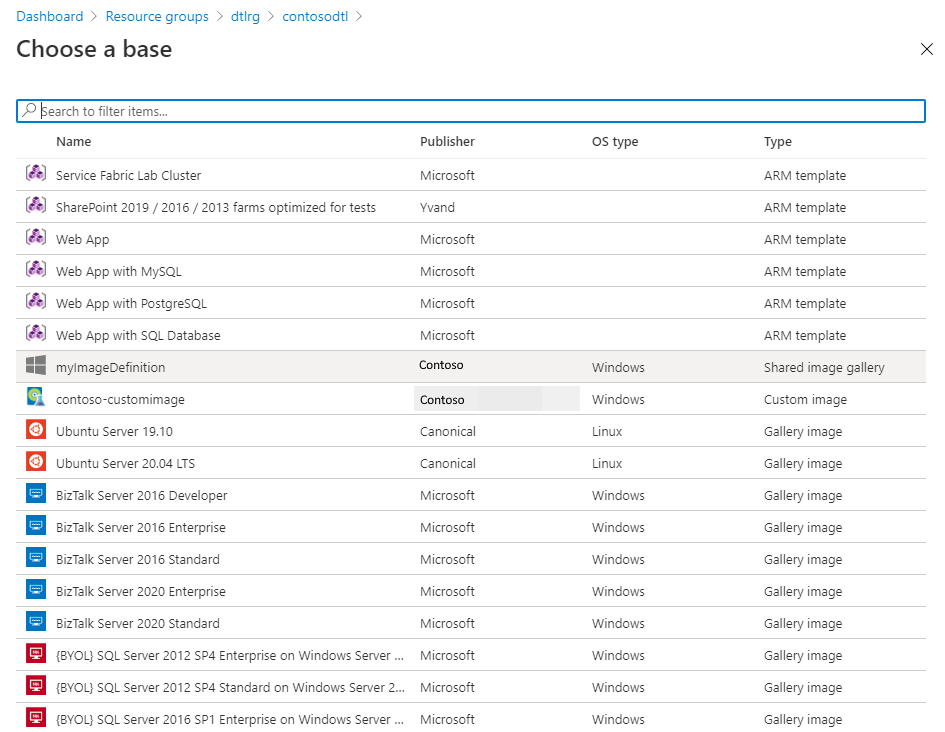
After creation, the custom image is stored in the lab's storage account. The custom image appears in the list of VM base images for the lab. Lab users can create new VMs based on the custom image.
Next steps
Feedback
Coming soon: Throughout 2024 we will be phasing out GitHub Issues as the feedback mechanism for content and replacing it with a new feedback system. For more information see: https://aka.ms/ContentUserFeedback.
Submit and view feedback for