Refresh for training purposes
Database movement operations are a suite of self-service actions that can be used as part of data application lifecycle management (DataALM). This tutorial shows how to use the refresh database operation in a training scenario.
In this tutorial, you will learn how to:
- Prepare the target environment.
- Run the refresh.
- Reconfigure the target environment.
- Enable selected users.
As an example of this scenario, a customer who has already gone live with the application wants to load a recent copy of production transactions into the user acceptance testing (UAT) environment. In this way, the customer can support training of new employees and evaluate configuration changes without affecting the live environment.
Prerequisites
To do a refresh database operation, your production environment must be deployed, or you must have a minimum of two standard UAT environments.
Notify users about the pending downtime
Before you start the bulk of the work, notify users of the target environment that the environment will be offline for a period. You can notify users either manually via Microsoft Dynamics Lifecycle Services (LCS) or programmatically by using RESTful application programming interface (API) calls.
Manually send a broadcast message
To notify users manually via LCS, follow these steps.
- In LCS, open the Environment details page for the target environment.
- Select Maintain > Message online users.
- Select Broadcast a new message for downtime.
- Select the valid from/valid to times in your local time zone.
- Select Post.
Programmatically send a broadcast message
The following sample code can be used as shown in a console application, or it can be modified to make it work with other services that can be called on demand, such as Microsoft Azure Functions. Before this sample code will work, you must set up your application registration as described in Service endpoints overview.
[Serializable]
public class SysAddBroadcastMessageDataContract
{
    public SysAddBroadcastMessageRequest request { get; set; }
}
[Serializable]
public class SysAddBroadcastMessageRequest
{
    public DateTime FromDateTime { get; set; }
    public DateTime ToDateTime { get; set; }
}
public class Program
{
    public static AuthenticationResult getResult(AuthenticationContext ctx, string url)
    {
        return ctx.AcquireTokenAsync(url, "YOUR_APP_REGISTRATION_ID", new Uri("YOUR_REPLY_URL"), new PlatformParameters(PromptBehavior.Always)).Result;
    }
    static void Main(string[] args)
    {
        SysAddBroadcastMessageRequest request = new SysAddBroadcastMessageRequest();
        request.FromDateTime = DateTime.UtcNow;
        request.ToDateTime = DateTime.UtcNow.AddHours(12);

        SysAddBroadcastMessageDataContract dc = new SysAddBroadcastMessageDataContract();
        dc.request = request;

        AuthenticationContext ctx = new AuthenticationContext("https://login.microsoftonline.com/YOUR_TENANT.COM");
        AuthenticationResult res = getResult(ctx, "https://YOUR_SANDBOX_UAT.sandbox.operations.dynamics.com");

        HttpClient restfulCli = new HttpClient();
        restfulCli.DefaultRequestHeaders.Clear();
        restfulCli.BaseAddress = new Uri("https://YOUR_SANDBOX_UAT.sandbox.operations.dynamics.com/");
        restfulCli.DefaultRequestHeaders.Add("Authorization", res.CreateAuthorizationHeader());
        restfulCli.DefaultRequestHeaders.Accept.Add(new MediaTypeWithQualityHeaderValue("application/json"));

        HttpRequestMessage requestMsg = new HttpRequestMessage(HttpMethod.Post, string.Format("api/services/SysBroadcastMessageServices/SysBroadcastMessageService/AddMessage"));
        requestMsg.Content = new StringContent(JsonConvert.SerializeObject(dc));

        HttpResponseMessage responseMsg = restfulCli.SendAsync(requestMsg).Result;
        if(responseMsg.IsSuccessStatusCode)
        {
            Console.WriteLine("Wow I just notified the users programmatically!");
        }
    }
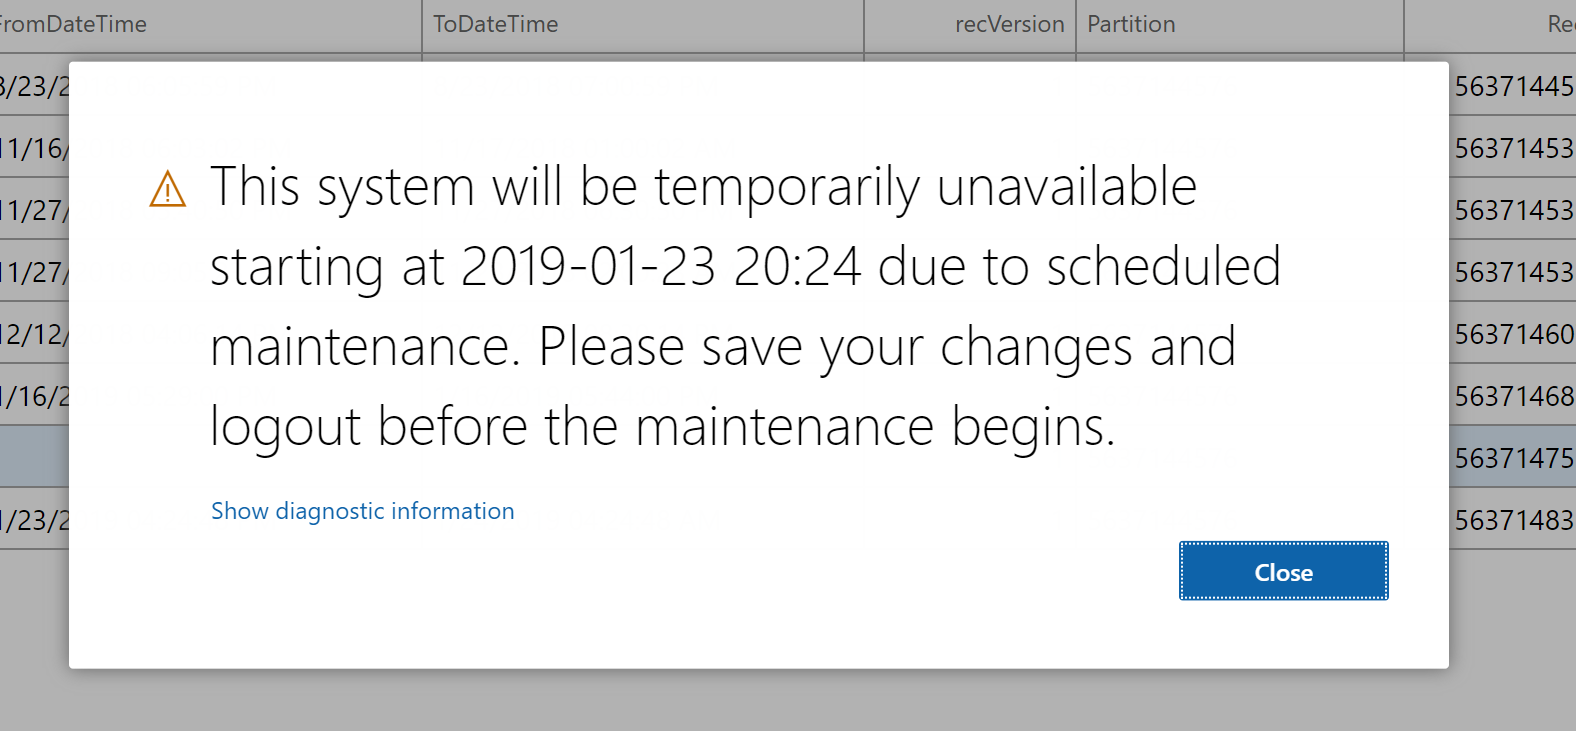
Both approaches, manual via LCS and programmatic via RESTful API calls, will show users that a period of downtime is pending.
Begin the refresh
Depending on the size of your source environment, it might make sense to begin the refresh process immediately. The larger the source database, the longer it will take to copy to your target Azure SQL Database instance. While the copy is in progress, the target environment will still be online. The downtime will start after the copy is completed.
This process can be done manually via LCS. For the latest steps, see Refresh database. In a future release of LCS, you will also be able to trigger this process via a RESTful API.
Reconfigure environment specific settings
After the refresh is completed, use the Sign off button in LCS to close out of the operation. You can then start to configure the environment-specific settings.
First, sign in to the environment by using the admin account that can be found on the Environment details page in LCS. Here are typical areas of reconfiguration. You might require additional reconfiguration, based on your setup and the independent software vendor (ISV) solutions that are installed.
- System administration > Setup > Batch groups: Add the various Application Object Server (AOS) instances to the batch server groups that you require.
- System administration > Setup > Entity Store: Refresh the various entities that you require for Microsoft Power BI reporting.
- System administration > Setup > System parameters: Reconnect the environment to the LCS Help configuration for task guides.
- System administration > Setup > Email > Email parameters: Enter the Simple Mail Transfer Protocol (SMTP) settings if you use email in your UAT environment.
- System administration > Inquiries > Batch jobs: Select the jobs that you want to run in your UAT environment, and update the status to Waiting.
To complete this reconfiguration more quickly, we recommend that you build a custom web service endpoint that can be called on demand after the refresh is completed. An example of this type of web service will be added in a future update of this article.
Open the environment to users
When the system is configured as you require, you can enable selected users to let them access the environment. By default, all users except the admin and Microsoft service accounts are disabled.
Go to System administration > Users > Users, and enable the users that should have access to the UAT environment. If many users must be enabled, you can complete this task more quickly by using the Microsoft Excel Add-In.
Feedback
Coming soon: Throughout 2024 we will be phasing out GitHub Issues as the feedback mechanism for content and replacing it with a new feedback system. For more information see: https://aka.ms/ContentUserFeedback.
Submit and view feedback for