Hi,
I tested in my lab, Windows Server Migration Tools also support Windows Server 2019. Since Server 2008 is out of support, so I tested from Windows Server 2016 to Server 2019, you may use the command on Server 2008 instead of the command on Server 2016.
Below are the detailed steps:
==================
- Install Windows Server Migration Tool both on Server 2016 (you may install on Server 2008) and Server 2019.
- On Server 2016 use the following command to export Local group and users:
SmigDeploy.exe /package /architecture amd64 /os WS16 /path <destination host shared path>
(On server 2008: SmigDeploy.exe /package /architecture amd64 /os WS08 /path <destination host shared path>)
Export-SmigServerSetting -User All -Group -Path <destination host shared path> -Verbose
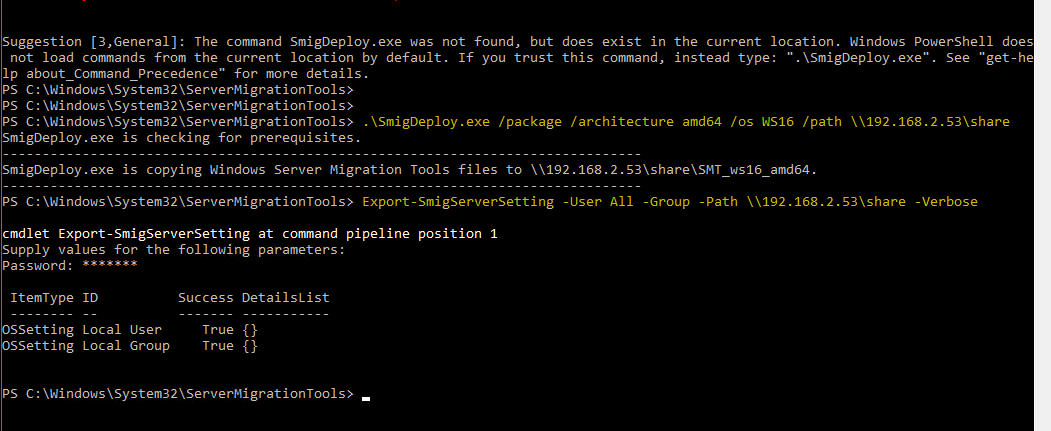
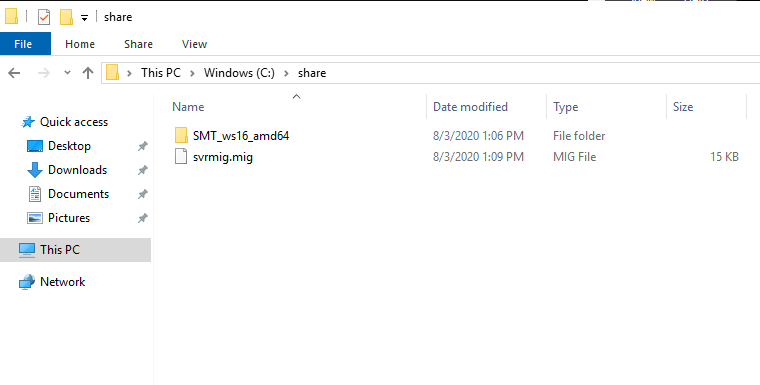
Then the local Groups and users will be export to the destination host shared folder, like below:
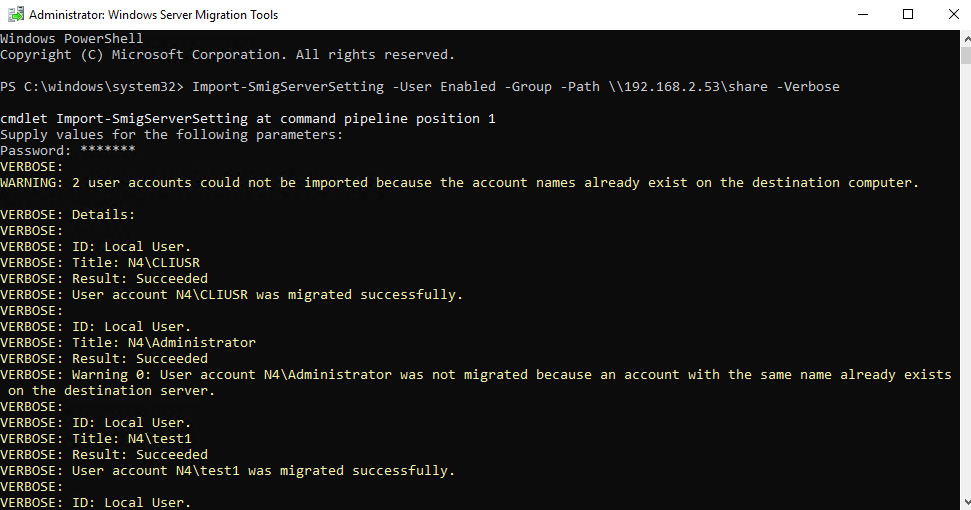
- On the destination host Server 2019, open Windows Server Migration Tool, run as administrator. Type the following command:
Import-SmigServerSetting -User Enabled -Group -Path <shared folder path> -Verbose
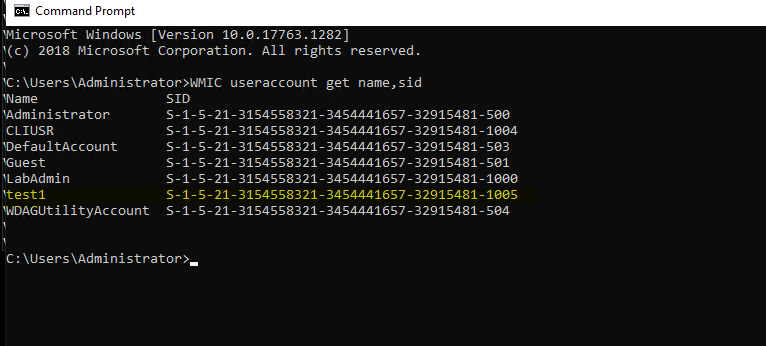
After migration, check the SID of the users and the Groups:
On the source server:
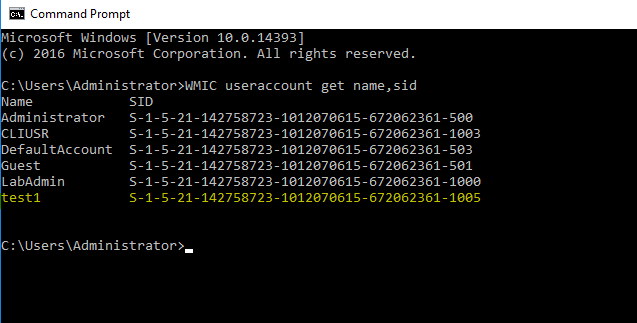
On the destination server:
Thanks for your time! If you have any other concerns or questions, please feel free to feedback.
Best Regards,
Anne
' cx='32' cy='32' r='32' /%3E%3Ctext x='50%25' y='55%25' dominant-baseline='middle' text-anchor='middle' fill='%23FFF' %3EG%3C/text%3E%3C/svg%3E)