Integrating Selenium tests in a release pipeline in VSTS and TFS 2018
Today, I'd like to show you a proof-of-concept I created for one of my customers where we implement User Interface (UI) test automation into a Continuous Integration/Continuous Delivery (CI/CD) pipeline in Visual Studio Team Services (VSTS).
First, a little background on the problem we're trying to solve: my customer wanted to introduce automated testing into their CI/CD pipeline. The conversation when in the direction of integrating Unit Tests and doing automated Integration Tests. We did implement some unit tests and integrated them into the solution and the release pipeline.
However, there are clear challenges on implementing unit tests on legacy code. Can you justify the time/effort to implement a good set of unit tests on legacy code? I'm not going to go deep into this topic, which is worth a blog post on its own. Suffice to say that, most teams choose to do a gradual implementation of unit tests as bugs are fixed and technical debt is paid.
Some teams find it easier to start implementing UI "smoke tests", in parallel with the effort of gradually implementing unit tests. In this example, we cover the scenario where we have automated deployments, but the developers perform smoke tests to make sure the application was successfully deployed. These tests can be simple, like: going to the home page of a web app, clicking on a link that requires database connectivity, running a report, etc.
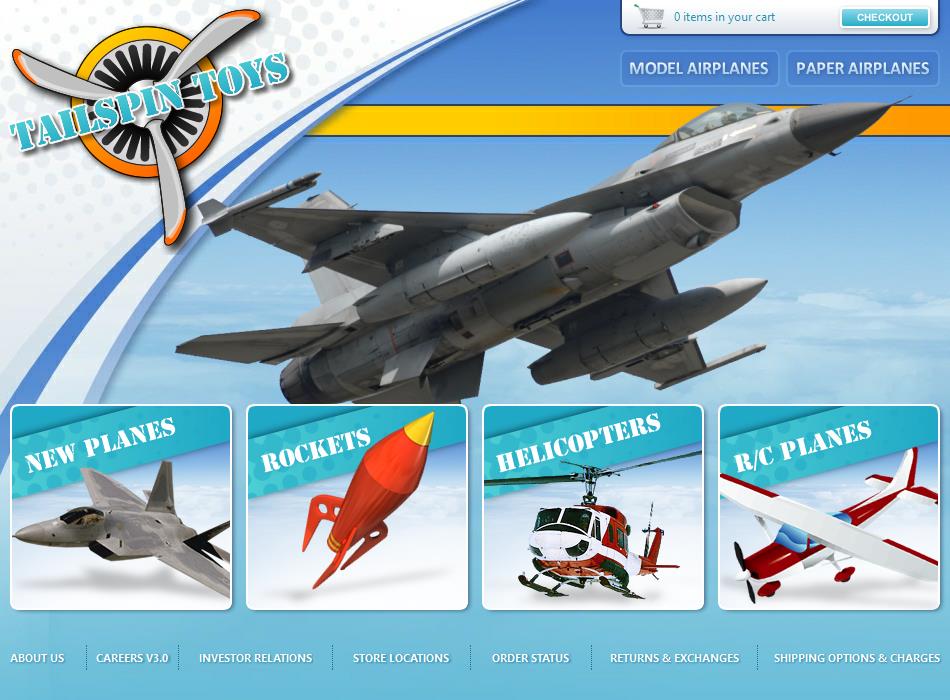
I'll be using the famously old TailSpin Toys web app for this. It's a simple web app where you can buy paper planes. The idea is that we want to run a couple of smoke tests:
- Browse one of the products and make sure the data retrieved from the database is correct
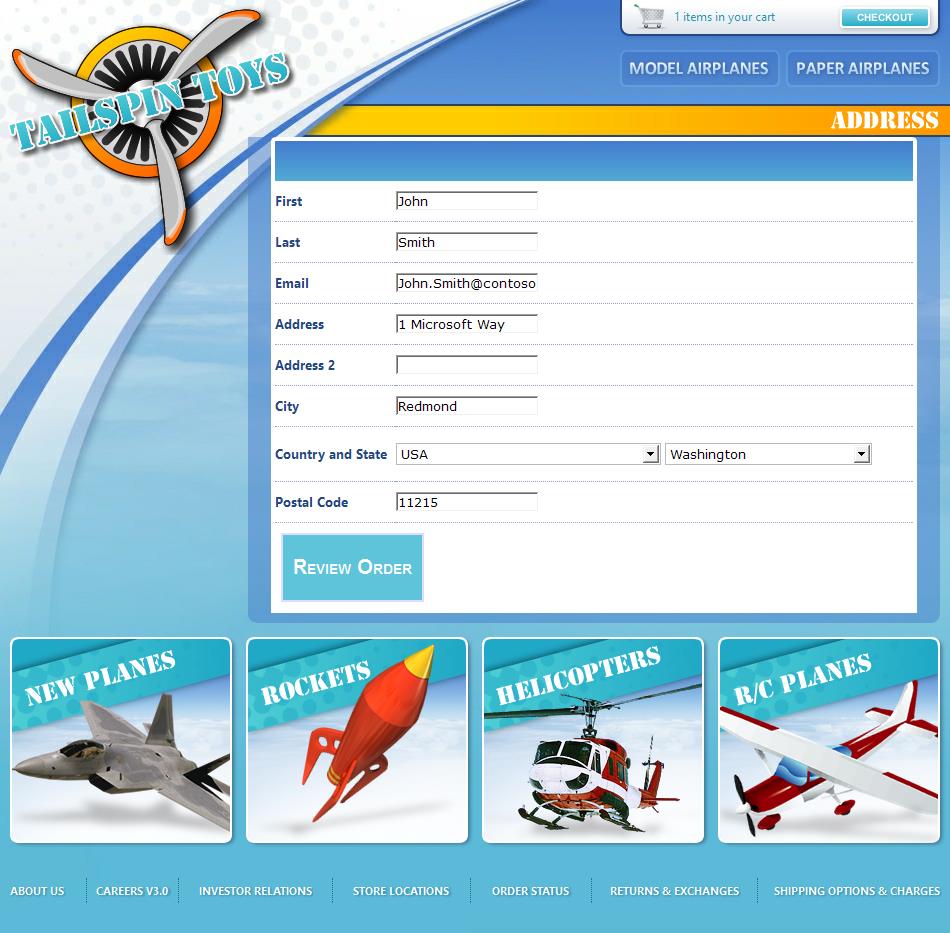
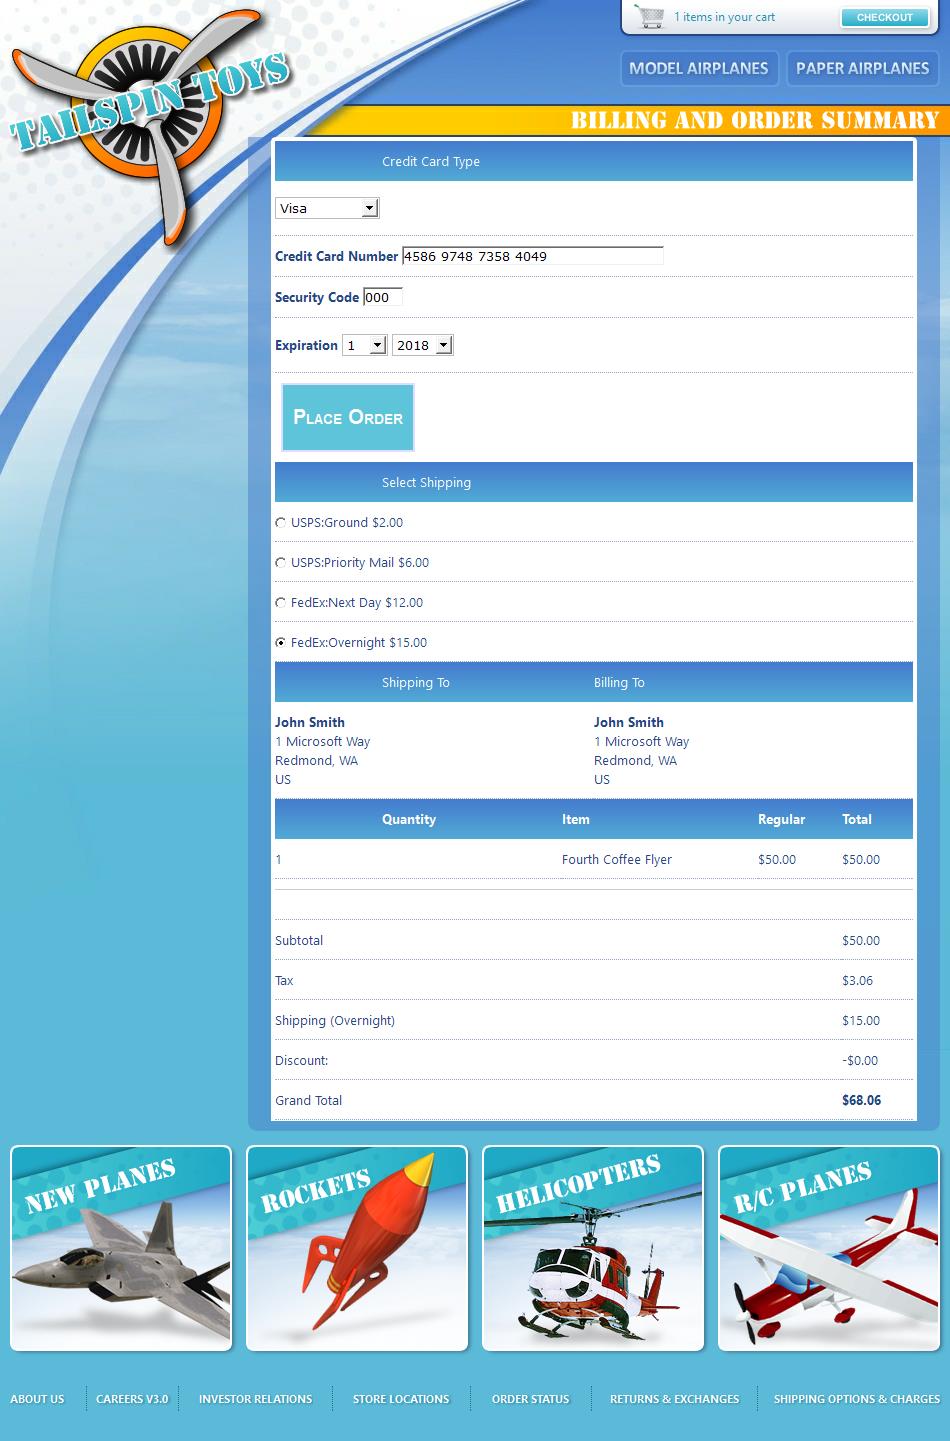
- Add a product to the shopping cart, fill out the order and make sure the total is greater than zero
First, what we do is we create a Unit Test project in Visual Studio, adding the following Nuget packages. I'm using MSTest framework, but you can use any other framework of your choice:
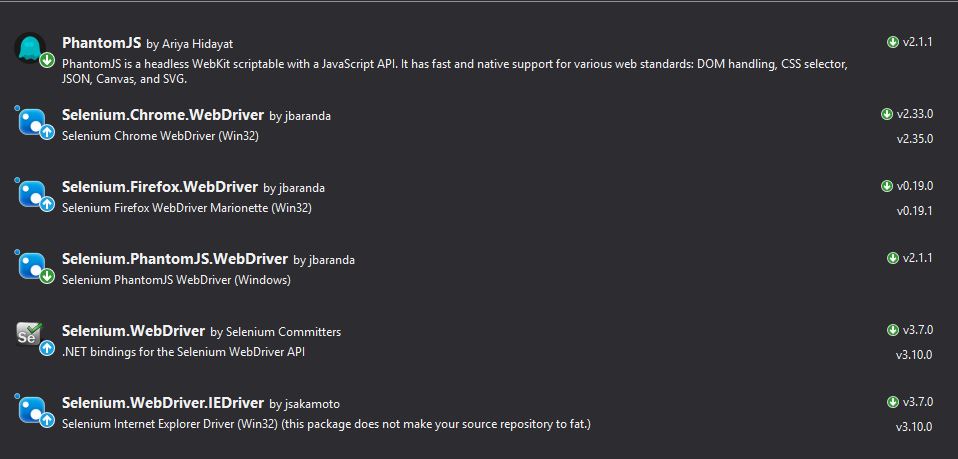
Note that, you only need the PhantomJS packages and Selenium.WebDriver. The other ones are there so I (or you) can execute the tests in a Chrome, IE or Firefox window and see it executing for debugging/test purposes.
Next, jumping into our C# class that hosts the tests, we have the following:
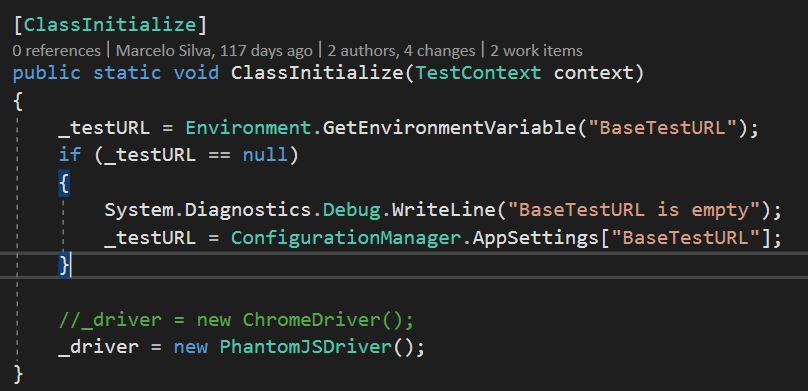
This method runs once the before all the tests in this C# class run and, in this case, I chose to use it to initialize the test URL to be used and to initialize the PhantomJSDriver.
Next, we go to the TestInitialize method, where it runs before every single test in this class:
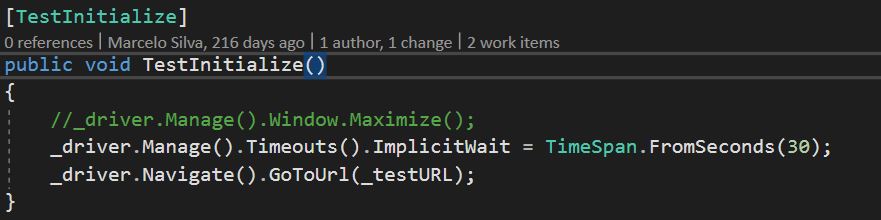
Here, before every test, we make sure the ImplicitWait is reset to 30 seconds and that we navigate back to the home page. If you want to run the test in a virtual maximized window, you can do that by using the Window.Maximize() method seen above. This might come in handy if you have a web page that doesn't fit well in a small window, or better yet, you want to test your responsive design and then can set the window size to an iPad Mini for example:
_driver.Manage().Window.Size = new System.Drawing.Size(1024, 768);
The first test method is the Browse scenario where we test for the data in the description field:
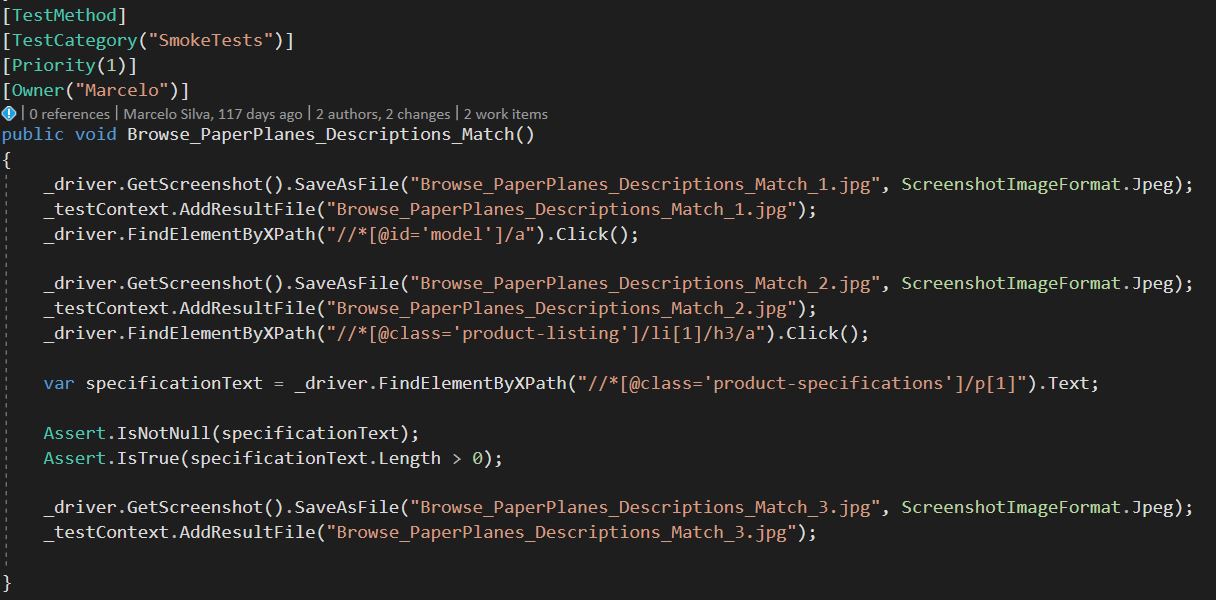
Let's dissect this test method:
- TestCategory attribute: I set this as to differentiate the smoke tests from other types of tests in the same project. I can then tell VSTS to only run tests with this category during a release, not during a build. You can also use different projects.
- The test consists, basically of finding the element (anchor in this case) where id=model and click on it. Then we click on the first product in the list, extract its description and check whether it's a non-null string with length > 0.
- I have used XPath to find the elements, but you can also find elements by ID, tags, etc.
- I have added steps to take screenshots before each step. One takes the screenshot and saves it as a JPG file while the other adds it to the results file. The latter is an important step as it will allow you to see the screenshots in the Test hub in VSTS
Here's the other method where we add a product to cart, fill out the order form and check the total price is > 0:
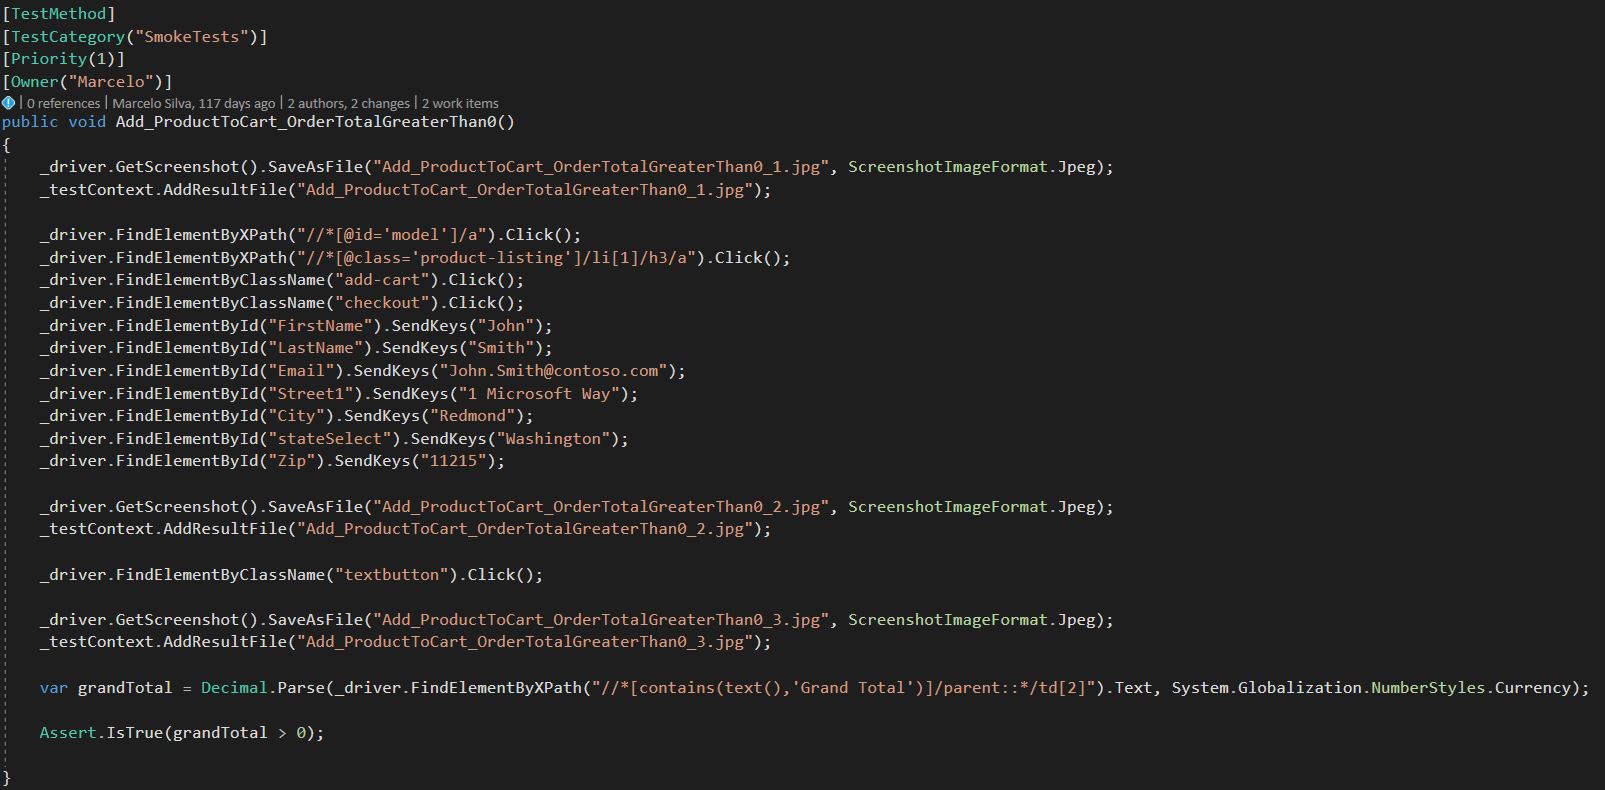
- This one has a good set of examples on how to find elements using different methods
- Notice that it now becomes important for you to make the web app "testable" by making it easy for someone writing UI tests to find and identify the elements in the DOM.
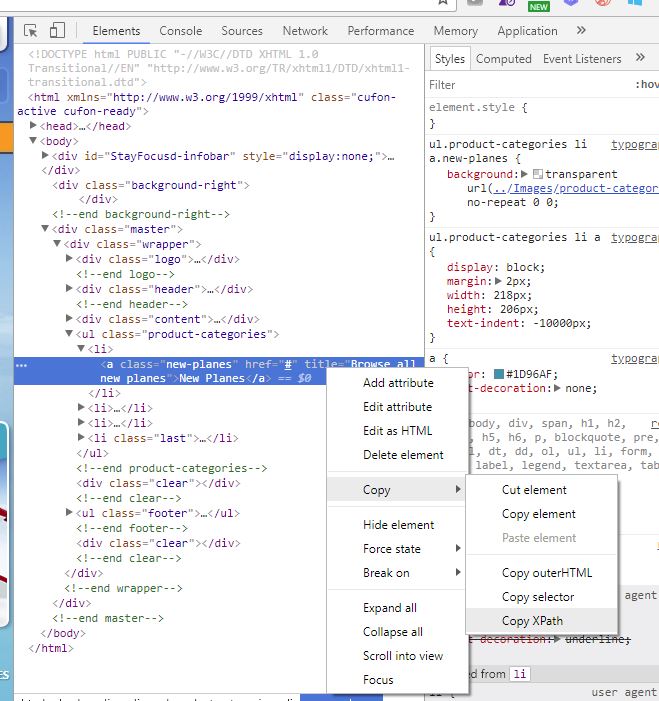
If you have Chrome, you can use one option for finding out what the XPath is for a giving element, by inspecting it and copying the XPath to the clipboard:
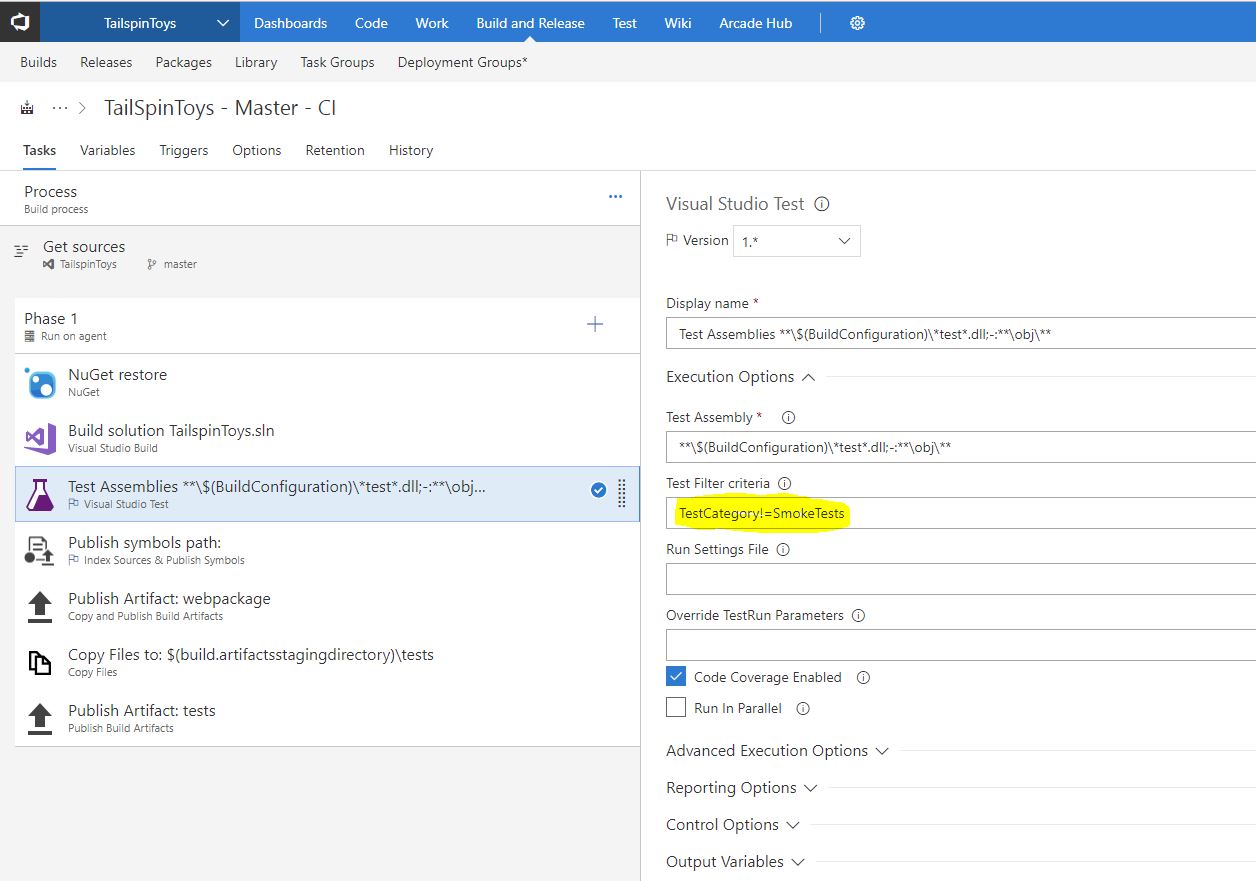
Now, when this is checked in to my project in VSTS, it kicks off a build. In that build, I make sure that no smoke tests are executed:
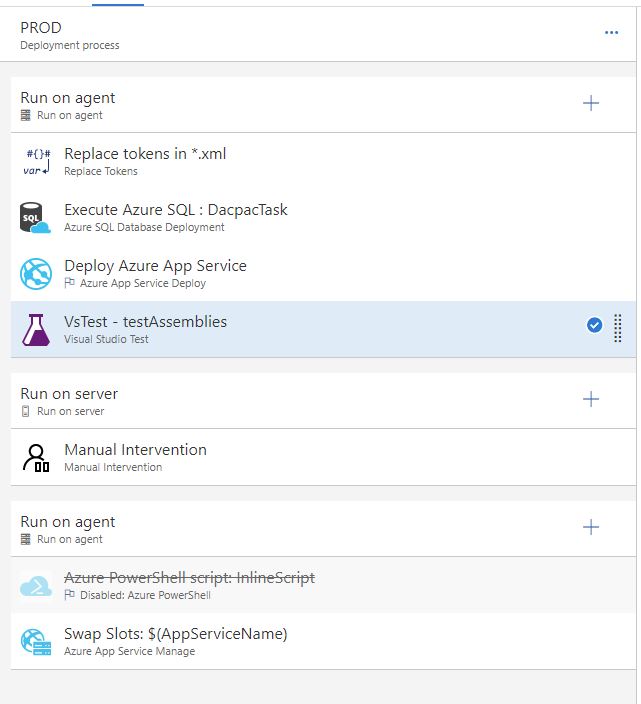
Now, on my release definition that's used to deploy the application, I have two environments: QA and Prod:
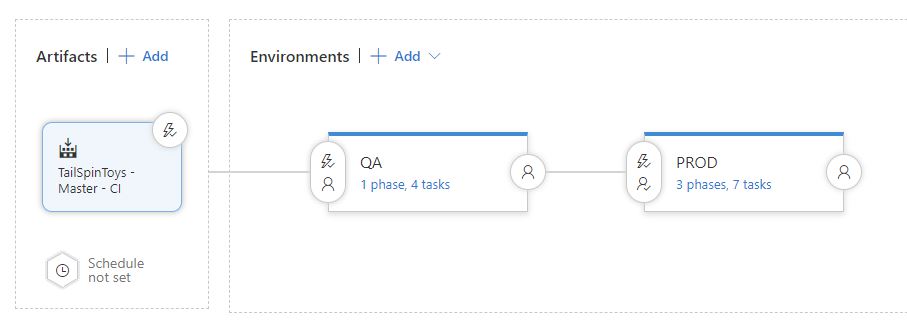
In this example, I chose to run the smoke tests in the QA environment after deployment, and in Prod after deployment targeting the staging slot. Once the tests pass in staging, there's a manual approval step where we proceed to swap slots and make the deployment official.
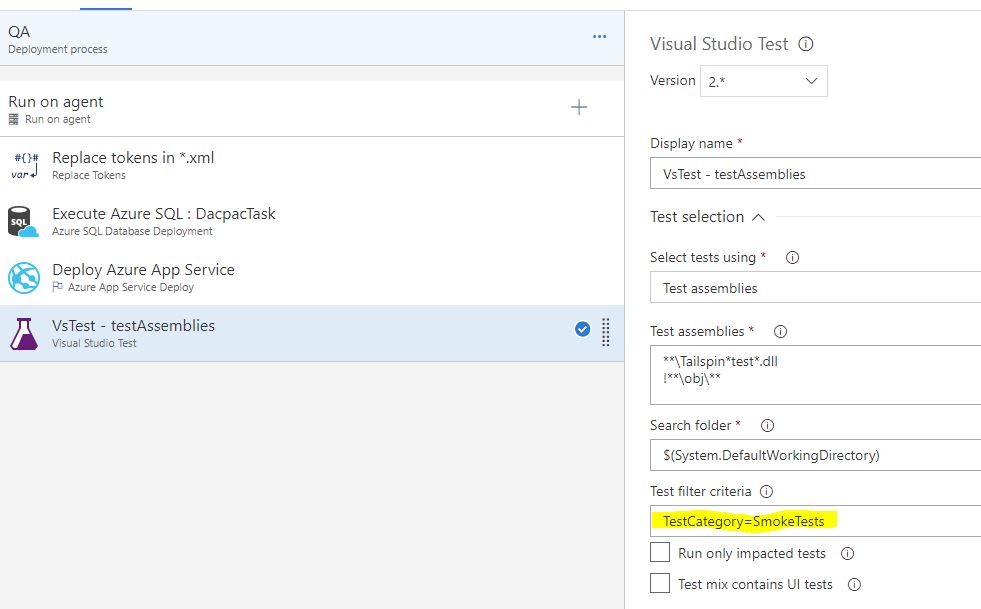
Note that, when the smoke tests are executed, we make sure we only run them, not any other Unit tests by selecting the proper category:
QA process:
Production process:
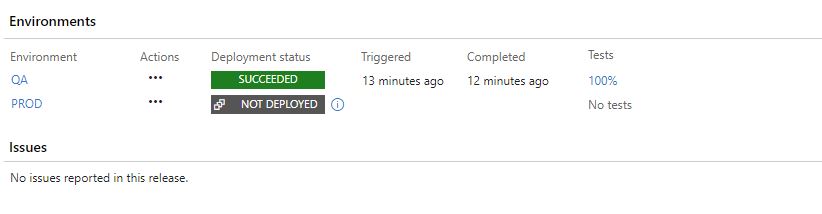
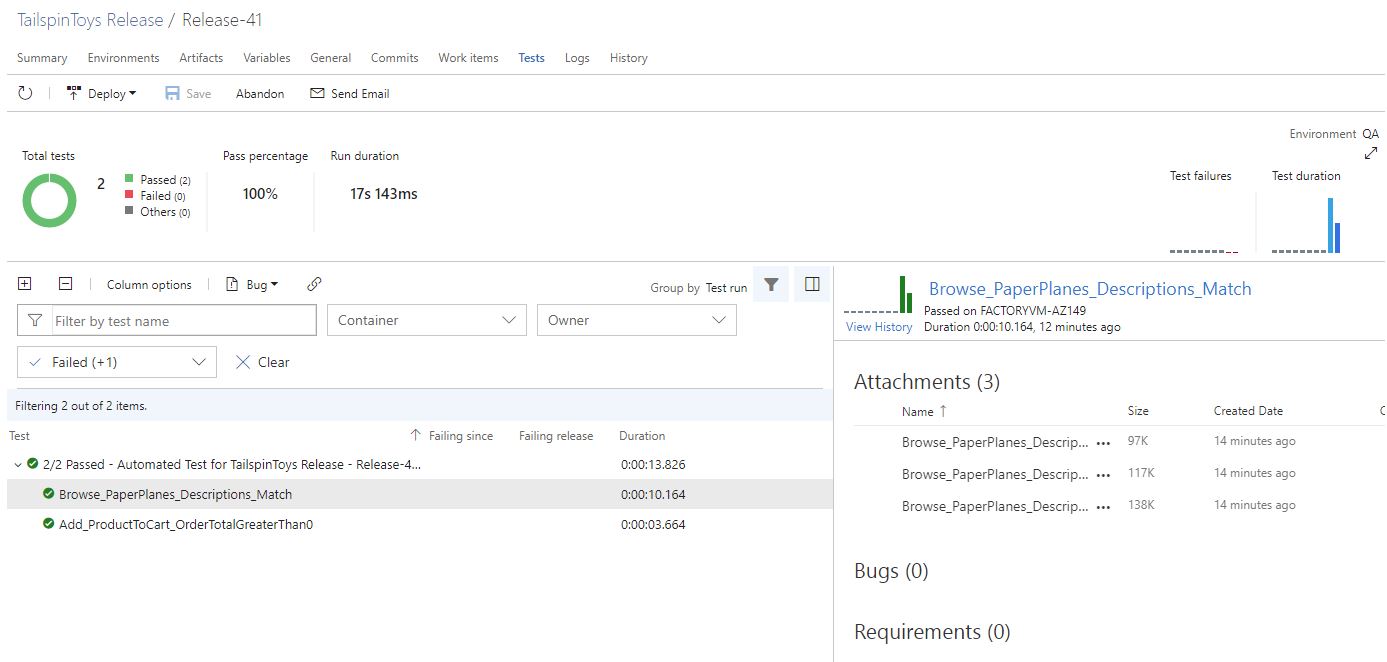
Once we trigger the release for QA, it runs successfully, and we can see the test results:
And we can see screenshots of the smoke tests as well. The sequence below is the add to cart test:
There you have it.
Now, as a follow-up to this, I'm planning on showing how to do a similar case for a Win32 app test on Windows 10 using an Azure VM as test bed. This will include installing and using Appium.