Tutorial #2. How to publish your first site using BlogEngine.NET
Open the Azure management portal, by going to https://portal.azure.com. Sign in with your DreamSpark/Azure account.
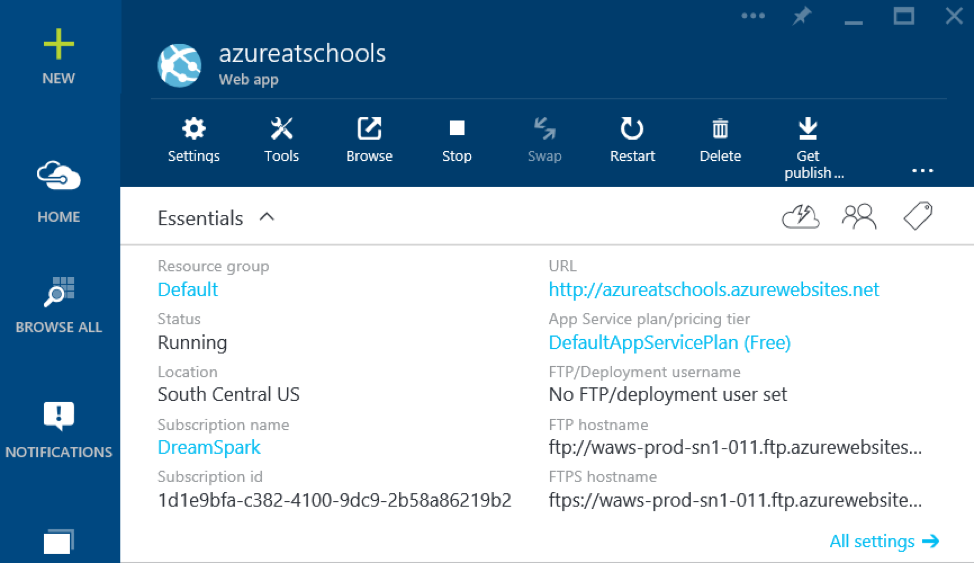
You will see the following page:
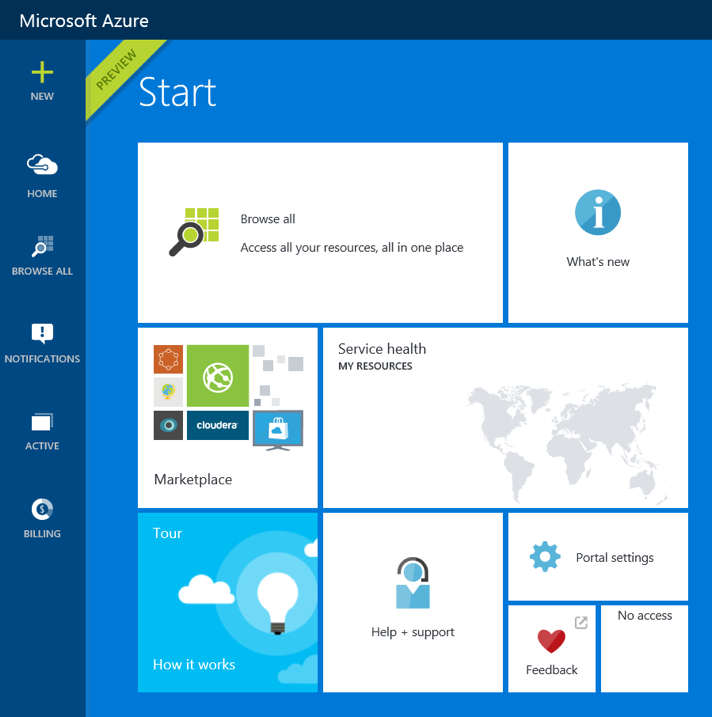
The Azure management portal gives you access to all the web sites that you have created and browse all available resources. But since we just created our account, we don’t have any sites to browse yet. So let’s create our first web site!
Select the New button at the top left corner of the page.
Using this one magic button developers can create lots of different things in Azure but we want to create a web site. Select Web + Mobile from the list of categories and then select Web App from the list.
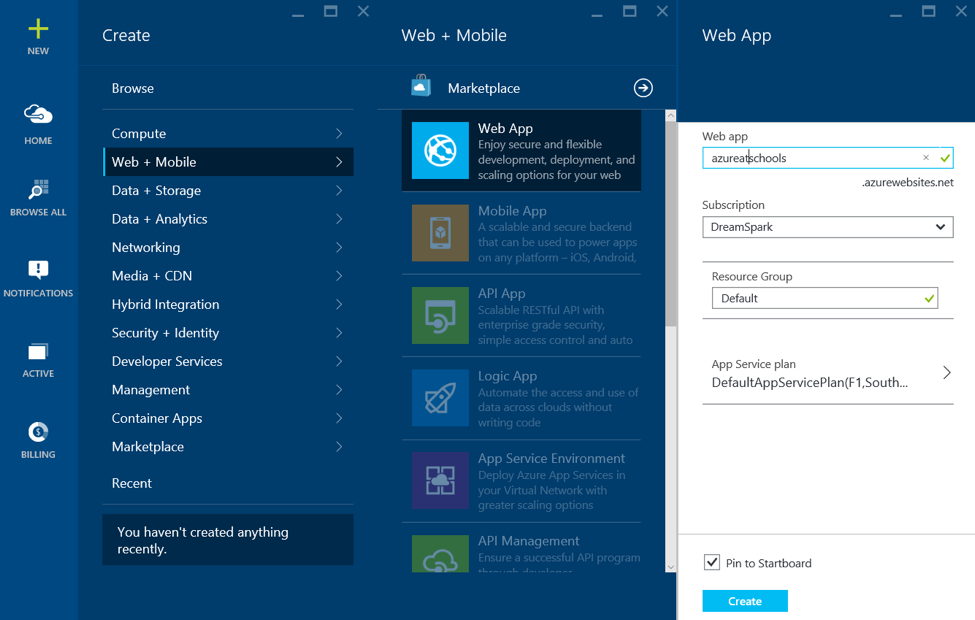
This window allows you to create a new web site from scratch. If you enter a name and click the Create button and your web site will be created. But, it will be an empty web site. This works great for developers who already have a website created and just want a place to host it. But we don’t have our own website yet. So, instead of the Web App tab, we will use Marketplace button below. The Marketplace gives you access to lots of ready to use solutions so you can publish your web site based on predefined templates.
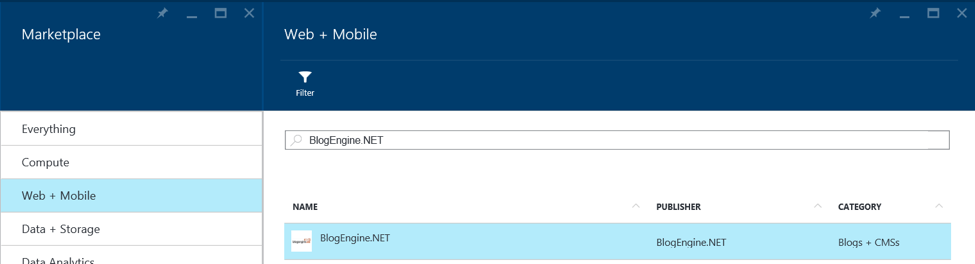
Click on the Marketplace button, and you will see a list of different templates. We are going to use a popular blogging template called BlogEngine.NET. Just use the search field to find BlogEngine.NET in the list and click the Create button.
Now you have enter a name for your Web app. This will determine the URL you type in to visit your new website. The URL will be <your Web App name>.azurewebsites.net . You can share this URL with your friends and parents so they can visit your website as well.
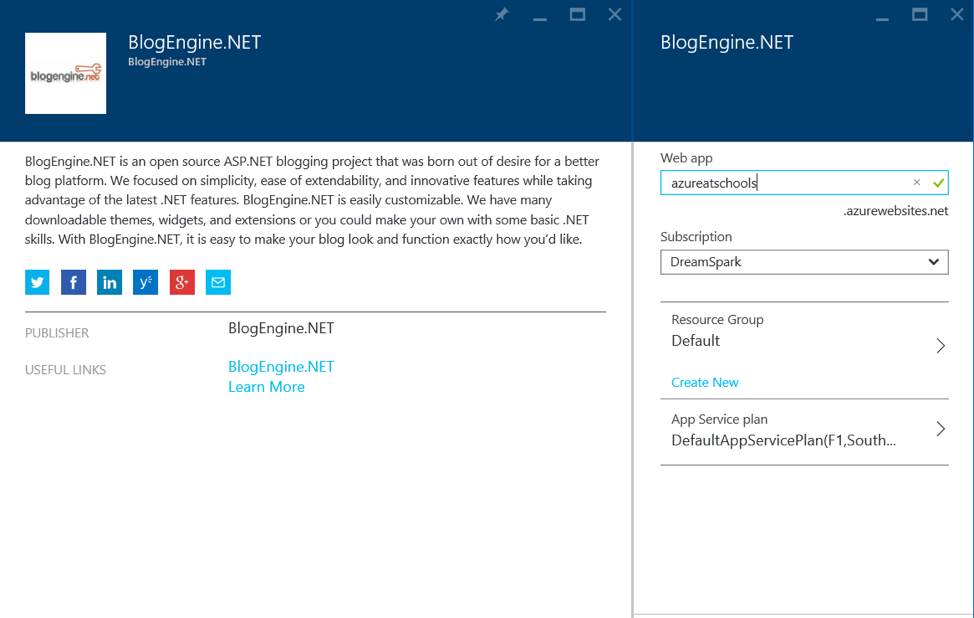
Once you have entered a name select Create and then, using the Notification tab on the main page of the management portal you can follow the progress and see the status of your site.
Within a few minutes your site will be ready:
Congratulations you have just created a web site. But we need to set up our BlogEngine.NET account so we can start adding content to our site.
You can click the URL link on the panel to see your blog. For my website, the link is https://azureatschools.azurewebsites.net.
Click at the top, and enter login: admin, password: admin. BlogEngine.NET uses this as a default login and password. The first thing you need to do is change the default password before someone else does!
Once you log in you will see the Administrator widget. To change the password, select Change password
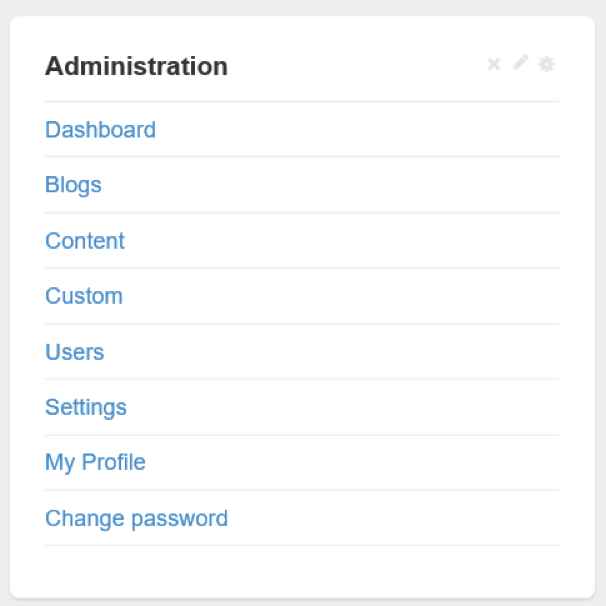
Enter the old password (admin) and provide a new one. Once that’s done you are preventing someone else from logging in and changing your website just by using the default login and password.