Microsoft Bookings: How to Setup a Microsoft Bookings Site
Microsoft Bookings is an incredible new scheduling tool available with certain plans for Office 365. Simply put, this tool was built for businesses who depend on scheduling appointments with their customers. Examples of where this tool is a perfect fit is for an accounting office, a hair stylist, a dog groomer, an auto mechanic shop, a dentist office, etc. More information about the tool and additional applications is available here.
To help a business that may not have access to a technical resource get started with Microsoft Bookings, I am creating a series of blogs with step by step guidance. Even with minimal technical experience, these blogs will enable a business owner to easily and quickly setup a Microsoft Bookings site. Using these blogs, you'll see just how simple this setup is! Please always consider leaving comments at the end of this blog or ask any questions you may have.
Index of Blog Series on Microsoft Bookings:
Microsoft Bookings: How to Setup a Microsoft Bookings Site (this page)
Microsoft Bookings: How to Customize a Microsoft Bookings Site
How do I get Microsoft Bookings?
Microsoft Bookings is a product that is part of Microsoft Office 365, a trusted cloud service that has over 100 million subscribers. The products offered in Office 365 are based on the subscription purchased. Microsoft Bookings is available as part of the Microsoft Office 365 Business Premium subscription plan that includes an email account, Microsoft Office apps for PCs, tablets, and phones as well as a variety of additional features and products. For the latest information and an area to begin a subscription with Office 365, please visit this site.
Setup Microsoft Bookings for the First Time
After you have signed up for Office 365 with a plan that includes Microsoft Bookings, you can begin the setup.
With your Microsoft Office 365 tenant now setup, you will need to logon to the administrative portal at https://portal.office.com. The administrator name and password is the unique Office 365 tenant you chose at the initial setup of Office 365:
Name: accountname@tenantname.onmicrosoft.com
Password: the password you chose for this administrator account
Once logged into the Office 365 portal, click on the application "waffle" area on the upper left screen.

In the applications area, locate the icon that looks like the one below called Bookings. Click on it to open the Microsoft Bookings.

The website to Microsoft Bookings will now open to a welcome screen.
Click on the Get it now button to begin.

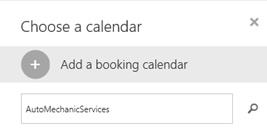
In the next window, enter the name of your new Bookings calendar. In this example, the name is AutoMechanicServices that we will focus on. Then click Add a booking calendar.
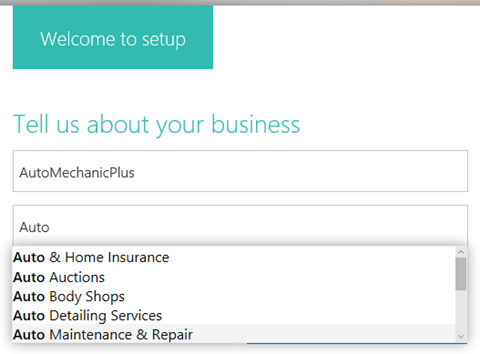
The Setup process continues with a request for more information about your business. In this example, I will provide a fictitious business name and type. Notice as I type the word Auto in the business type field how it auto completes the field. I chose Auto Maintenance & Repair for this example.
When complete, click Continue to begin the site build. This may take a few seconds to complete.
The new Microsoft Bookings site now appears and is ready to use!
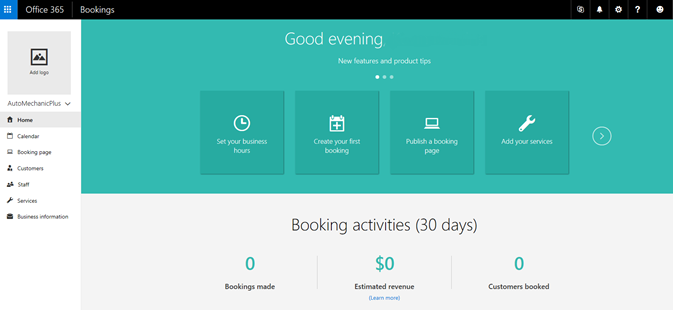
Congratulations! You now have a Microsoft Bookings site ready to go! Begin to click on the different options to explore the settings. Keep in mind, this is the cloud, you can't break it! So explore every option you see!
Microsoft Bookings: Blog Series Information
I will continue with additional blog posts in the future on the topics listed below. Please check back for additional content or sign up for blog notifications using the options on the side of this page.
Microsoft Bookings: How to Customize Your Bookings Information (services offered, hours, business logo, staff, etc.)
Microsoft Bookings: How to Publish Your Booking Page and Get Customers Using It!
Microsoft Bookings: What do Your Customers Experience?