Portal Customization - Updating Attributes for All Users Search (Column Headers)
You may need to update the attributes that are displayed for all users when searching for a user which can be used to help narrow down your search results, or maybe you need to look at attribute values of several users at once with out having to click on each user individually to get the value.
By default the following attributes are displayed for users when they click on the Users Link either from the main home page or the Navigation Bar.
Display Name, Domain, Account Name, Job Title, Office Location, Office Phone, E-mail

Lets say you want to Add additional Attributes or remove un-needed attributes you would need to simply update the All Users Search Scope.
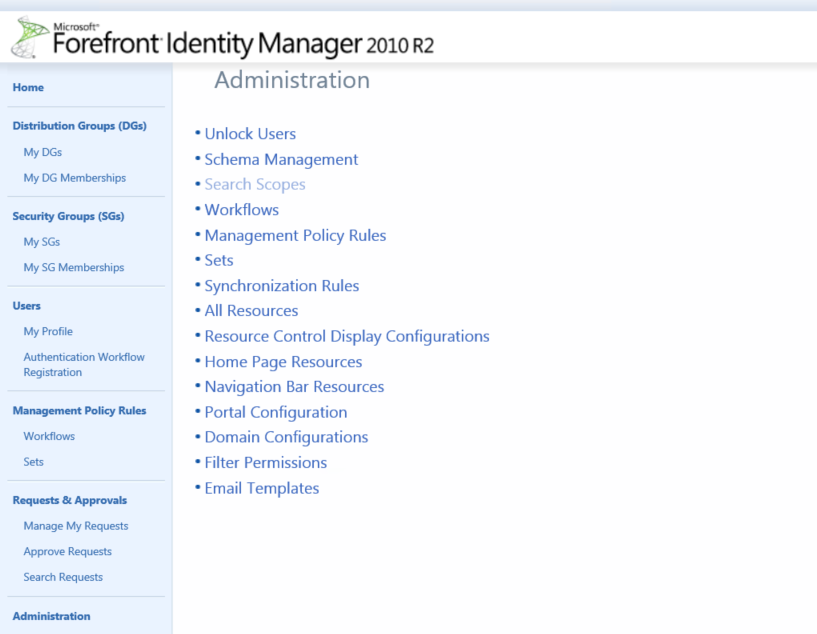
The All Users Search Scope is located within the Administration Page of the FIM Portal. while logged into to the FIM Portal with an account that is a member of the Administrators Set in FIM either click on Administration from the Navigation Bar to the left of the screen or click on the shortcut from the administration section to the right of the home page.
From the Administration Page click on Search Scope
Once your on the Search Scope Page

Now locate the Search Scope All Users
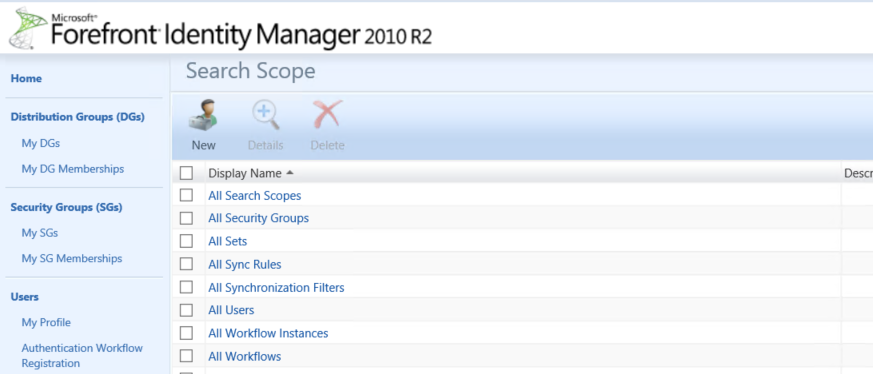
Click on to open the All Users Search Scope
You will notice by default you see 4 Tabs (General, Search Definition, Results, and Localization)
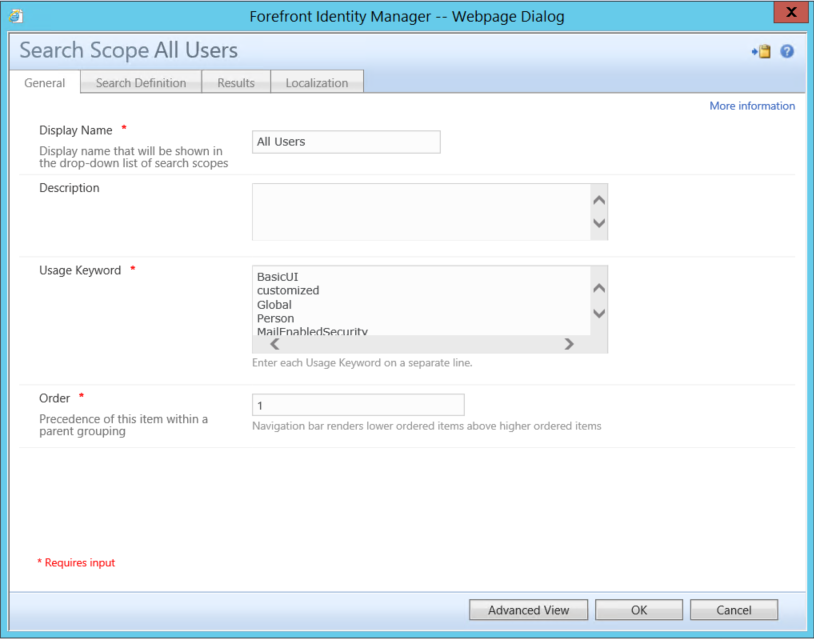
For this post we will be focused on the Results Tab
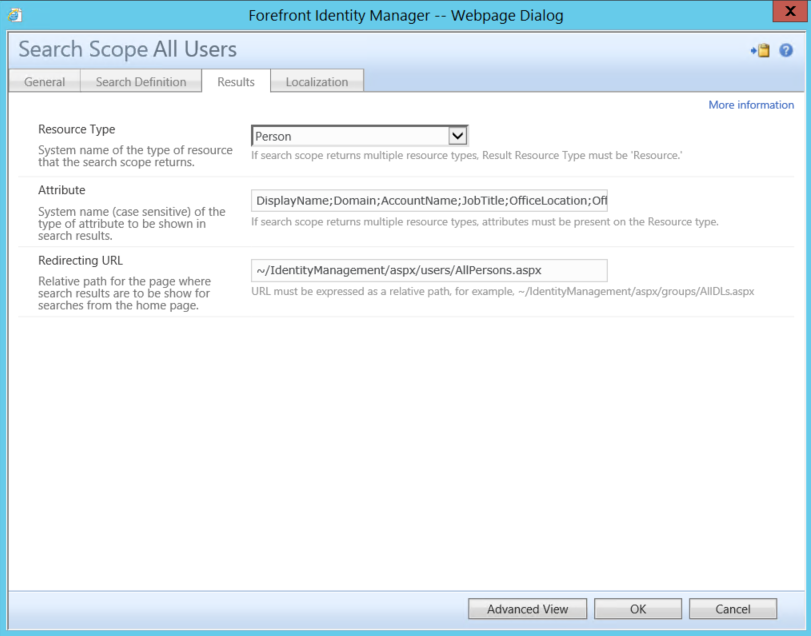
Notice the section for Attributes in the middle? with the Default Values of DisplayName;Domain;AccountName;JobTitle;OfficeLocation;OfficePhone;Email
This is where we can Add, or remove attributes you wish to be displayed, I would note that you only have so much room and you don't want to crowd the screen with to much information so only add attributes you really want displayed for a mass view.
So lets first add an attribute, for this blog posting we will add the Employee ID attribute which appears as EmployeeID in the FIM Portal Schema and that is what is needed when you add an attribute.
After Email add a semi colon ; and then type EmployeeID.
It should now look like DisplayName;Domain;AccountName;JobTitle;OfficeLocation;OfficePhone;Email;EmployeeID
Once complete click on OK
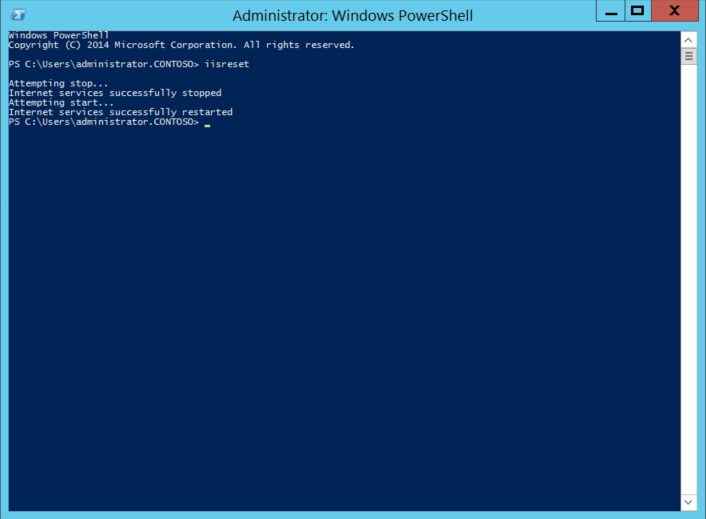
Open up a Command Console or PowerShell Command Prompt, you may need to run as an admin.
Type IISRESET and hit the enter Key on your keyboard
When its complete you will be notified of Internet Service Successfully restarted
To verify the attribute was added navigate to the Users Search Screen
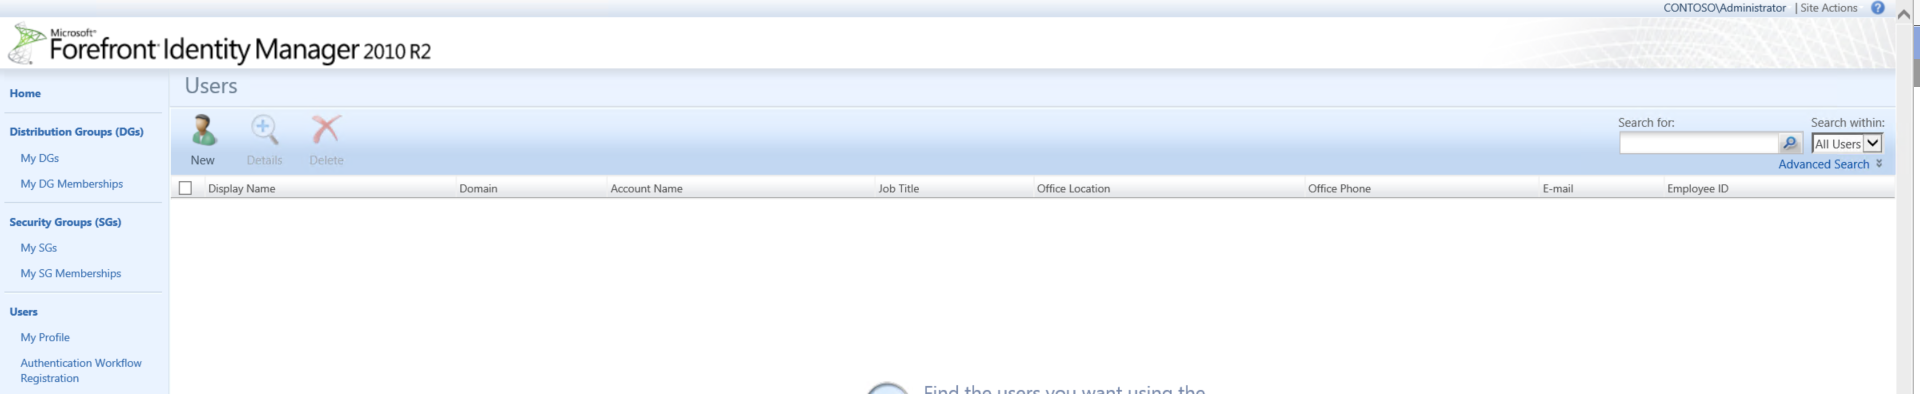
Keep in mind the placement is determined by the order in which the attributes are typed for example by moving the order of any of the attributes in that are typed in the Results page of the All Users Search scope will determine the order that the attributes are displayed to the user.