HOWTO: Change collation of AX database?
AX databases are by default created with the same collation as your SQL Server has. But time to time you might need the database to have different collation. Maybe you think you can just execute ALTER DATABASE statement to change database's collation but this won't help. It is necessary to take in account that also all character columns (char, varchar, nchar, nvarchar, text, ntext) have also collation that might be different from the database one. So, what do you have to do to change collation of the whole database including the columns? Let's assume we have a database that has Latin1_General_CS_AS collation. Having AX database with case sensitive collation is really bad idea so we want to change it to Latin1_General_CI_AS.
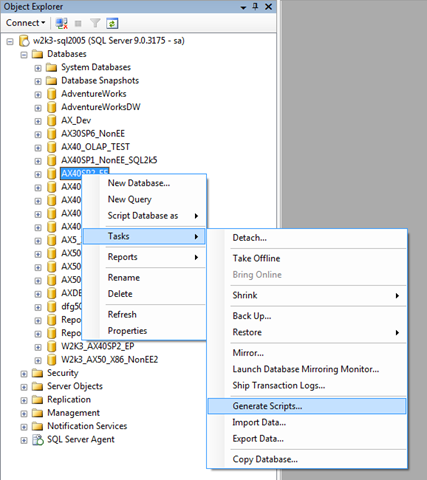
First step we have to do is to script out current database. Open SQL Server Management Studio, connect to SQL Server Database Engine and expand Databases node in Object Explorer. Then right-click the required database and from the context menu select Tasks -> Generate Scripts.
Select the proper database and check Script all objects in the database and click Next.

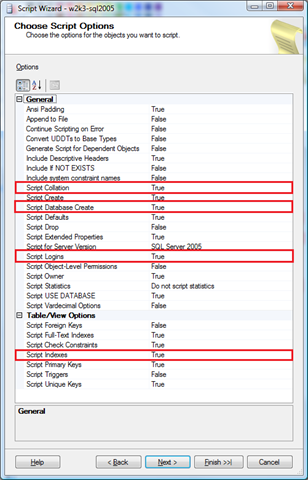
On Choose Script Options page set following properties to True and click Next:
- Script collation
- Script Database Create
- Script Logins
- Script Indexes
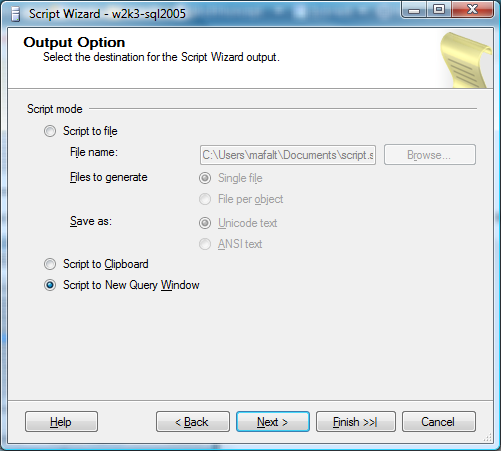
Select Script to New Query Window and click Finish to generate the script.
Click Close after the script creation is completed.

The script will be open in a new query window. Now we need to change name of the database. Press CTRL+H to open Replace window and type original database name into Find what text box and new database name into Replace with text box. Then click Replace All to use new database name through the whole script.
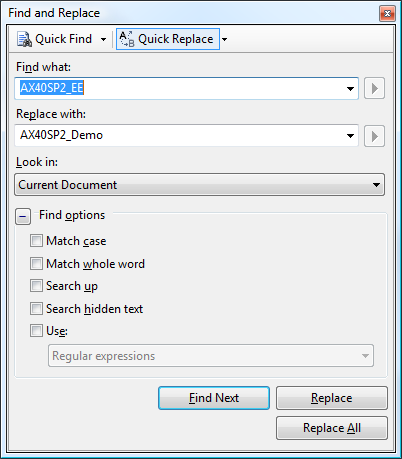
Do not close the Find and Replace window, but change only values in Find what to current database collation and Replace with to the required collation and click Replace All.
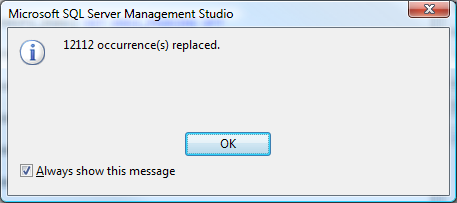
You should get information how many occurences of the collation was changed.
You may close the Find and Replace window now and press F5 to execute the script. Ignore any warnings regarding maximum key length.
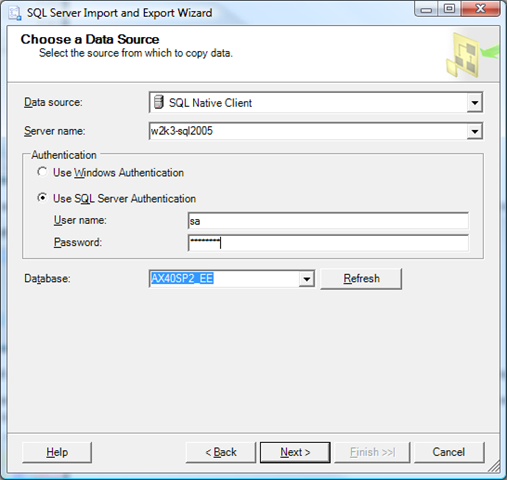
When the script finishes we have a new database with required collation. We need to transfer the data now. This can be done using Import and Export wizard. Right-click the original database and select Tasks -> Export data from the context menu to start the wizard.

Original database should be selected as data source by default, however you can change it if required.
Select destination database where the data will be copied.

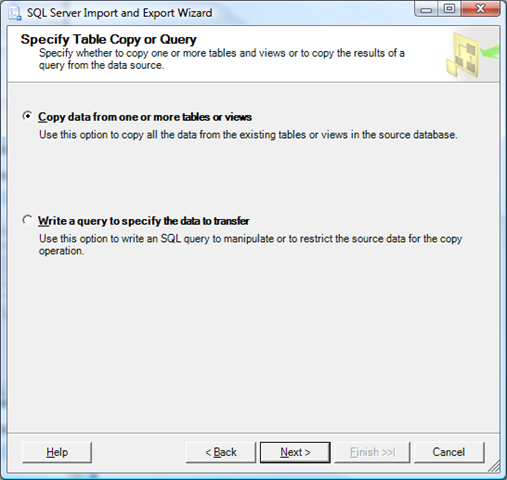
Leave Copy data from one or more tables or views checked and click Next.
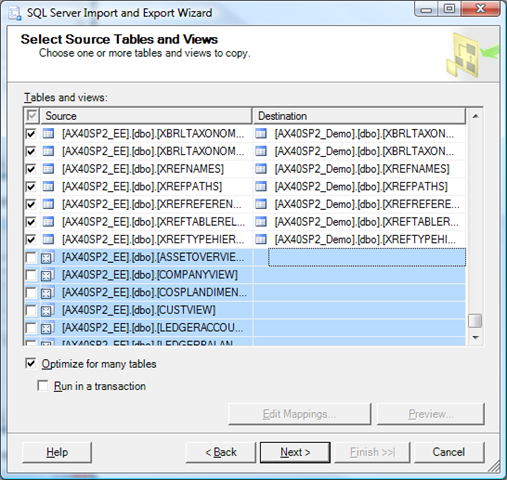
Select all tables but do not select the views as this would result in failures during the execution. Keep Optimize for many tables option checked and click Next.
It might take several minutes as a new SSIS (SQL Server Integration Services) package is being generated. After the package is created Save and Execute Package window is open.
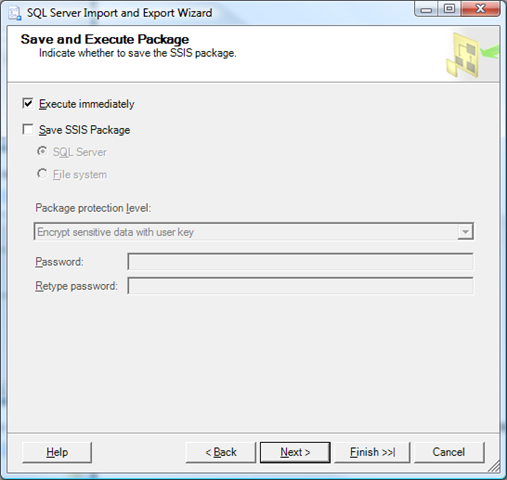
You can save the created package here. If you don't want to save the package, or after you have configured all options to save the package, click Finish to execute the package.

After the package execution completes, we just need to configure new database to be used by AOS.
Martin F