SharePoint High Trust Add-In Provider Hosted Quick Start/Walkthrough
So you want to setup a Provider Hosted SharePoint Add-In quickly?! Follow these 7 steps!
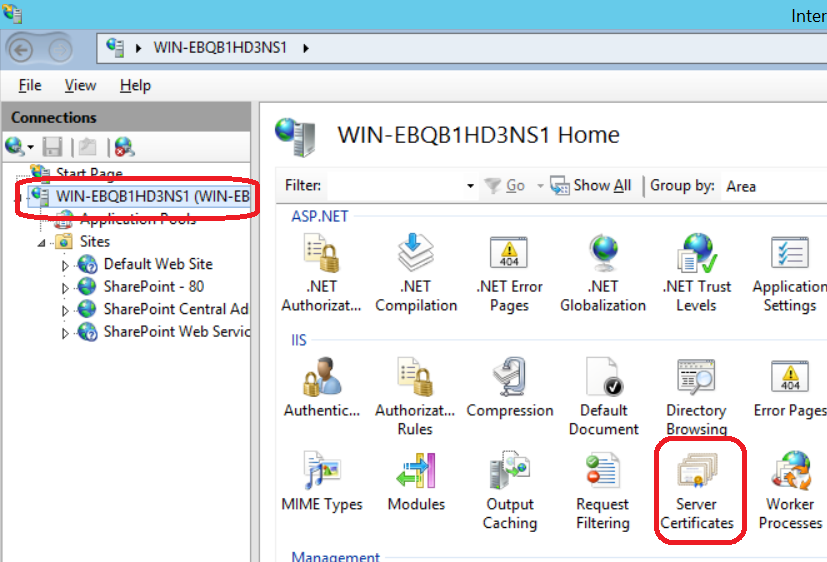
Step 1: Go to the IIS where your SharePoint is running, open IIS and open Server Certificates.
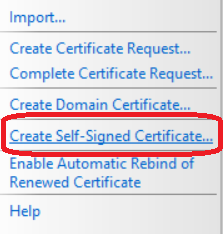
Step 2: On the upper right, select “Create Self-Signed Certificate”
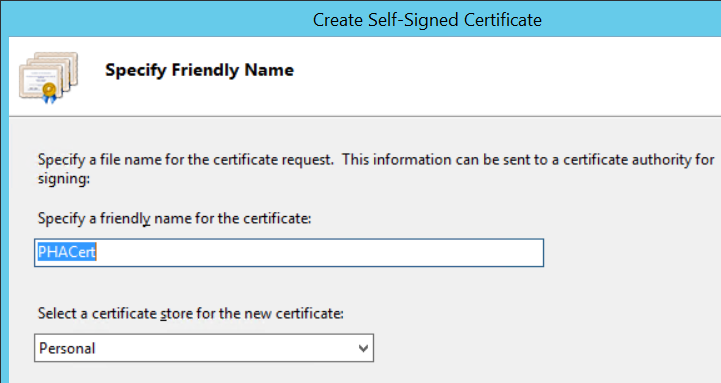
Step 3: Enter “PHACert” as the friendly name, “Personal” is fine for the cert store
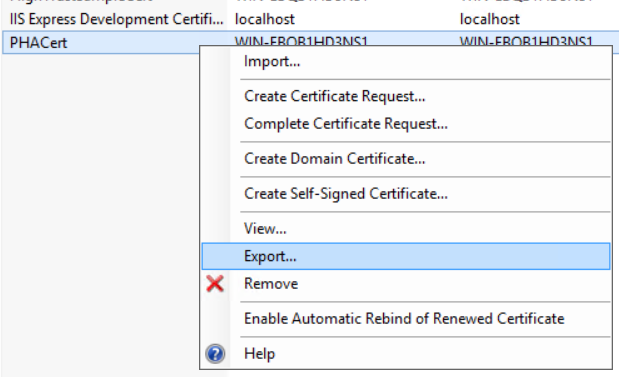
Step 4: Select the newly created cert and select “export”. Set password to “password” and put it to a directory you will remember.
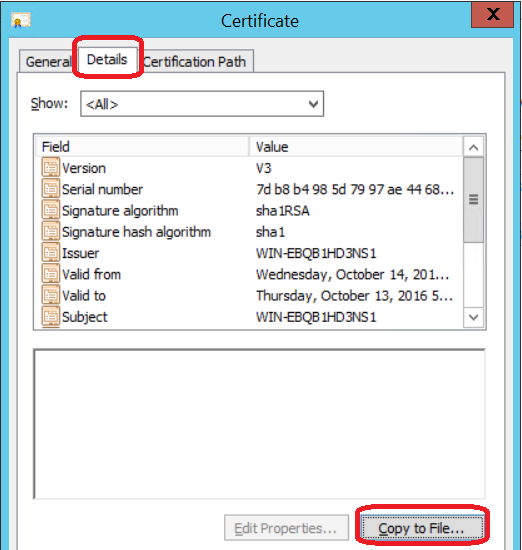
Step 5: Double click on the cert, then click “details”. Then click “Copy to File”. Leave everything default, save the file as “PHACert.cer”
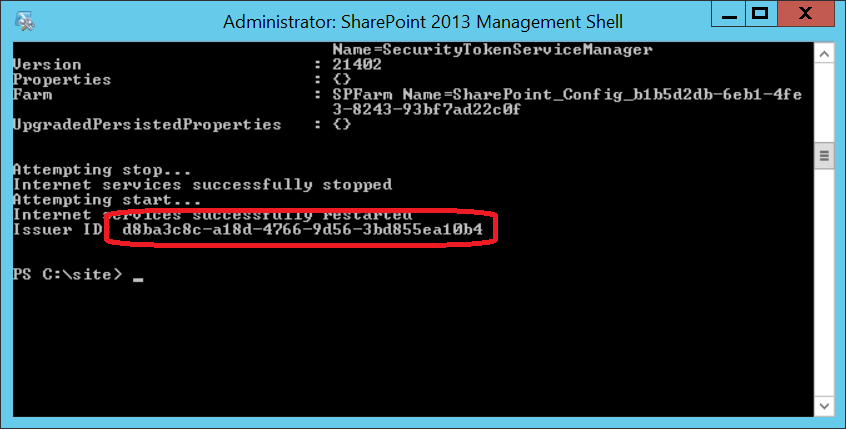
Step 6: Open SharePoint 2013 Management Shell as an Administrator. Save then run the attached PowerShell script like this:
PS C:\site> ./pha.ps1
For Cert Name: enter PHACert
For Cert Path: enter the full path to PHACert.cer that you saved above.

Save the created Issuer ID at the bottom:
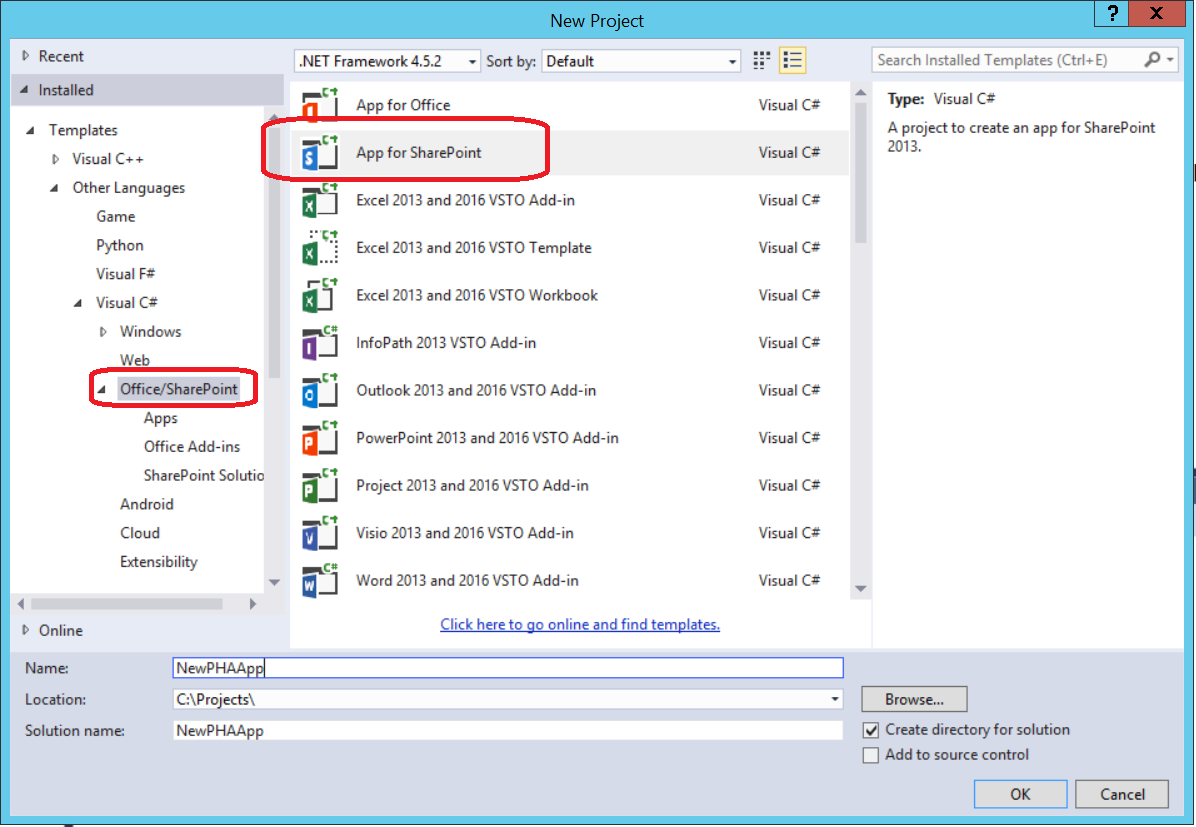
Step 7: Create your app!
On screen 2 enter your SharePoint server and provider hosted
On screen 3 enter SharePoint 2013
On screen 4 select MVC (or aspx)
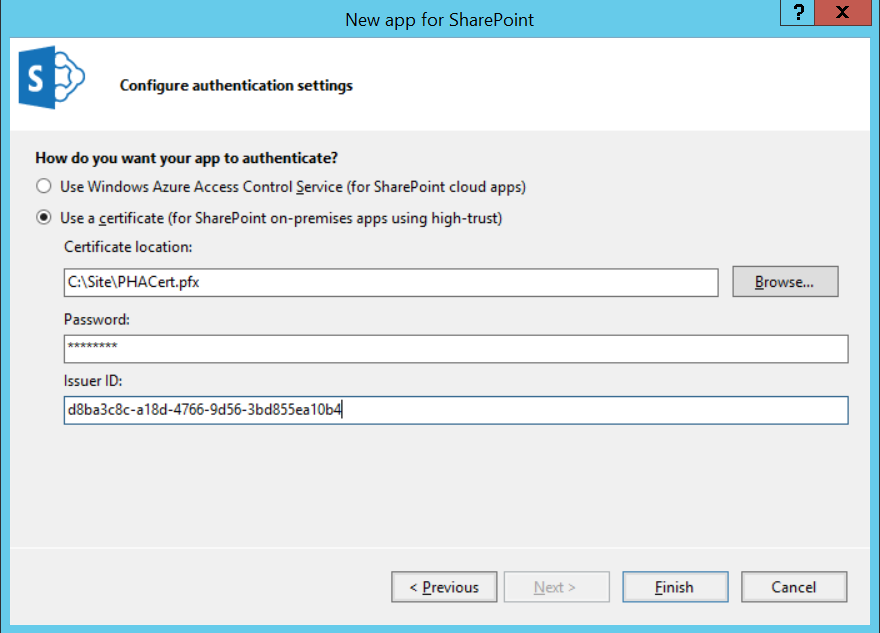
OK, on screen 5:
Select “Use Certificate”
Enter the full path to the PHACert.pfx you exported on step 4.
Enter “password” for the password.
Enter the Issuer ID found at the bottom of that PowerShell script.
Done! Press finish and F5. You just made a SharePoint Add-In is 7 easy steps!