Create claims aware Wcf Service using WIF on Framework 4.0
I was looking for a step by step document to create a claims aware WCF application with WIF.
The closest document for a step by step is the document below: https://technet.microsoft.com/en-us/library/adfs2-identity-delegation-step-by-step-guide(d=printer,v=ws.10).aspx. However, it targets advanced users who are willing to implement delegation. Therefore, I have decided to create this one which targets beginners and intermediates in WIF.
All the sample steps have been done with Visual Studio 2010.
In order to use WIF in WCF application, you will need to install the following tools:
- WIF runtime: https://www.microsoft.com/download/en/details.aspx?id=17331.
- SDK for .NET Framework 4.0: https://www.microsoft.com/download/en/details.aspx?displaylang=en&id=4451.
After having installed WIF runtime and the SDK for .Net framework 4.0, you can follow the following steps:
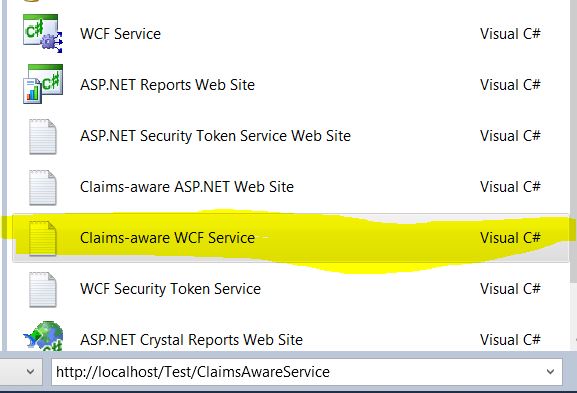
1. Open Visual Studio as an Admin and create new Web Site. Running Visual Studio as an Administration is necessary to run the FedUtil tool.
2. Choose the template “Claims-aware WCF Service”
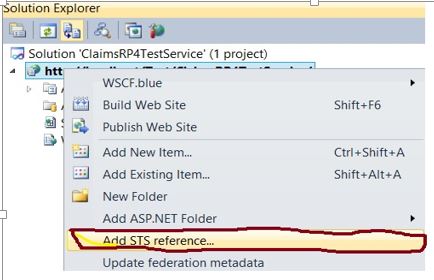
3. Now we need to run the Add STS Reference wizard (FedUtil) on our claims aware wcf service.
4. In this step, we need to verify that the location of the config file and the address of the claims aware wcf service is correct.

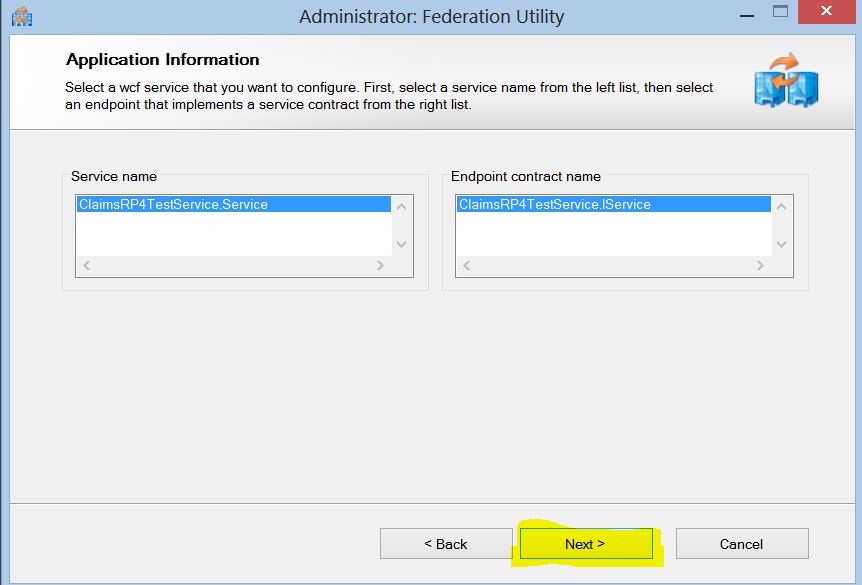
5. Verify that the claims aware wcf service “Service name” and “contract” are correct. Click next.
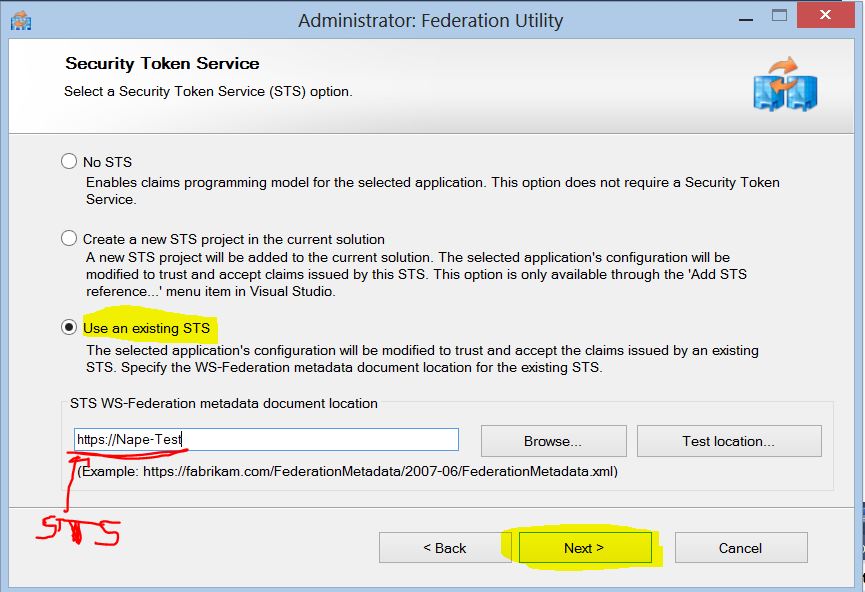
6. In this step there are options to choose from namely “No STS”, “Create a new STS project in the current solution”, and “Use an existing STS”. In our case, we already have an ADFS STS which is on “Nape-Test” Machine. You need to either enter the address of the STS or add the location of the .xml metadata. In this sample I enter https:/NAPE-Test. Note that I could have entered the full location of the metadata as follow: https:/NAPE-Test/FederationMetadata/2007-06/FederationMetadata.xml.
In this step, I have assumed that you have already configured an ADFS STS. Otherwise, you should refer to the following link to configure one: Configuring Active Directory Federation Services 2.0.
You may have noticed that https protocol is used in order to access the FederationMetadata exposed by the ADFS STS. The main reason of doing so is because I have configured my ADFS STS with a certificate to secure any communication. The following link shows how to configure WCF service hosted in IIS to use SSL: Configure an IIS-hosted WCF service with SSL
7. You may get a message warning if the “CN=<Name of sts cert>” of the certificate of your STS is different from the DNS name. Just click “Next” to move to the next screen.
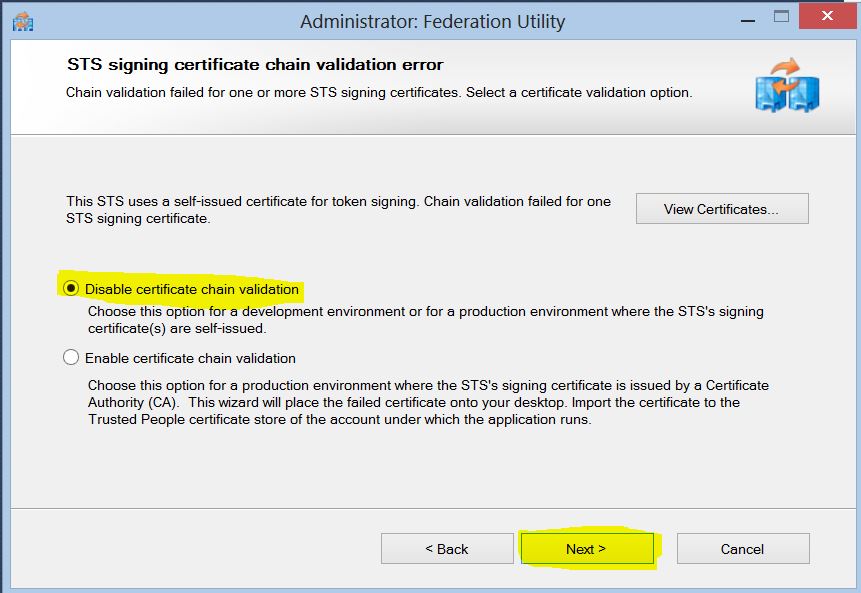
8. In this sample, we have used a self-signed certificate so that ADFS STS can sign the issued token. Therefore, the certificate chain of the STS cannot be verified. Thus, we will choose “Disable certificate chain validation” in this step. In production however, the option "Enable certificate chain validation" should be checked. This means that you should provide a valid certificate as well.
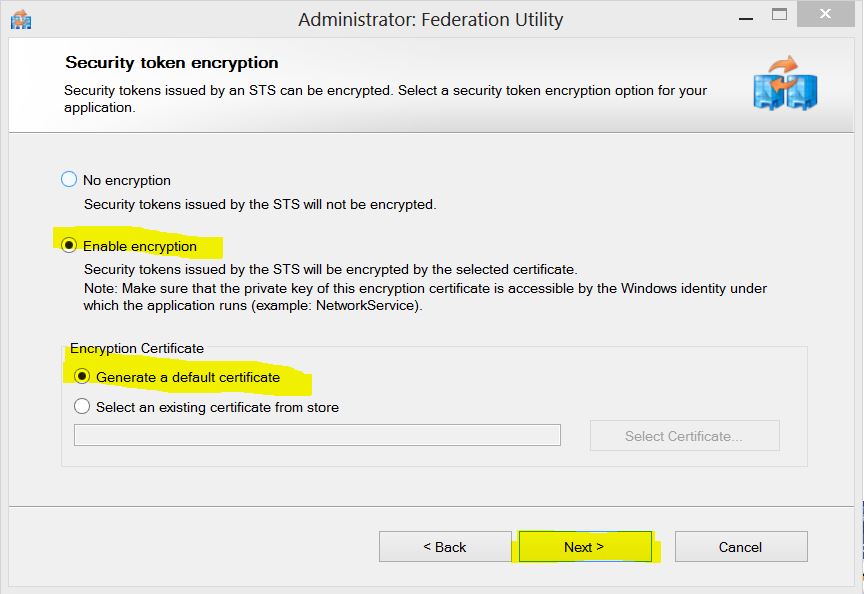
9. In this step we need to choose “Enable encryption” so that the token will not be sent in plain text over the wire. To fulfill this need, we need to either specify a certificate that has a private key or just let FedUtil create one for us. Since we do not have a certificate, we will choose “Generate a default certificate”
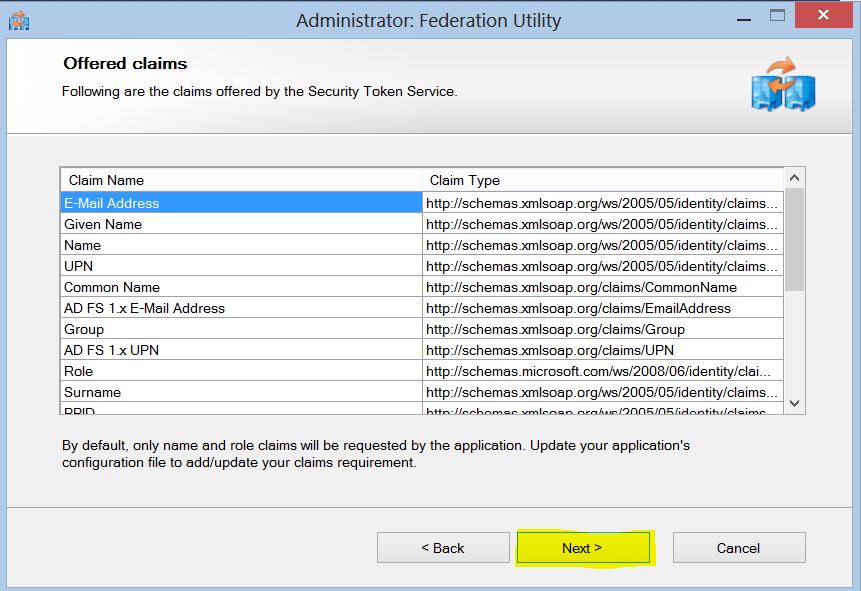
10. List of all the claims exposed by the ADFS STS.
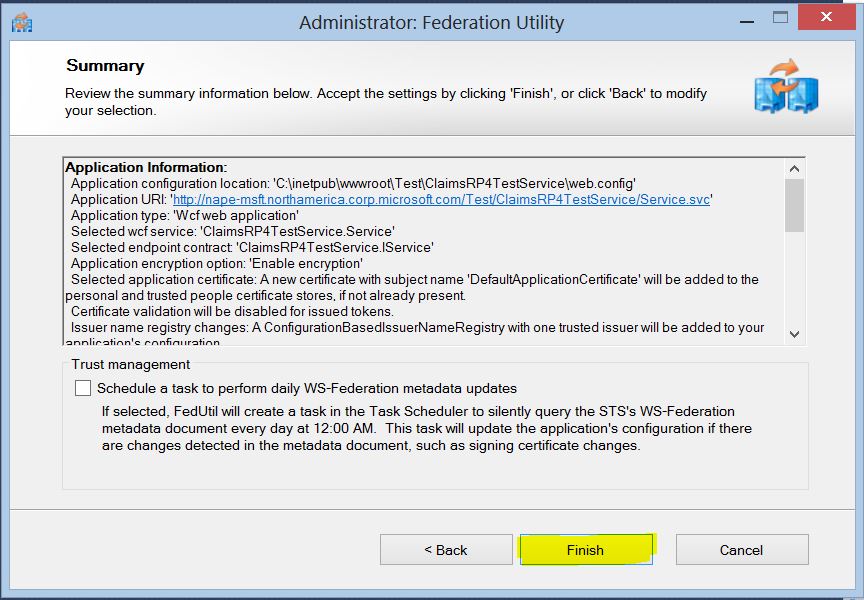
11. Summary of all the settings
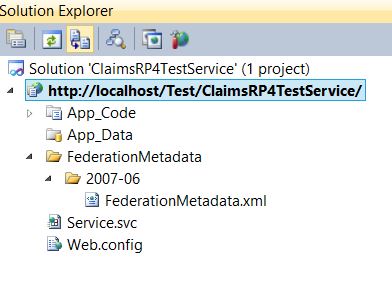
12. Note that the FederationMetadata folder is added to the project. This folder contains the FederationMetadata.xml of the claims aware wcf service. We will use later that file to add this claims aware wcf service to ADFS STS as a trusted Relying Party.
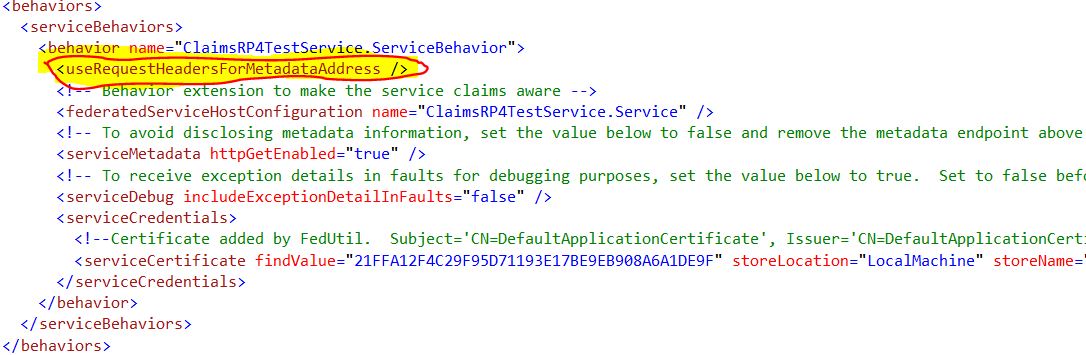
13. useRequestHeadersForMetadataAddress enables the retrieval of metadata address information from the request message headers for use in configuration elements. More information here
Add the claims aware Wcf Service as a RP to ADFS STS:
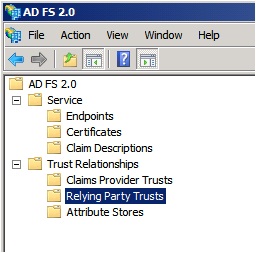
1. ADFS 2.0 can be downloaded from this link: https://www.microsoft.com/en-us/download/details.aspx?id=10909. We are not going to show the installation steps in this sample. ADFS 2.0 is composed of a Service and Trust Relationships. The service is composed of an Endpoint, Certificates and Claim Description.
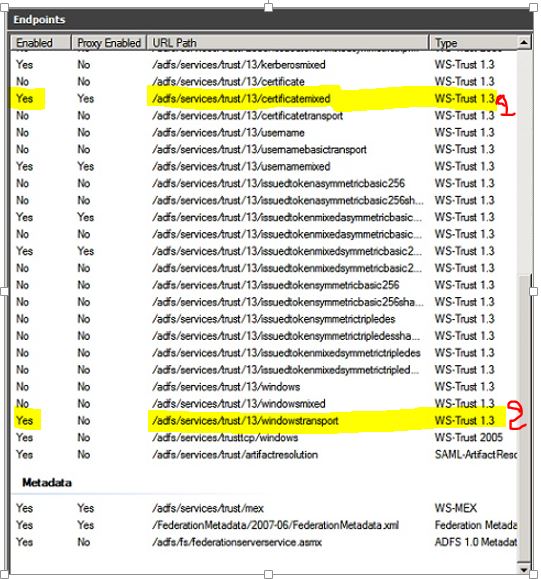
2. Endpoint under Service contains all the Endpoints exposed by ADFS. In order to make an Endpoint available to a Relying Party like the Claims Aware Wcf service, we need to enable that Endpoint as shown in the below.
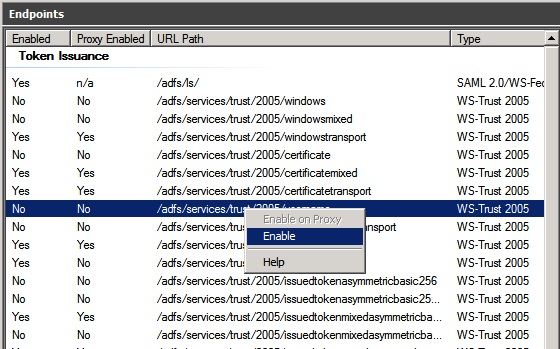
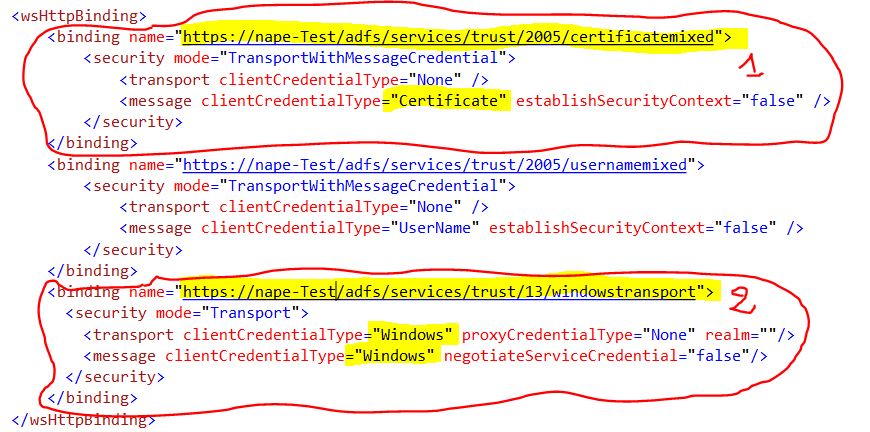
3. In this document we are interested by the two highlighted Endpoint from the picture below.
The first highlighted Endpoint is /adfs/services/13/certificatemixed. This Endpoint was the default Endpoint used by the wcf client application after running the “Add service Reference”. Using this Endpoint means that wcf application needs to present a valid certificate to adfs for authentication.
The second Endpoint which is /adfs/services/trust/13/windowstransport is the one that interest me the most as this endpoint will require the wcf client to present his windows credential to adfs for authentication.
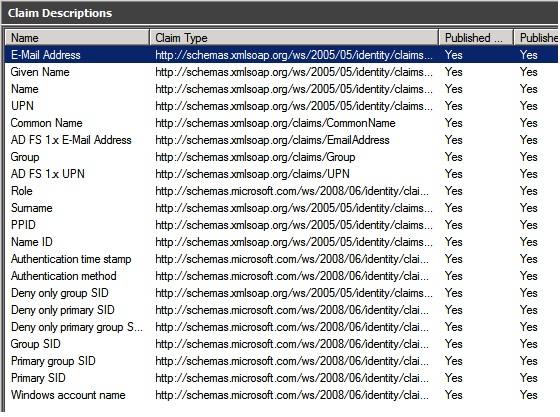
4. In the screen shot below you can see all the Claims Adfs STS can expose.
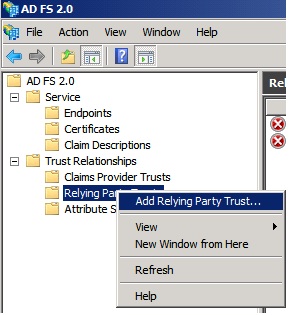
5. We are interested in adding the Claims Aware Wcf service we have created as a Relying Party. Within ADFS, right-click on Relying Party Trusts and select Add Relying Party Trust…
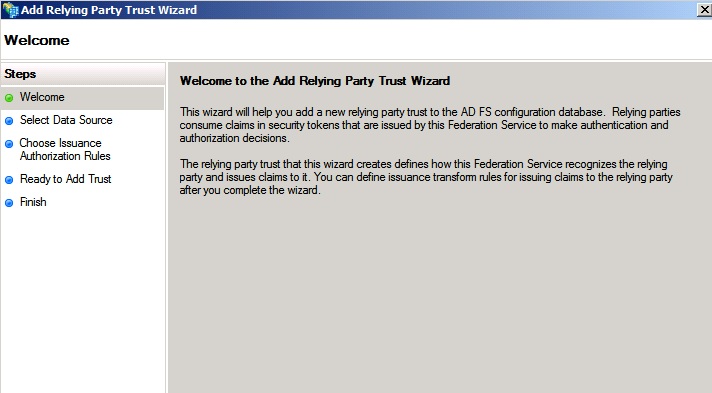
6. Click next on the “Add Relying Party Trust Wizard”.
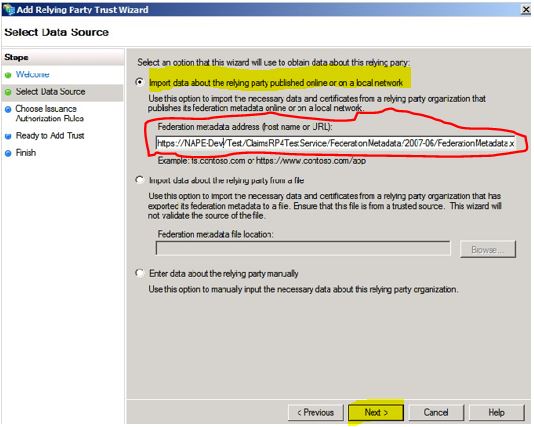
7. Enter the location address of the Claims Aware Wcf Service FederationMetadata.xml auto generated when we previously ran the FedUtil Wizard. Then, click next.
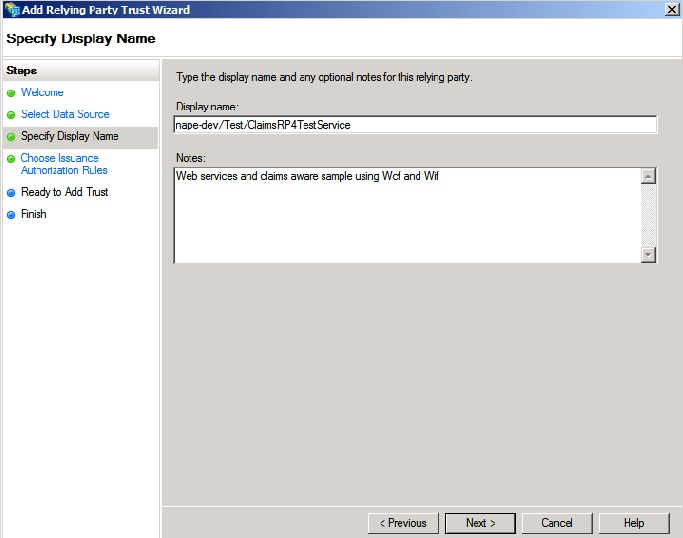
8. In this step just give a friendly name to your Relying Party by which it will be known by the STS. Then click next.
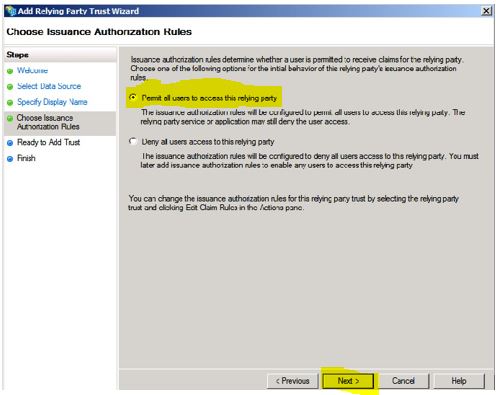
9. In this step we will permit all users to access the relying party as long they can authenticate themselves to the STS.
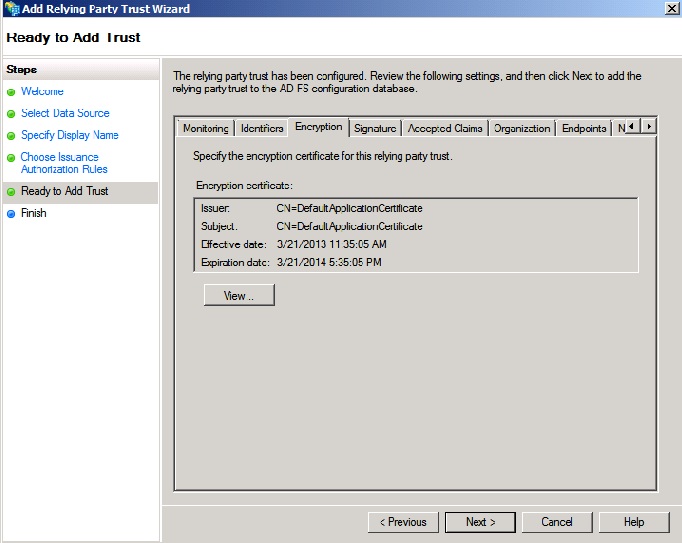
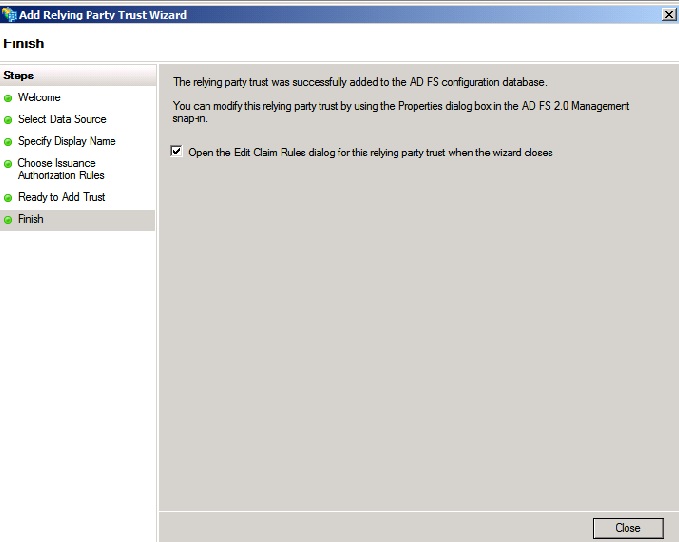
10. Summary of the configured for the Relying Party. Just click next if all of the information looks correct.
11. Leave “Open the Edit claim rule dialog for this relying party trust when the wizard closes” checked so that you will able to add claims rule.
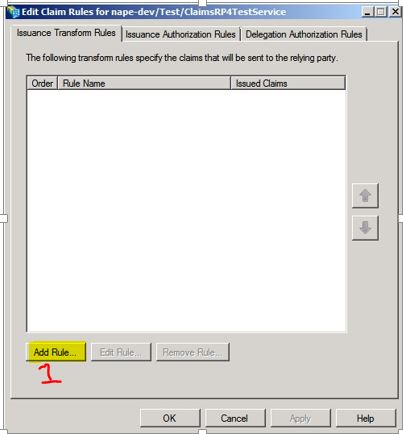
12. Add new Rule.
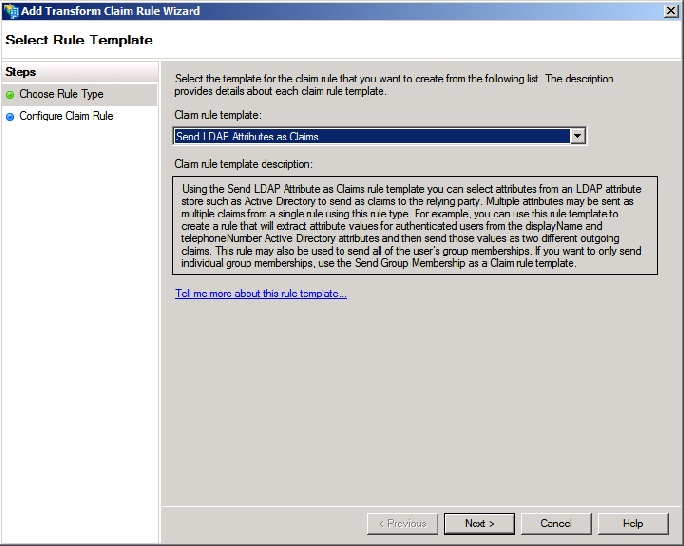
13. Here I chose “Send LDAP Attributes as Claims”
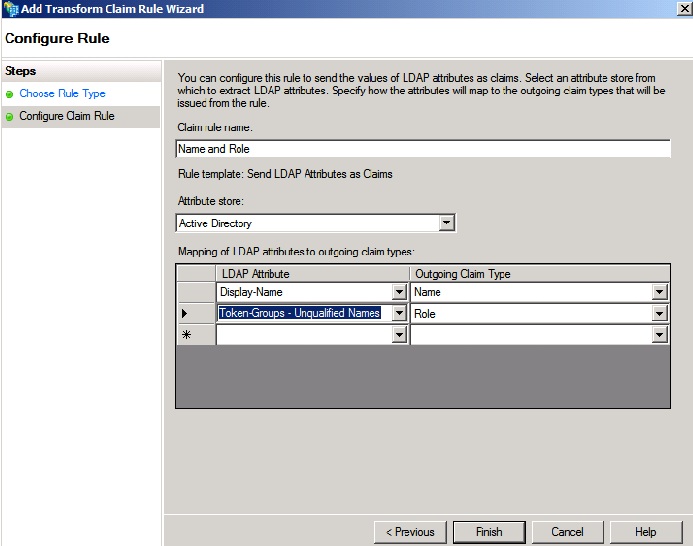
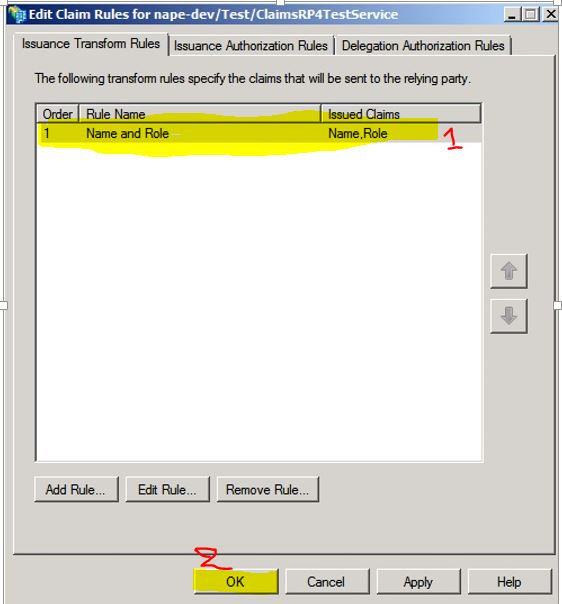
14. In this windows you choose any rule you would like to see in your application. I just chose Name and Role. Click finish after you are done.
15. Please verify the rules you have entered and click OK.
Wcf client application to request a token:
1. Create any type of client application in Visual Studio. It can either be a web form, a console, or a MVC application. In my sample, I just created a console application.
2. Right click on references and choose “Add Service Reference”.
3. Enter the address of the service. In my case it was https://nape-dev/Test/ClaimsRP4TestService/Service.svc
4. Once the client proxy is created, let’s walked through data generated in the config file:
a- Client Endpoint

In this sample, wcf client is using a “customBinding”. We need to look the bindingConfiguration WS2007FederationHttpBinding_IService.
b- BindingConfiguration WS2007FederationHttpBinding_IService.

In this bindingConfiguration, note that there is an active <issuedTokenParameters> and a set of commented out <issuedTokenParameters> inside <alternativeIssuedTokenParameters> tag.
Note that the address in these <issuedTokenParameters> represent the currently enabled WS-Trust Endpoint exposed in Adfs.
The active <issuedTokenParameters> has an issuer tag as follow:

The commented out <issuedTokenParameters> also has an issuer tag as follow:

Now let’s take a look to the bindingConfiguration:
For 1 to work, you will need to configure a private key certificate on the wcf client side. Then, configure the public key certificate on the ADFS STS side. You can find a sample of how to configure that from this blog: https://blogs.msdn.com/b/momalek/archive/2012/08/04/adfs-2-0-client-certificate-authentication-using-test-certificates.aspx.
Using /certificatemixed means that you will need to map a certificate to each client User AD Account. Therefore, if you have 100 clients, you will need to have 100 different certificates in order for them to be authenticated in ADFS STS.
Whereas, for 2 to work, you will just rely on integrated windows credential using Active Directory. Therefore, you will just need the wcf client to be registered in your domain. In my case, I chose to go with 2 by commenting out

And copy and paste

Just below the new commented out issuer. We obtain the new config as follow:
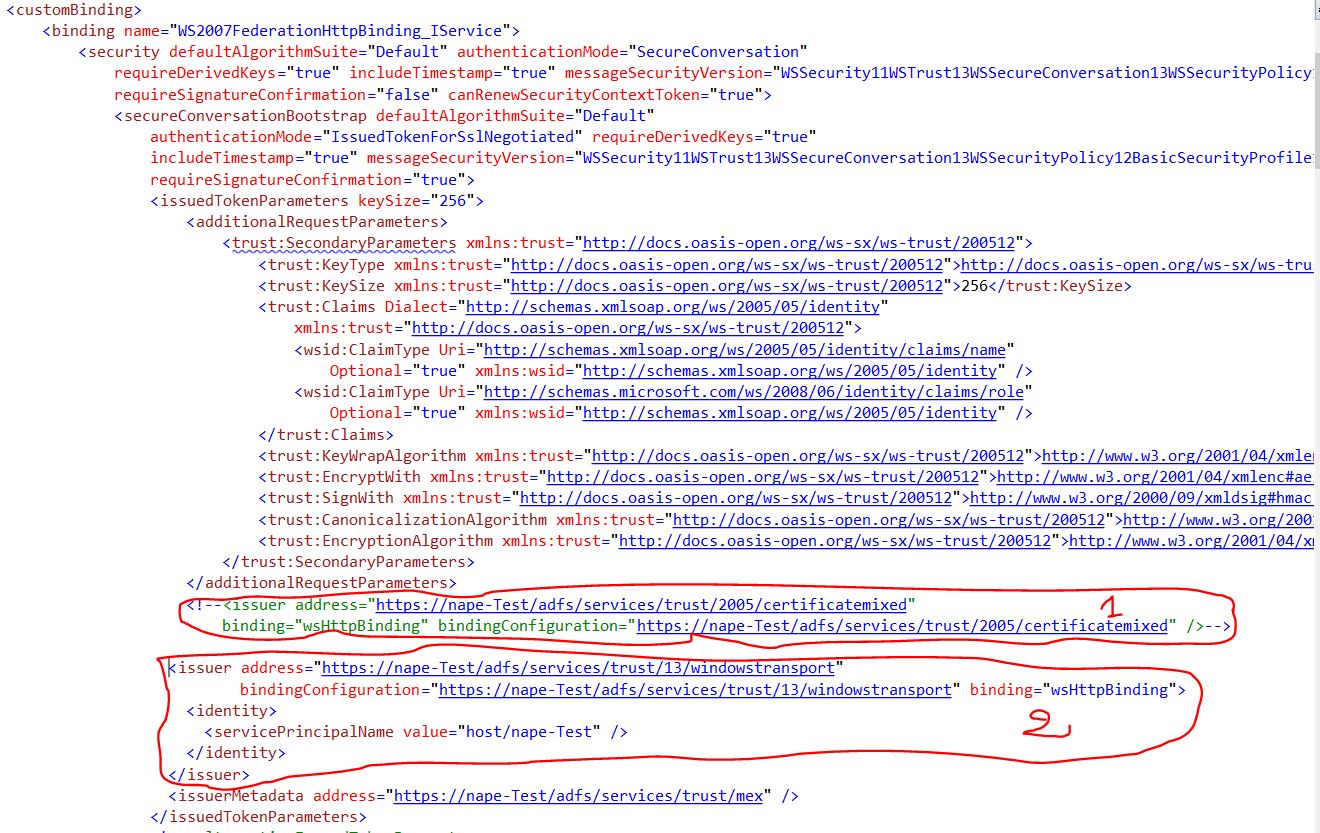
This new config means that wcf client will request a token from ADFS STS using the Endpoint https://nape-Test/adfs/services/trust/13/windowstransport. That is, wcf client will need to authenticate himself to ADFS using Windows credentials prior to get the token using windows credentials.
For additional information about controlling which endpoint your client will use to connect with ADFS please review Tips on Adding a Service Reference to a Claims Aware WCF Service.