Release Management: How to run Automated Tests as part of a Release - walkthrough
There are 3 main steps required to run Automated Tests as part of Release
• Defining a Release Path
• Defining a Component
• Configuring a Release Template
1. Defining a Release Path for running Automated Tests as part of Release
Prerequisites:
Visual Studio Ultimate, Premium, or Test Professional (version 2010 or up) to code the automated tests.
Matching version-test environment configured including the following components:
Test Controller - attached to the team collection that you will run team build.
Test Agent/s associated with the test controller and installed on the deployment server.
MTM test environment associated with the Test Controller and Test Agent.
- Navigate to Configure Paths | Release Paths and double-click on the "New".
- Change the name of release path to be "Release Path for Automated MTM Tests" and one deployment stage: Test.
- On the TEST stage, specify:
- Environment
- Acceptance Step: Approver
- Deployment Step: Owner
- Validation Step: Validator

Save & Close the newly created Release Path.
2. Defining a component for running Automated Test as part of a Release
- Navigate to Configure Apps | Components and double-click on the "New".
- Change the name of the component to be "MTM Automated Coded UI Test/s”.
- Under the Source Tab - Select "Build with Application".
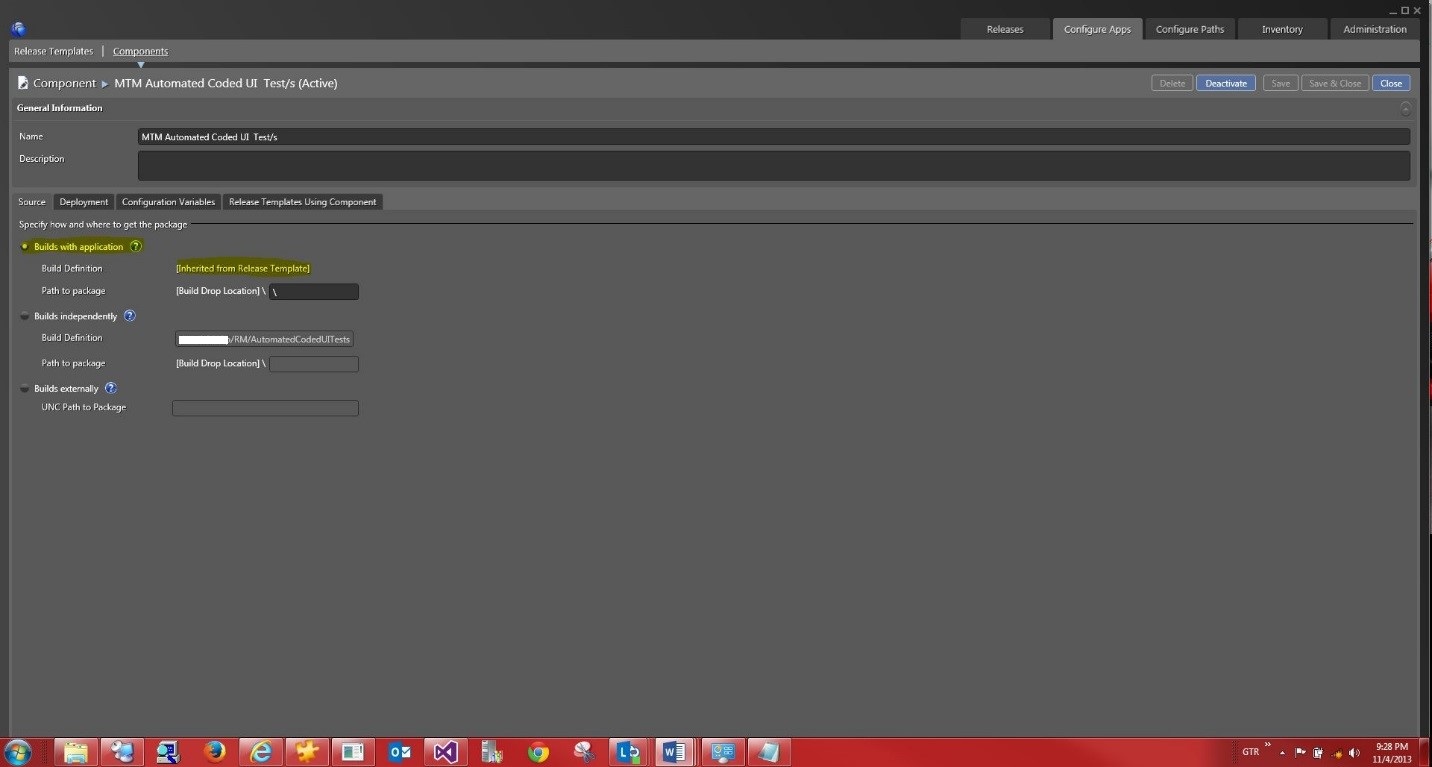
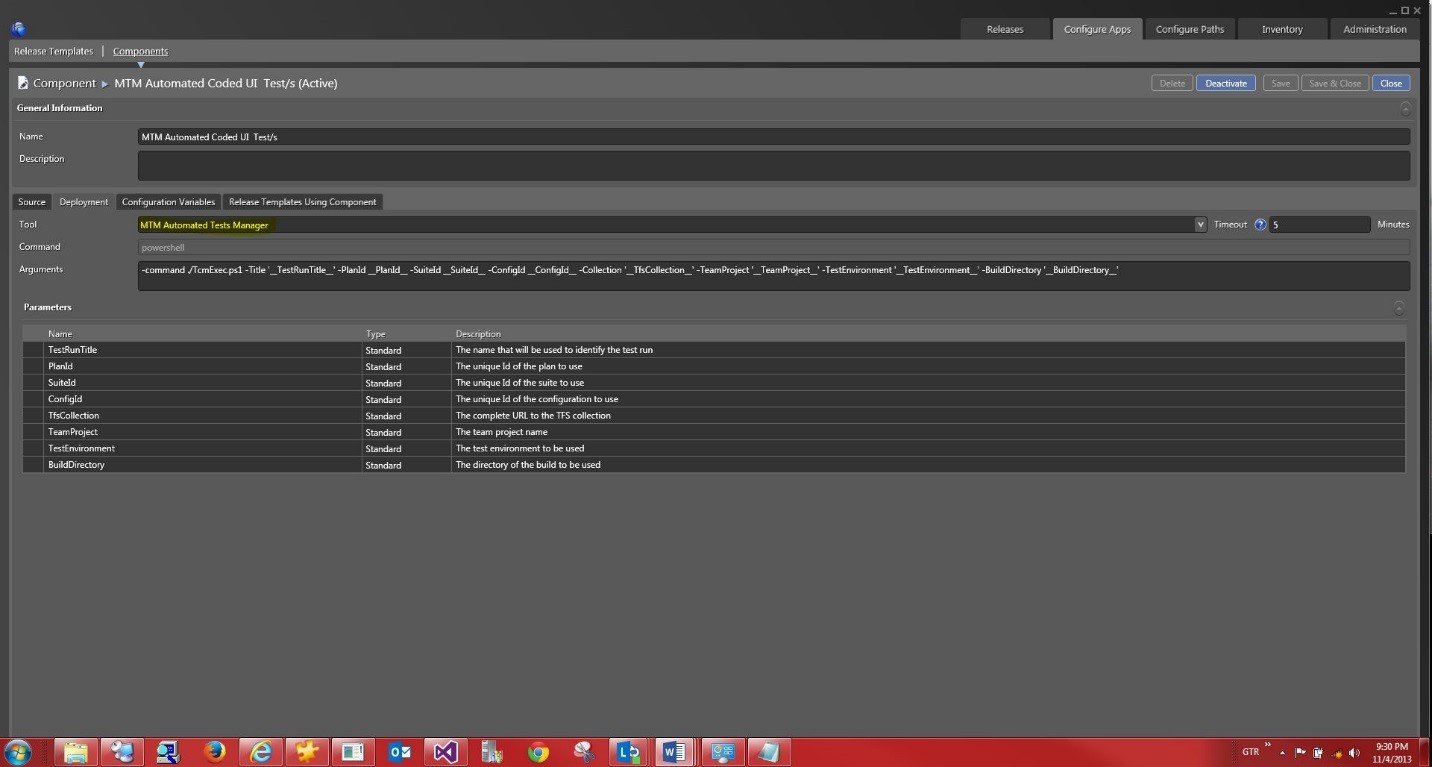
- Under the Deployment Tab - Select "MTM Automated Tests Manager" tool.
- Save & Close the newly created Component.
3. Configuring a Release Template for running Automated Tests as part of a Release
- Navigate to Configure Apps | Release Templates and then double-click on the "New" button.
The new template "Properties" Dialog pops up.
- Change the name of the new template to "Template for MTM Automated Tests"
- Change the Release Path to "Release Path for Automated MTM Tests",
- Select the Build Definitions for your Coded UI tests,
- Unselect "Can Trigger a Release from a Build?”
- Click "Create" Button.

The release template designer has a toolbox with control flow building blocks, servers, custom components, and a bunch of other actions and tools to help with deployment.
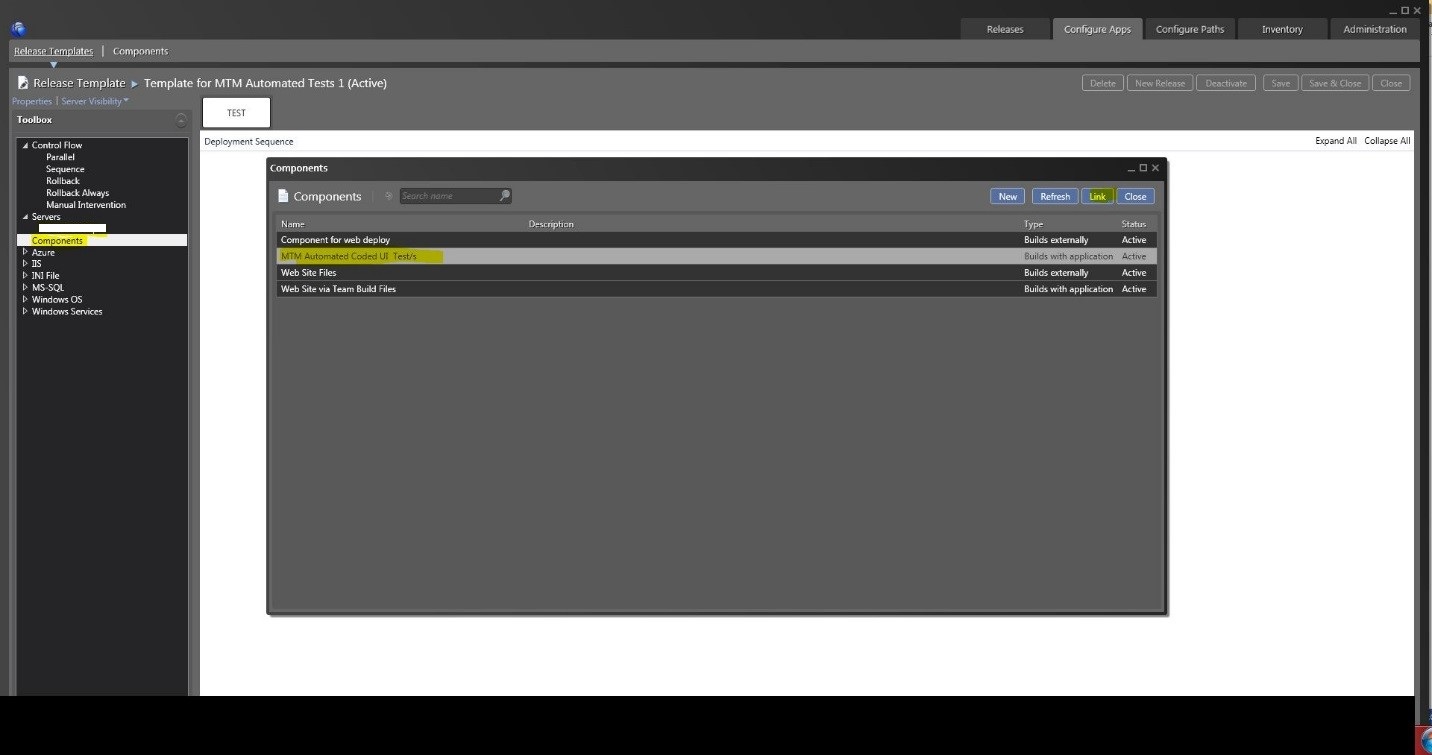
- Rick click on the "Components" and select "Add".
- The available components dialog box pops up.
- Select the "MTM Automated Coded UI Test/s" and click on "Link". This deployment server has the Test Agent installed in addition to the Deployment Agent.
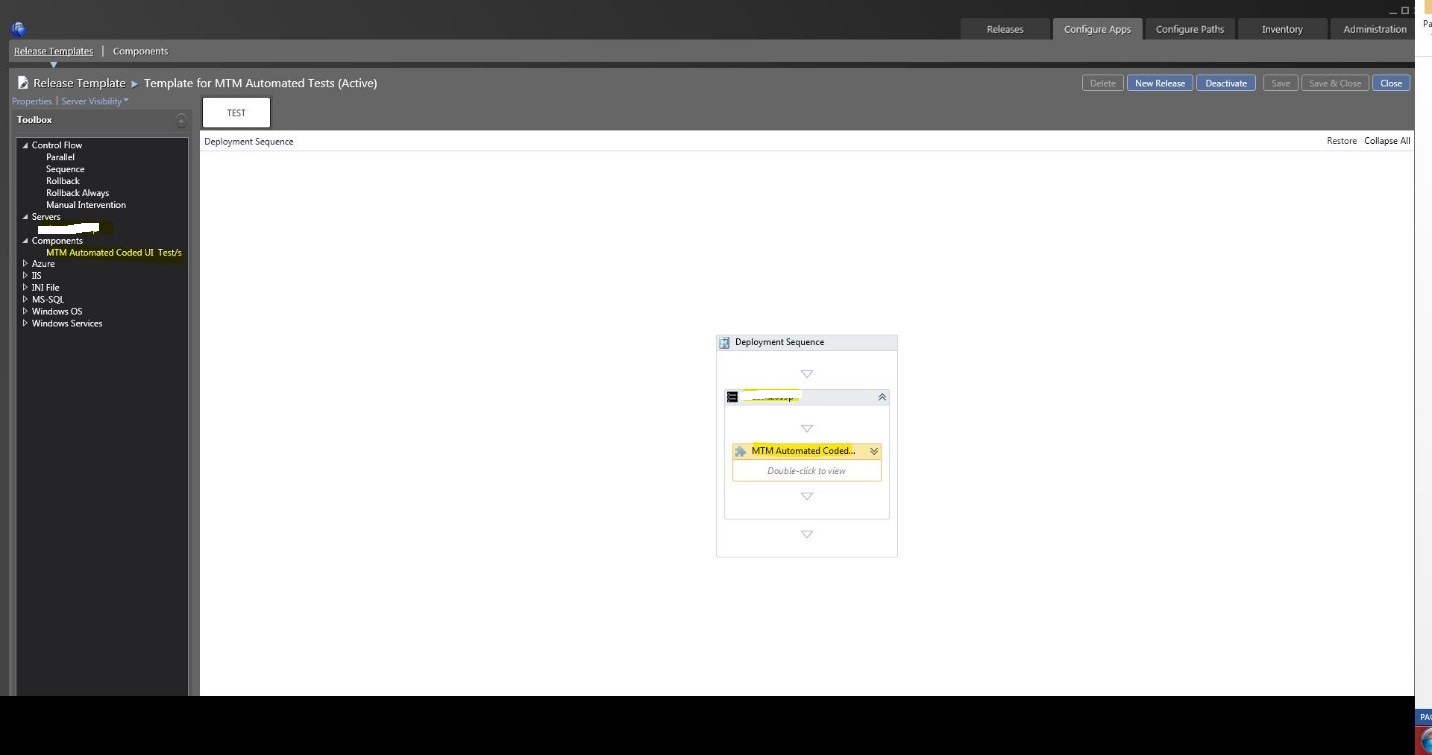
The first stage should be selected.
Drag and drop inside the "Deployment Sequence" the following:
- From the Servers Node:
- ServerName( the deployment server name)
- From the Component node:
- "MTM Automated Coded UI Test/s" component.
You should have the following:
- From the Servers Node:
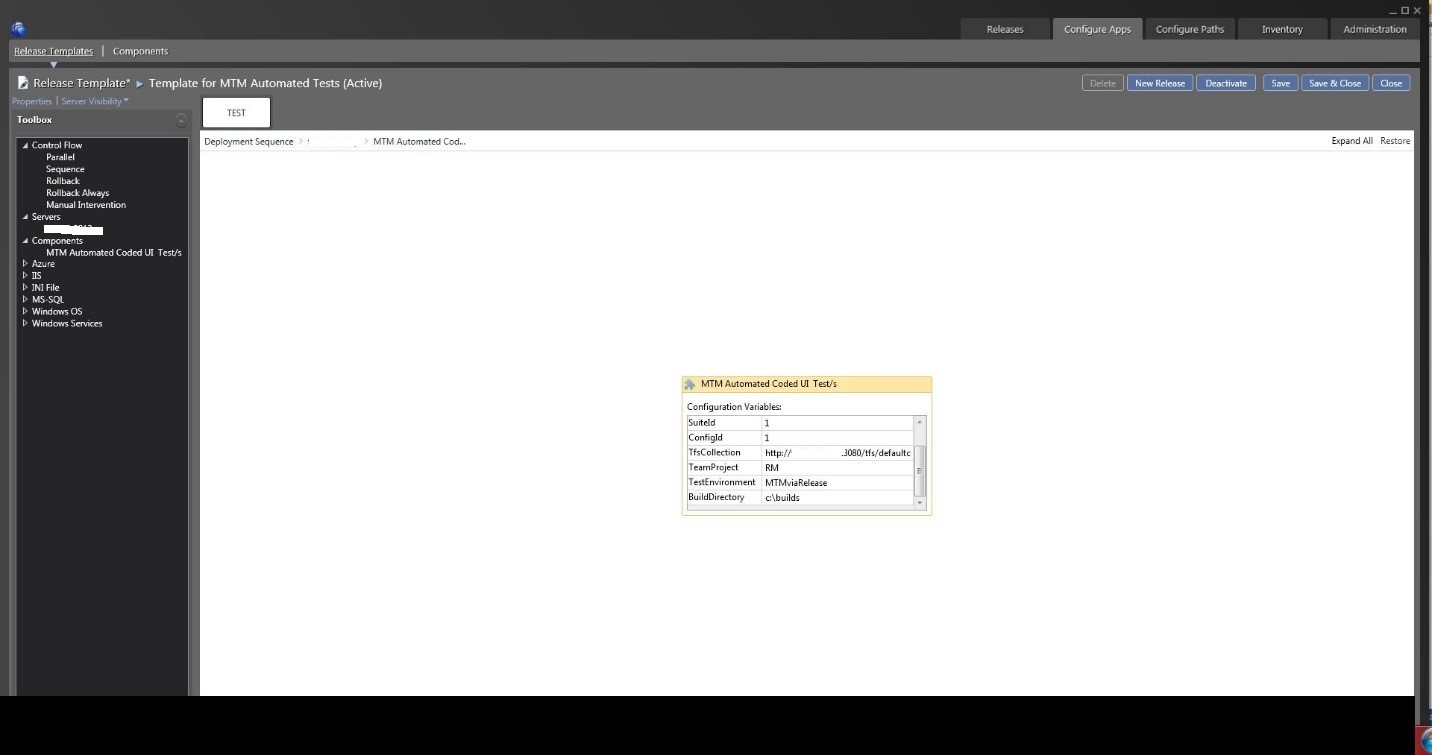
- Collapse all and select the "MTM Automated Coded UI Test/s" component.
Examine the variables that you need to provide:
Save & Close the newly created Release Template.