Certificate loading problem or Error loading certificate in IIS 7 and later versions
This document describes how to install a HealthVault certificate in the Windows certificate store and running the corresponding HealthVault application in Windows 7 and Windows Server 2008. If the certificate is not installed correctly in the local computer certificate store or if the password is not specified for a password-protected certificate then we will get the following exception:
Exception: System.Security.Cryptography.CryptographicException: An internal error occurred. Error: Error loading certificate. Is password specified using ApplicationCertificatePassword?
You can enable Request-Response Tracing to see what is going on exactly when you run your application in IIS.
There are two ways that a HealthVault application can access its certificate in Windows 7 and Windows Server 2008. One is using the Application ID and getting a certificate with matching subject from the certificate store, and the other is directly retrieving the certificate from a file. The approach of using the Windows certificate store allows the HealthVault application to take advantage of manageability and security features that are built-in the Windows certificate store. The approach of using an application certificate file can be useful for applications that do not wish to deal with the deployment of certificates to the certificate store and wish to deal with the certificate as a plain file.
Using the Windows certificate store:
The below steps will resolve this issue by exporting the certificate that was generated by the HealthVault Application Manager tool, importing it back to computer store and grant required access to that application ID:
1. Open HeathVault Application Manager
a. Go to start menu ->All Programs->Microsoft HealthVault->SDK->HealthVault Application Manager or HealthVault SDK installation location.
b. Right click on HealthVault ApplicationManager.exe and select Run as administrator.
2. Export the Public and Private keys (.pfx) for the certificate you have created.
a. Right click on the certificate which you have created and select Export the Public and Private keys (.pfx).
b. Save the certificate (.pfx) file in your local computer.
3. Copy the certificate which is saved in the prior step and paste into the machine where the application is hosted.
4. Delete the certificate from HeathVault Application Manager. Make sure that you have copied the certificate prior to this step.
a. Right click on the Certificate which you have created in HeathVault Application Manager and click on Delete Certificate.
5. Close the HealthVault Application Manager.
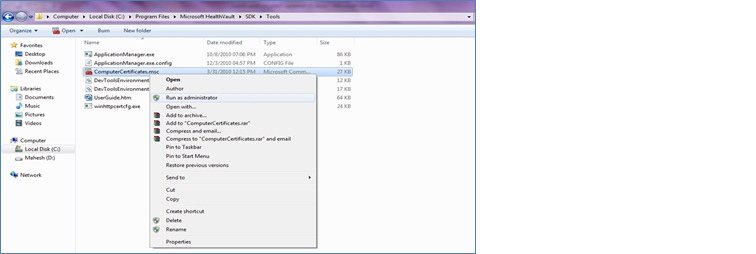
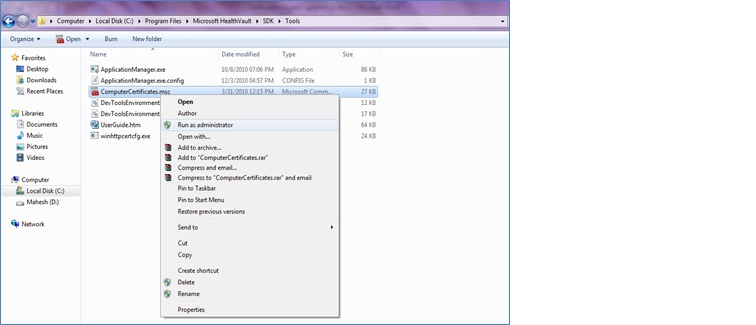
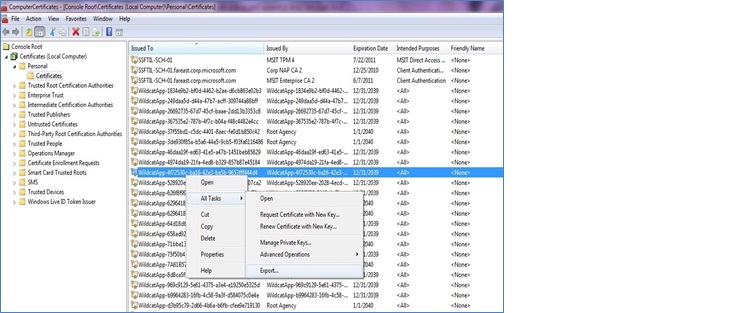
6. Run ComputerCertificates.msc to open the certificate application. ComputerCertificates.msc will come with HealthVault SDK installation.
a. Open the “tools” folder under the standard HealthVault SDK installation location (e.g. C:\Program Files\Microsoft HealthVault\SDK\tools) and right click on ComputerCertificates.msc, then click on Run as administrator.
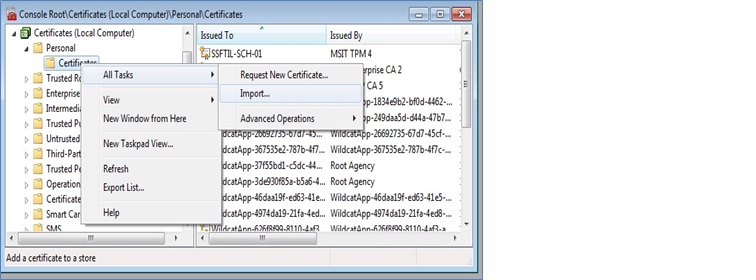
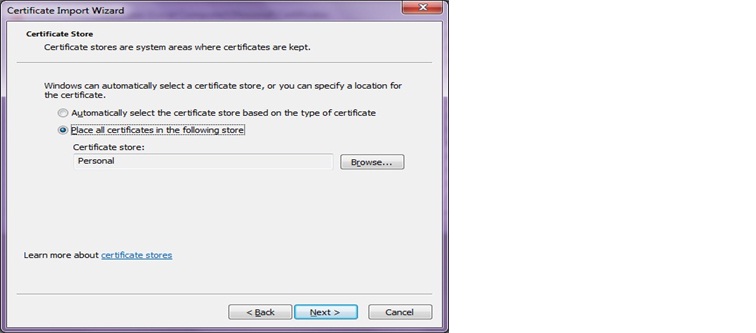
7. Import the certificate into Personal folder in the local computer certificate store.
a. Right click on the Certificates folder under Personal and select All Tasks then Click on Import.
b. Click on Next

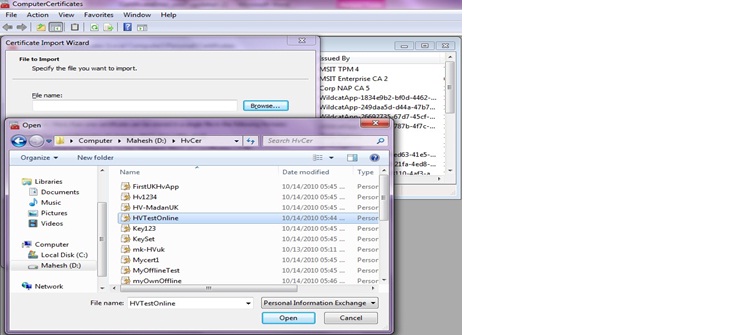
c. Click on the Browse button to load the certificate which was saved in step 3, and click on Next.
d. Make sure that you check the “Mark this key as exportable” check box and click on Next.
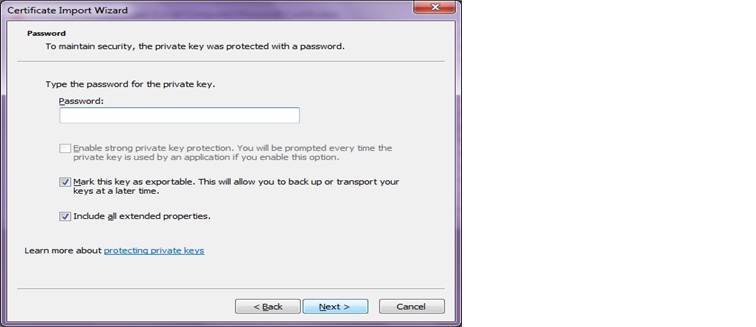
e. Click on Next.
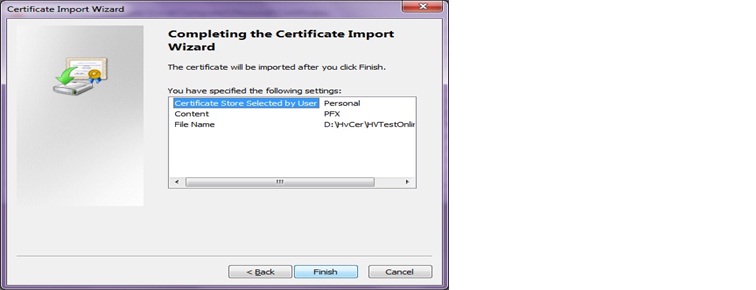
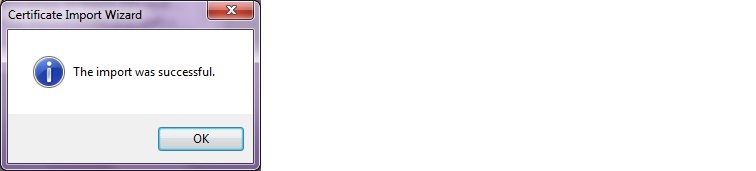
f. Click on Finish to complete the certificate import process.
8. Open HeathVault Application Manager using the instructions from Step 1 and you should be able to see the certificate which you have imported in the previous step in HealthVault Application Manager.
a. Right click on the previously imported Certificate in HeathVault Application Manager.
b. Click Grant Access to IIS process.
9. Optionally, grant access to other users.
In some cases, your HealthVault web application might not be running under the Network Service account. For example, applications hosted in IIS 7 on Windows Server 2008 SP2 and later are by default configured to run under their own unique accounts. IIS 7 creates a new account for each web application. This is referred to as ApplicationPoolIdentity.
You can either reconfigure your web application in IIS 7 to run under the Network Service account, or grant the account which your web application is run under read access to your application certificate’s private key.
To grant any user access to your application certificate private key in the Certificates MMC snap-in (ComputerCertificates.msc):
a. Right click your application certificate.
b. Select All tasks -> Manage private keys
c. Add the desired account and check the “Read” box under the “Allow” column
Using application certificate file:
If you would like to use an application’s certificate (.pfx) file from the file store instead of from the certificate store, you can use the procedure below.
The ApplicationCertificateFileName and ApplicationCertificatePassword are the settings in the HealthVault application’s configuration (e.g. in web.config file under the appSettings section) that are used to configure a HealthVault application to load the application certificate from a file. The ApplicationCertificateFileName setting can be used for specifying the certificate (.pfx) file path and the ApplicationCertificatePassword setting can be used for specifying the certificate (.pfx) file password. Make sure that the HealthVault application has read access to the certificate (.pfx) file location.
1. Export the certificate (.pfx) file using ComputerCertificates.msc
a. ComputerCertificates.msc will come with HealthVault SDK installation.
b. Open the “tools” folder under the standard HealthVault SDK installation location (e.g. C:\Program Files\Microsoft HealthVault\SDK\tools) and right click on ComputerCertificates.msc, then click on Run as administrator.
c. Right click on the certificate which you want to export from the Certificates folder under Personal and click on All Tasks and then click on Export.
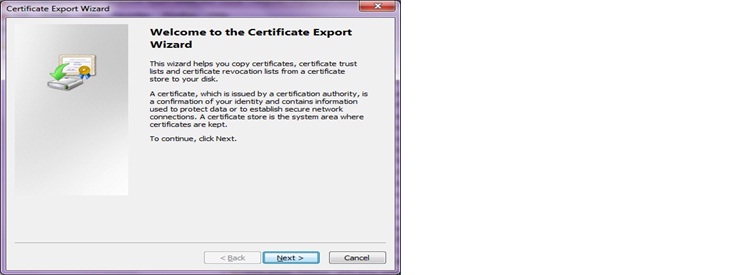
d. Click on Next in the Certificate Export Wizard.
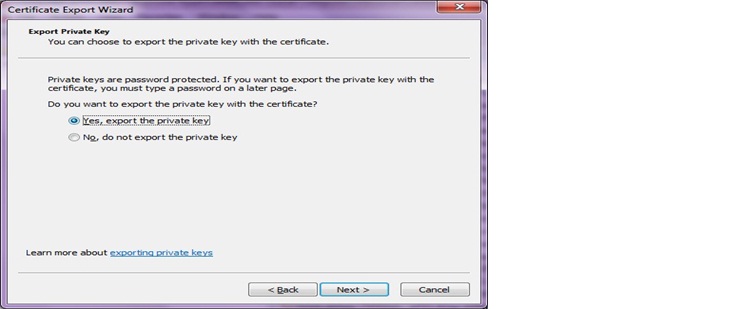
e. Click on Yes, to export the private key and click on Next.
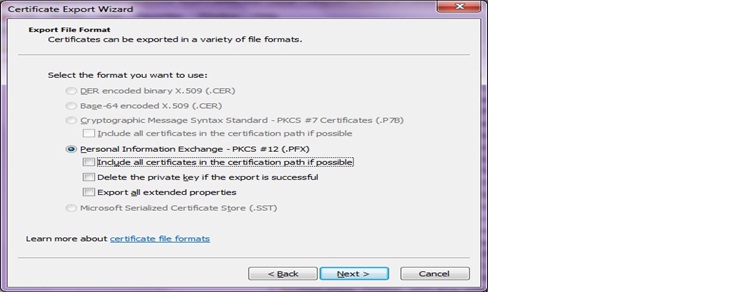
f. Verify the default selection of Personal Information Exchange-PKCS and click on Next.
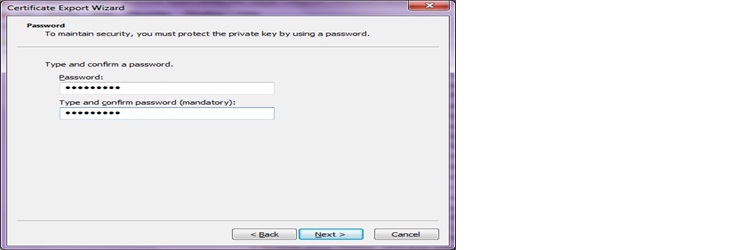
g. Enter the password that you would like to use for your certificate in both Password text box and confirm password text box. Click on Next
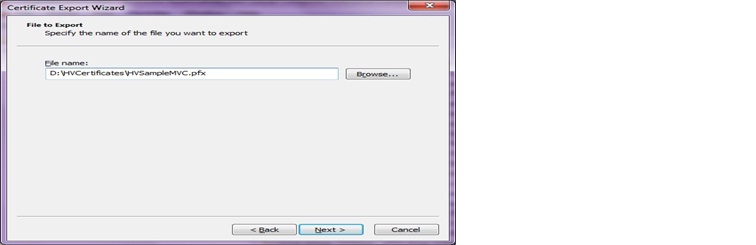
h. Click on the Browse button to browse to the folder where you would like to store the certificate (.pfx) file in the file system and give the name of the certificate (.pfx). Click Save and click on Next. Note: Makes sure that you have full permissions to this path to read the Certificate file from your HealthVault application.
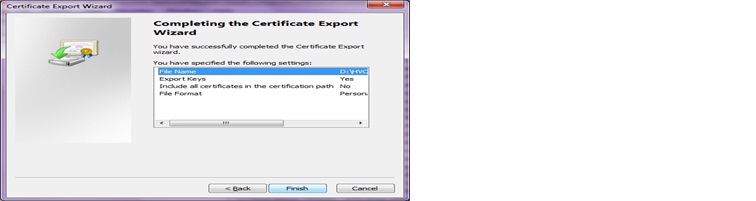
i. Click on Finish and click on Ok. This completes the certificate export process.
Note: The generated pfx file should be kept in private location where it is not visible on your web site. Don't put it inside your web application path but in a secure file path not exposed to the public.

2. Configure your HealthVault application to load the certificate from file using the ApplicationCertificateFileName and ApplicationCertificatePassword settings. You can do this in your web application by modifying the web.config file to include the following under the <appSettings> section:
<add key="ApplicationCertificateFileName" value="“<full path to certificate file>”.pfx" />
<add key="ApplicationCertificatePassword" value="Certificate Password" />
Your web application must have read access to the certificate file. This can usually be done by granting the Network Service account read access to the file.
In some cases, your HealthVault web application might not be running under the Network Service account. For example, applications hosted in IIS 7 on Windows Server 2008 SP2 and later are by default configured to run under their own unique accounts. IIS 7 creates a new account for each web application. This is referred to as ApplicationPoolIdentity.
You can either reconfigure your web application in IIS 7 to run under the Network Service account, or grant the account which your web application is run under read access to your application certificate.