Azure RMS for Individuals User Experience Outside of Your Domain
I wanted to provide a walk-through of what the current set of tools provides in terms of setting up and sharing documents via RMS. For more detailed information on RMS check out the TechEd 2014 session delivered by Enrique Saggese, a Program Manager on the RMS team.
Deploying RMS for Cloud-Friendly and Cloud-Reluctant Organizations
First thing you need to do is go to the Azure RMS Portal and download the latest RMS application for your device. https://portal.aadrm.com/ If your company is already using RMS, either on premise or in the the cloud with Azure RMS you will be able to ‘connect’ the RMS client to your existing templates. The RMS client also seamlessly integrates with the Office 2013 suite.
Outlook Integration:
Office Apps (Word, Excel, etc…) integration:
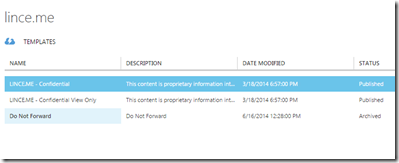
With the RMS client, you can connect to existing templates created by your administrators either on Windows Servers running the RMS feature or Azure RMS.
In my case above, I have an O365 tenant I demo from and I’ve configured the templates using Azure RMS. The first time you open the RMS client you’ll see the option to ‘connect to RMS service…’ in the place where you see my existing templates. Once it’s made the connection from that point on, you’ll see the actual templates available when you use the RMS client.
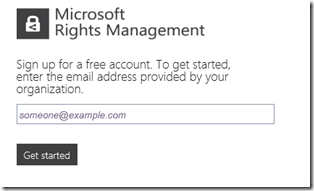
Now, lets go to the RMS portal and setup our account and download the client. If your organization is already using Azure Active Directory, then you won’t need to setup a new account – the RMS client will simply start working with your existing RMS setup.
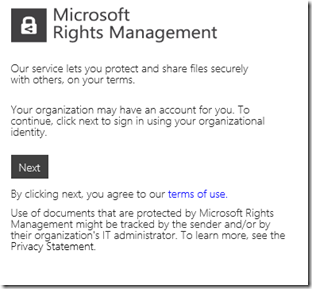
If your organization is already configured to work with Azure AD, then you might see a message like this after entering your email address:
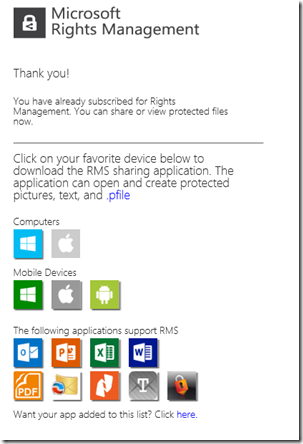
In which case, once you click ‘NEXT’ you will be prompted to authenticate with your credentials associated with that email (assuming it’s a corporate login for example) and you’ll see the following screen where you can download the RMS client to your computer:
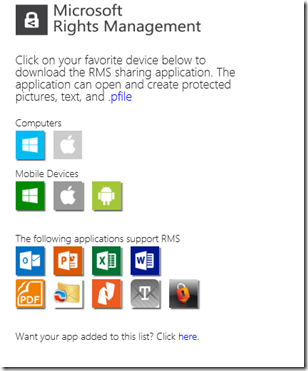
Now, if you don’t already have and account you’ll still see a similar screen – you just won’t see the few previous screens that tell you that your company is already configured for RMS. But still, you’ll be able to download the RMS client to your machine and start using the service.
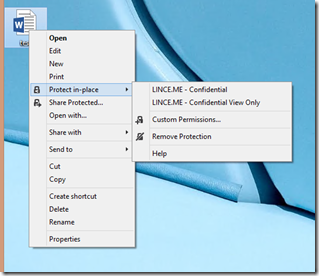
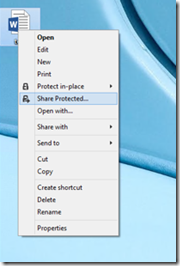
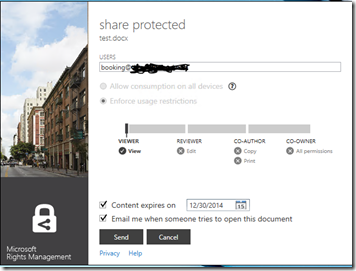
Once the RMS client is installed you’ll see new context menus when you right click on items. Let’s create a document in Word and save it on the desktop. The first option is to “Share Protected” which essentially launches the RMS client and allows you to enter email addresses (LiveID’s, gmail, yahoo, outlook.com, etc… are not accepted at this time) and assign permissions to the recipient.
RMS will protect the document then open Outlook to send the email.
When the recipient receives the email one of a couple things will happen. If their user account is already in Azure AD (let’s say they are an existing O365 customer which would be the most common scenario), then they will be able to open the document in Word without having to set anything else up.
If the email domain of the recipient is not in Azure AD, then per the email they will be sent out to the sign-in page to create an account.
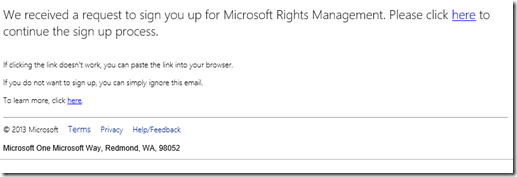
After they sign-up they will receive an email asking them to continue on to complete the sign-in process.
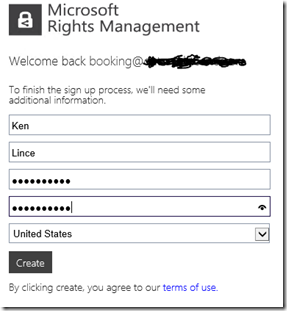
The recipient will then fill in a few pieces of information:
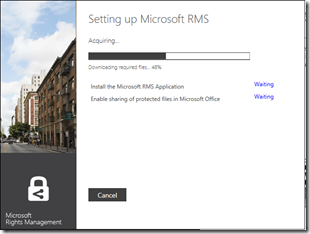
It takes a few seconds to provision the account then the recipient is passed along to the page where they can download the appropriate RMS client for their platform.
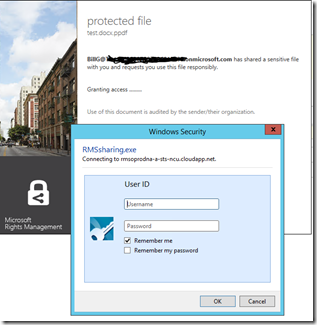
Now when the recipeient opens the protected document they are prompted for the credentials they just created for the RMS client:
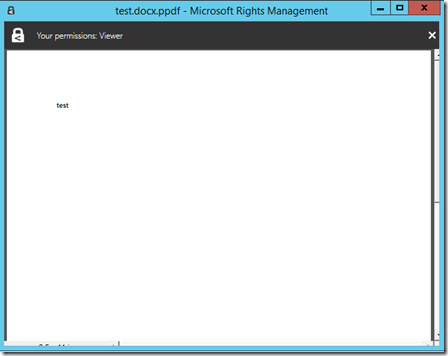
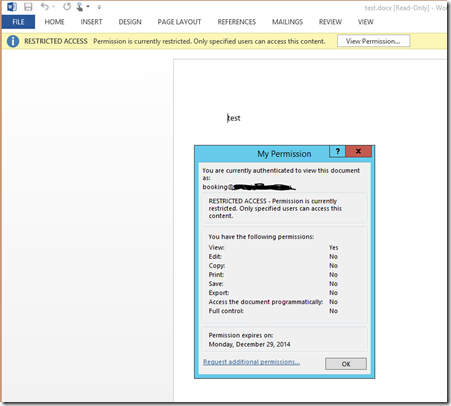
The recipient now has ‘view’ only access as given using either the RMS client reader or Word 2013.


