Installing Audit Collection Services (ACS) for SCOM 2016
If you're in the enviable position of needing to setup SCOM 2016 - Audit Collection Services (ACS) , then this blog is for you. It's dedicated to all those SCOM Admins who appreciate visuals, along with their install instructions. Most of the wording was taken directly from the official documentation, with some added snapshots and examples to help smooth the process. The official technical reference links can be found at the bottom of this blog.
ACS Summary
Microsoft System Center Operations Manager includes a feature called Audit Collection Services (ACS) . ACS is a reporting tool, based on SQL Server Reporting Services, which simplifies the task of collecting and auditing security event log events on multiple Windows systems by gathering events from systems in your network and consolidating them in one location for reporting. ACS provides a number of useful reports, accessible through a Web browser, on security event types including access violations, account management events, forensic reports, planning, system integrity, and usage.
High-Level Steps for Installation
• Ready Required Systems
• Install SQL Server
• Install Management Server
• Install ACS collector and ACS database
• Deploy ACS reporting
• Enable Audit Collection Services (ACS) Forwarders
Example ACS Environment 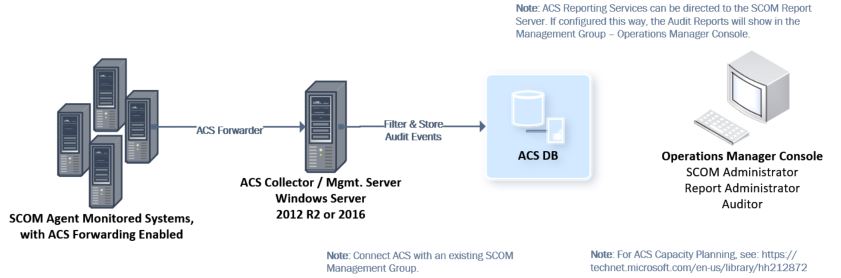
Install an ACS collector and an ACS database
1. Log on to the SCOM Management Server by using an account that has local administrative credentials.
2. On the Operations Manager installation media, run Setup.exe, and then click Audit collection services. The Audit Collection Services Collector Setup wizard opens.
3. On the Welcome page, click Next.
4. On the License Agreement page, read the licensing terms, click I accept the agreement, and then click Next.
5. On the Database Installation Options page, click Create a new database, and then click Next.

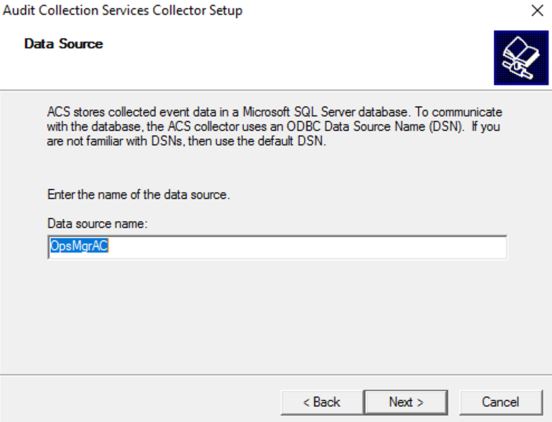
6. On the Data Source page, in the Data source name box, type a name that you want to use as the Open Database Connectivity (ODBC) data source name for your ACS database. By default, this name is OpsMgrAC. Click Next.
7. On the Database page, if the database is on a separate server than the ACS collector, click Remote Database Server, and then type the computer name of the database server that will host the database for this installation of ACS. Otherwise, click Database server running locally.
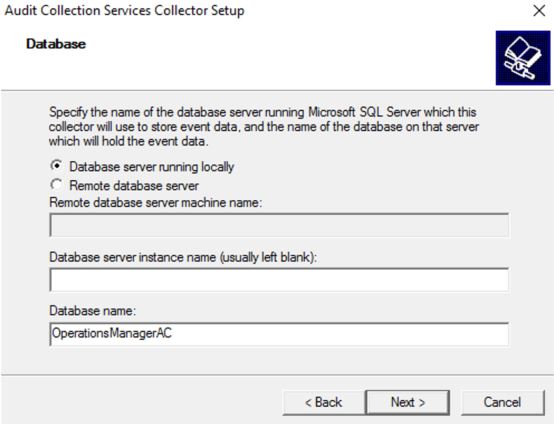
8. In the Database server instance name field, type the name of the database that will be created for ACS. If you leave this field blank, the default name is used. In the Database name field, the default database name of OperationsManagerAC is automatically entered (highly recommend to always use the default database names for SCOM). You can select the text and type in a different name or leave the default name. Click Next.
Note: To display a list of SQL Server Instances, on the database computer click Start, point to Programs and open SQL Server (the appropriate version of SQL Server is dependent on the version of Operations Manager – see System Requirements for System Center 2012 – Operations Manager), and then click SQL Server Management Studio. On the Server name list, click Browse for more and then expand Database Engine. All databases are listed as server name\database name.
9. On the Database Authentication page, select one of the authentication methods. If the ACS collector and the ACS database are members of the same domain, you can select Windows authentication, otherwise select SQL authentication, and then click Next.
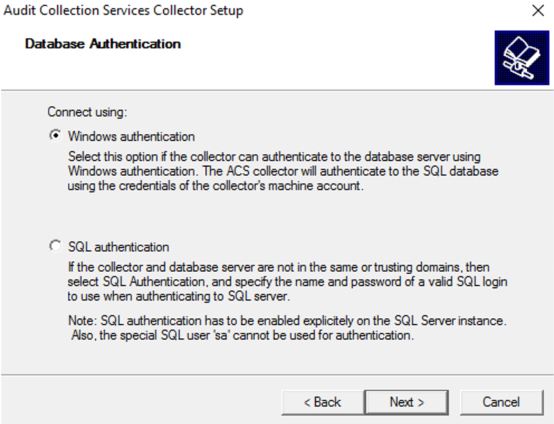
Note: If you select SQL authentication and click Next, the Database Credentials page displays. In the SQL login name box, enter the name of the user account that has access to the SQL Server and the password for that account in the SQL password box, and then click Next.
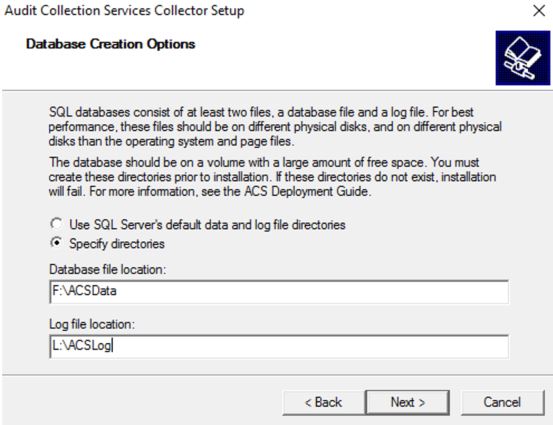
10. On the Database Creation Options page, click Use SQL Server's default data and log file directories to use SQL Server's default folders. Otherwise, click Specify directories and enter the full path, including drive letter, to the location you want for the ACS database and log file, for example C:\Program Files\Microsoft SQL Server\MSSQL.1\MSSQL\Data. Click Next.
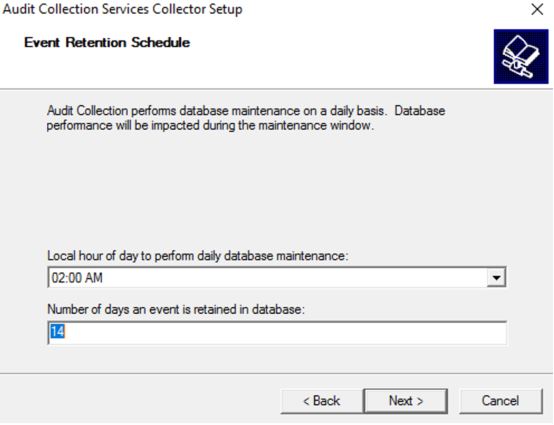
11. On the Event Retention Schedule page, click Local hour of day to perform daily database maintenance. Choose a time when the number of expected security events is low. During the database maintenance period, database performance will be impacted. In the Number of days to retain events box type the number of days ACS should keep events in the ACS database before the events are removed during database grooming. The default value is 14 days. Click Next.
12. On the ACS Stored Timestamp Format page, choose Local or Universal Coordinated Time, formerly known to as Greenwich Mean Time, and then click Next.

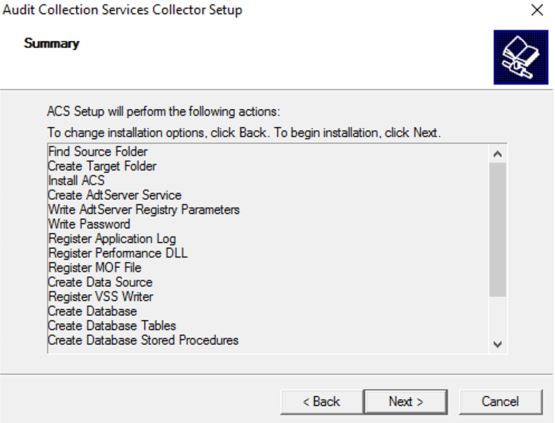
13. The Summary page displays a list of actions that the installation program will perform to install ACS. Review the list, and then click Next to begin the installation.
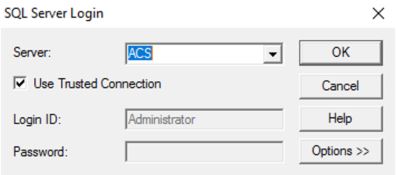
Note: If a SQL server login dialog box displays and the database authentication is set to Windows authentication, click the correct database and verify that the Use Trusted Connection check box is checked. Otherwise click to remove the check and enter the SQL login name and password. Click OK.
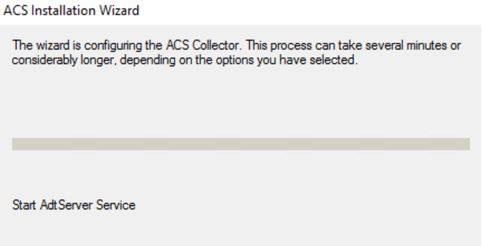
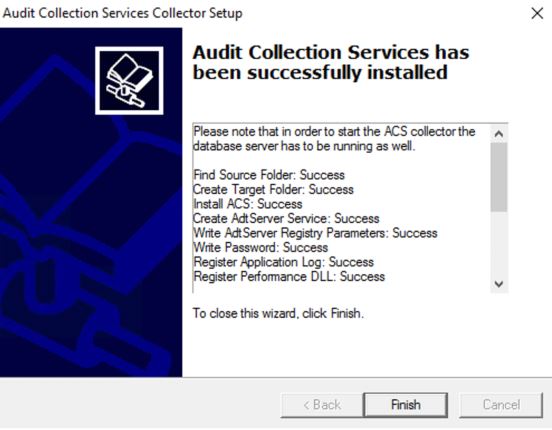
14. When the installation is complete, click Finish.
ACS Default Database Files
dbAuditData & dbAuditLog 
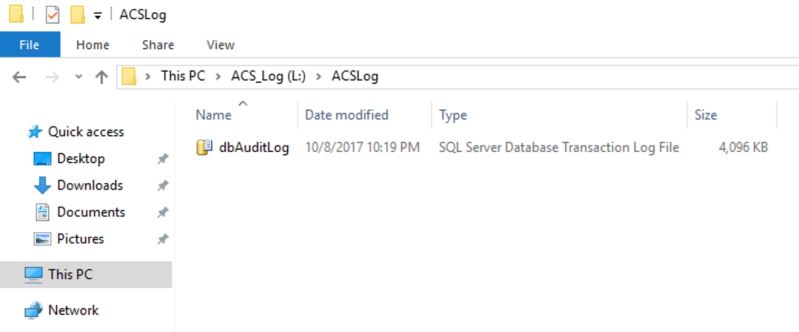
Default database Setup 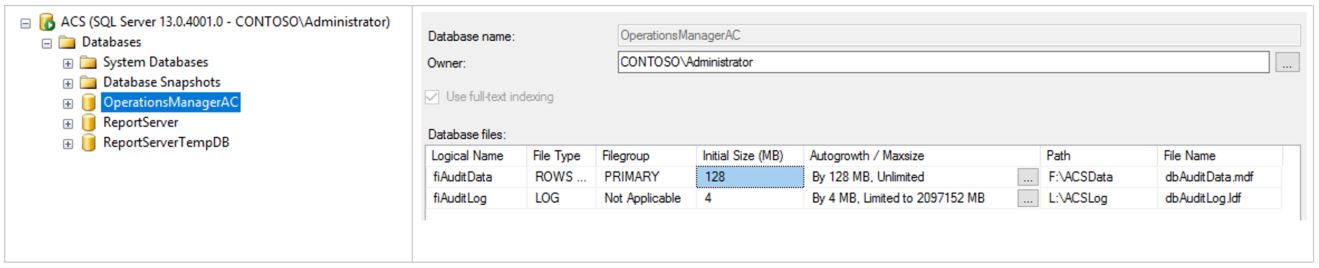
ACS Reporting
Audit Collection Services (ACS) Reporting can be installed in two configurations:
- A supported version of Microsoft SQL Server Reporting Services (SSRS) instance, with Operations Manager Reporting already installed. A benefit of this is the ability to view ACS Reports in the Operations Console of any Management Server within that Management Group.
- An SSRS instance without Operations Manager Reporting installed. This would be a stand-alone ACS Reporting Server, without connection to the SCOM Reporting Services within the Management Group. A benefit of this is the ability to isolate reporting and reporting permissions.
The installation procedures for ACS Reporting do not differ, but the application of access control is different. By deploying ACS Reporting on the same SQL Server Reporting Services instance as your Operations Manager Reporting, the same role-based security applies to all reports. This means that ACS Reporting users need to be assigned to the Operations Manager Report Operator Role to access the ACS reports.
In addition to membership in the Operations Manager Reporting Role, ACS report users must also be assigned db_datareader role on the ACS database (OperationsManagerAC) to run ACS reports. This requirement is independent of the presence of Operations Manager Reporting
Deploy ACS Reporting
1. Log on to the server that will be used to host ACS reporting as a user that is an administrator of the SSRS instance.
2. Create a temporary folder, such as C:\acs.
3. On your installation media, go to \ReportModels\acs and copy the directory contents to the temporary installation folder.
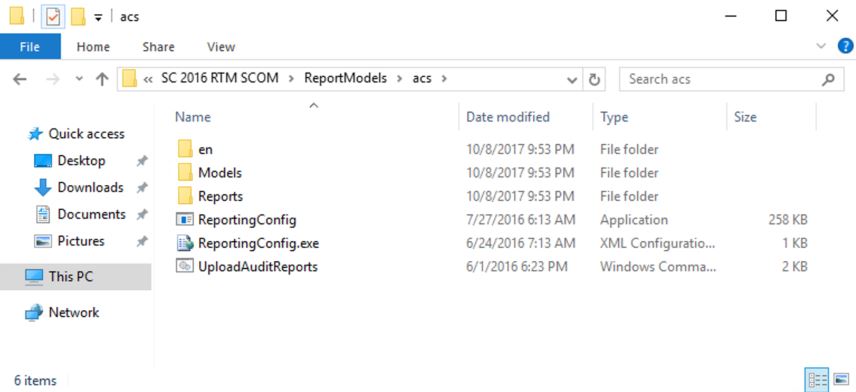
4. There are two folders (Models and Reports) and a file named UploadAuditReports.cmd.
5. On your installation media, go to \SupportTools and copy the file ReportingConfig.exe into the temporary acs folder.

6. Open a Command Prompt window by using the Run as Administrator option, and then change directories to the temporary acs folder.
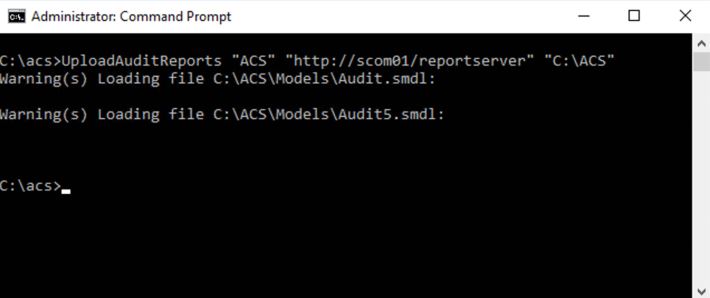
7. Run the following command. UploadAuditReports "<AuditDBServer\Instance>" "<Reporting Server URL>" "<path of the copied acs folder>" For example: UploadAuditReports "myAuditDbServer\Instance1" "https://myReportServer/ReportServer$instance1" "C:\acs". This example creates a new data source called Db Audit, uploads the reporting models Audit.smdl and Audit5.smdl, and uploads all reports in the acs\reports directory.
Note: The reporting server URL needs the reporting server virtual directory (ReportingServer_<InstanceName>) instead of the reporting manager directory (Reports_<InstanceName>).
Example: C:\acs>UploadAuditReports "ACS" "https://scom01/reportserver" "C:\ACS"
Note: For the Audit Reports to show in the Ops Console, you must use the same reporting server as your SCOM Reporting Services. In the example scom01 is the SCOM Reporting Server for the Management Group.
Verify that Audit reporting services have configured on your SSRS system.
1. Open Internet Explorer and enter the following address to view the SQL Reporting Services Home page. https://<yourReportingServerName>/Reports_<InstanceName> 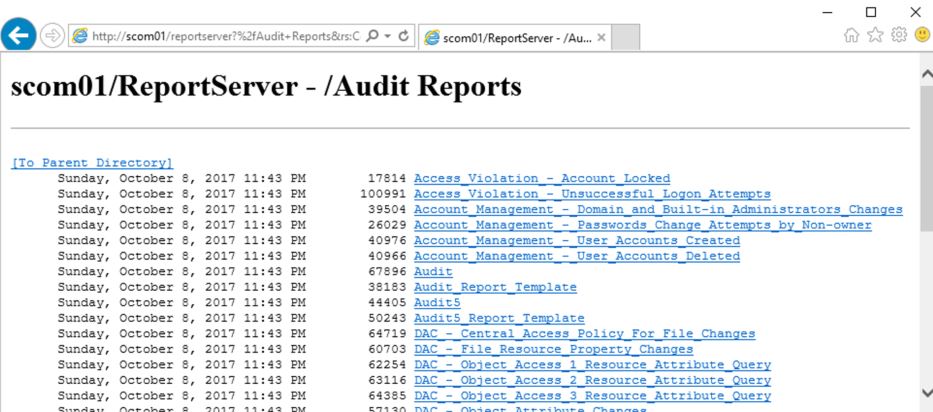
2. Click Audit Reports in the body of the page and then click Show hidden items, in the upper right part of the page.
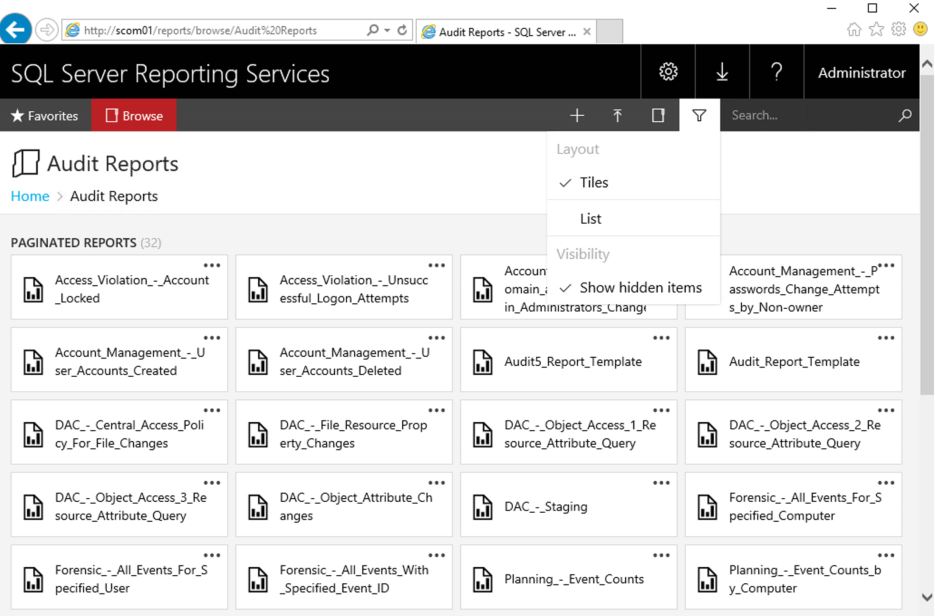
3. Click the Db Audit data source.

4. Go to Manage 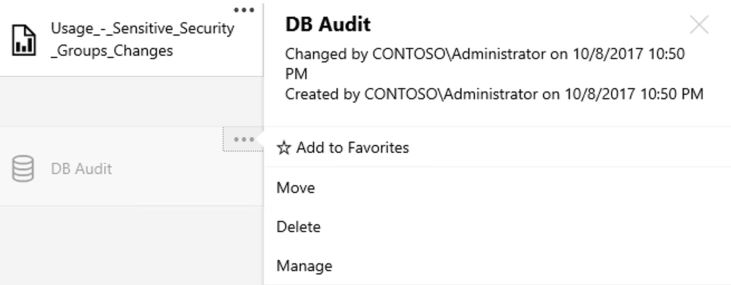
5. In the Connection section, select Microsoft SQL Server.
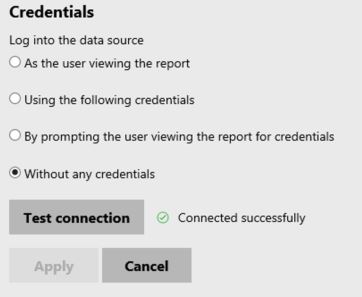
6. Ensure that the connection string has Integrated Security.
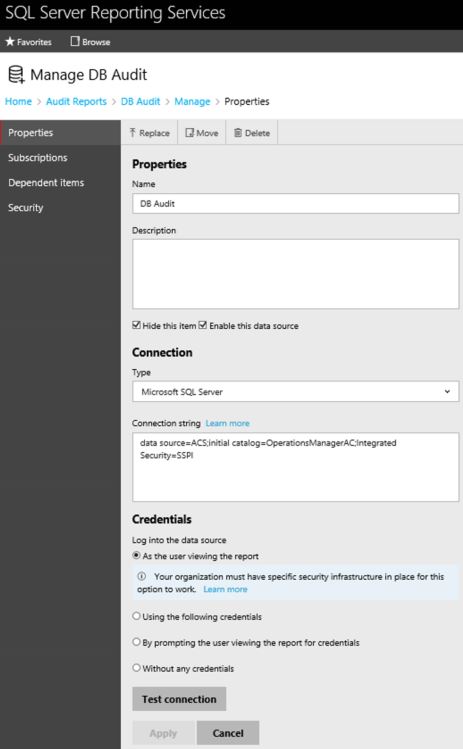
Note: The "Integrated Security" option is present in SQL Server 2016. Looks like it works alright without credentials. If needed, the SCOMSQLSvc account could be used.
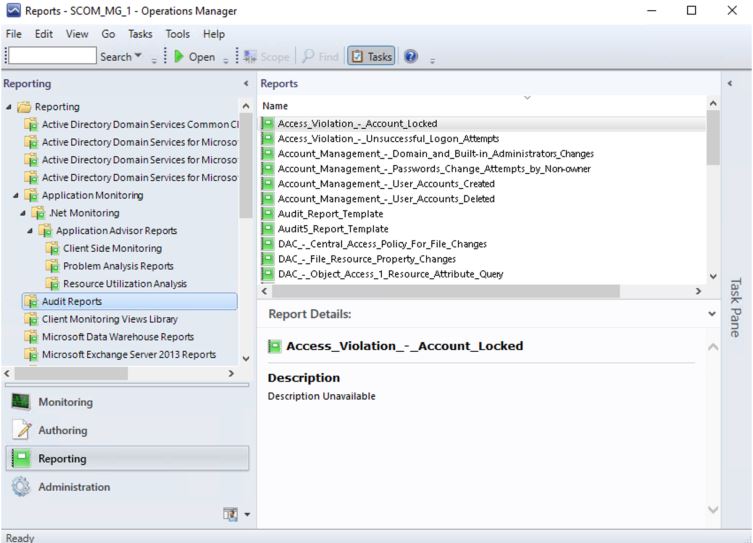
Note: Now the Audit Reports will show in the Reporting wunderbar, on all Management Group - Management Servers.
Enable Audit Collection Services (ACS) Forwarders
Depending on your auditing needs, you might have several hundred to thousands of computers from which you want to collect audit events. By default, the service needed for an agent to be an Audit Collection Services (ACS) forwarder is installed but not enabled when the Operations Manager agent is installed. After you install the ACS collector and database you can then remotely enable this service on multiple agents through the Operations Manager console by running the Enable Audit Collection task.
This procedure should be run after the ACS collector and database are installed and can only be run against computers that already have the Operations Manager agent installed. In addition, the user account that runs this task must belong to the local Administrators group on each agent computer.
To enable audit collection on Operations Manager agents
1. Log on to a SCOM Operations Manager Console with an account that is a member of the Operations Manager Administrators role. This account must also have the rights of a local administrator on each agent computer that you want to enable as an ACS forwarder.
2. In the Operations console, click Monitoring.
3. In the navigation pane, expand the Operations Manager folder, expand Agent Details, and then click Agent Health State. This view has two panes, and the actions in this procedure are performed in the Agent State pane.
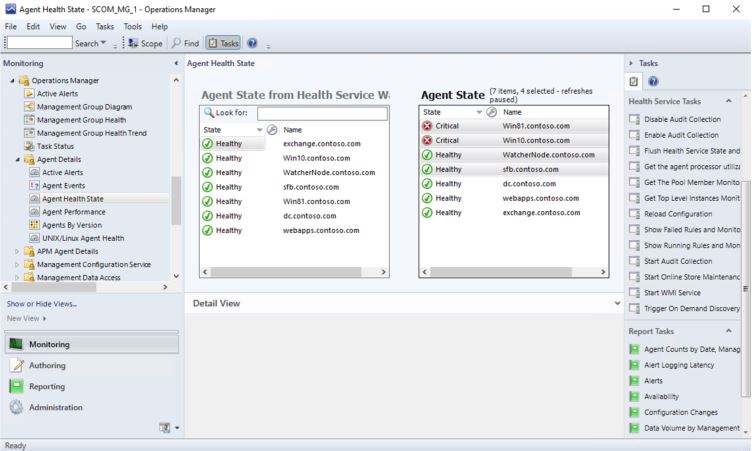
4. In the Agent State pane, click all agents that you want to enable as ACS forwarders. You can make multiple selections by pressing CTRL or SHIFT.
5. In the Tasks navigation pane (right side), under Health Service Tasks, click Enable Audit Collection to open the Run Task - Enable Audit Collection dialog box.
6. In the Task Parameters section, click Override to open the Override Task Parameters dialog box.
7. In the Override the task parameters with the new values section, click the CollectorServer parameter; in the New Value column, type the FQDN of the ACS collector; and then click Override.
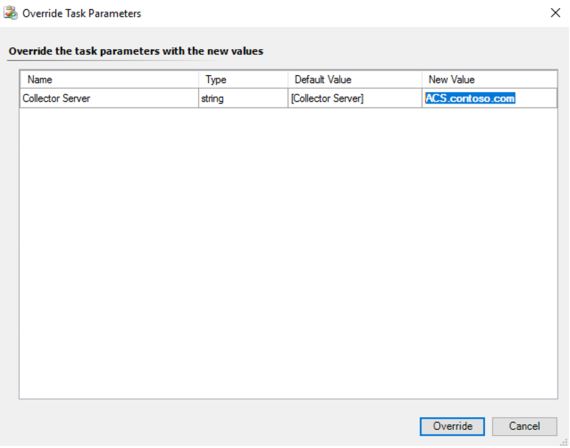
Note: If you are enabling ACS on a gateway or management server, and you do not specify the CollectorServer parameter, the task will fail with a “Type Mismatch Error.” To avoid this, provide a value for the override.
Note: For high availability, the ACS Collector can be installed on two (or more) Management Servers. From there, enable the forwarders by running the task ‘Enable Audit Collection’ on the server to be audited and setup the Override by entering a comma separated list of collectors. This will create a primary and secondary setup with the comma separated values.
8. In the Task credentials section, click Other. In the User Name box, type the name of a user account that belongs to the local Administrators group on the agent computers. In the Password box, type the password for this user account. Click to expand the Domain list to view the available domains, and then click the domain of the user account.
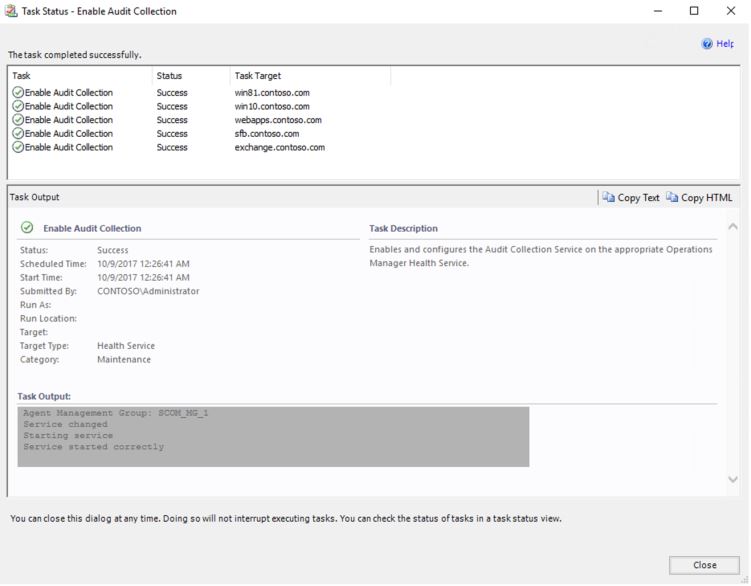
9. Click Run Task. The Task Status dialog box displays tracking the progress of the task.
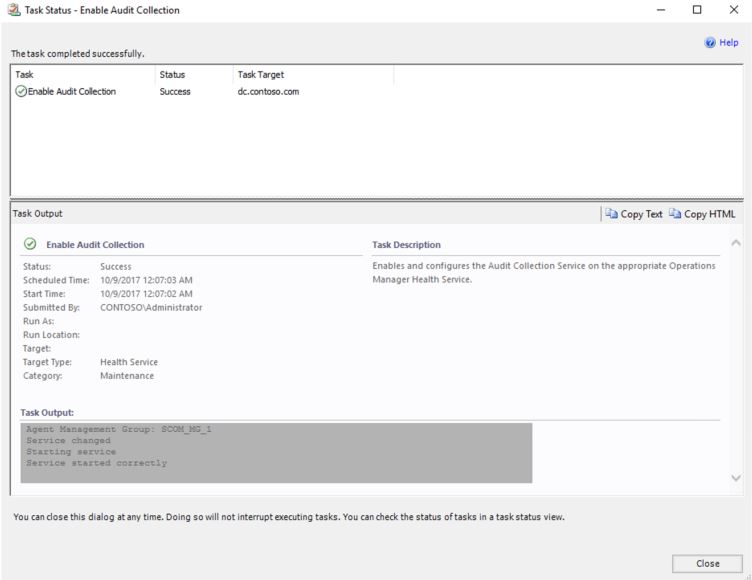
10. When the task completes successfully, click Close.
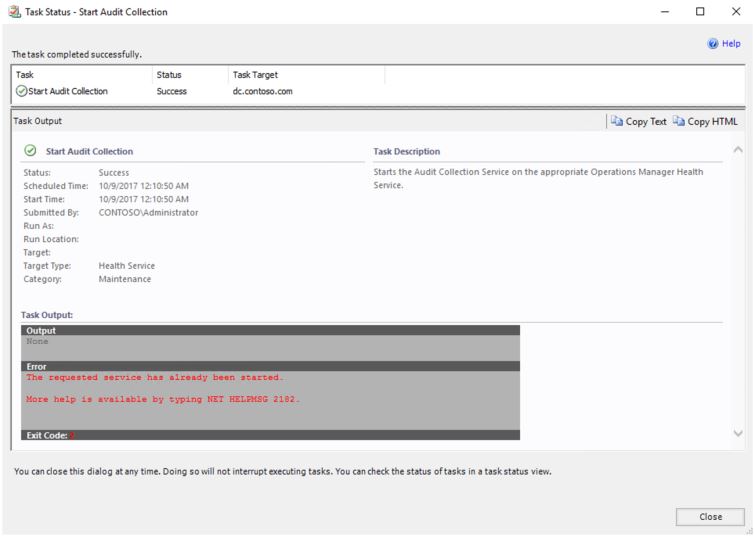
Tip: There is no need to run the Start Audit Collection Task, if the Enable Audit Collection task was just run.
Tip: Multiple systems can be enabled for auditing at once.
References:
• /en-us/system-center/scom/deploy-install-acs
• https://technet.microsoft.com/en-us/library/hh272397.aspx
• https://technet.microsoft.com/en-us/library/hh284670.aspx
Happy Auditing!
--End--