How Students get Microsoft Azure
With Microsoft Azure, students can explore cloud development with their own web apps and MySQL databases, at no cost and with no credit card required. Let’s walk through the steps for a student to claim this offer and start using Azure.
Because only students get this special Azure offer from Microsoft Imagine, you’ll need to take a few steps to verify your identity and academic enrollment.
Part One: Register at DreamSpark.com
Go to https://aka.ms/ia
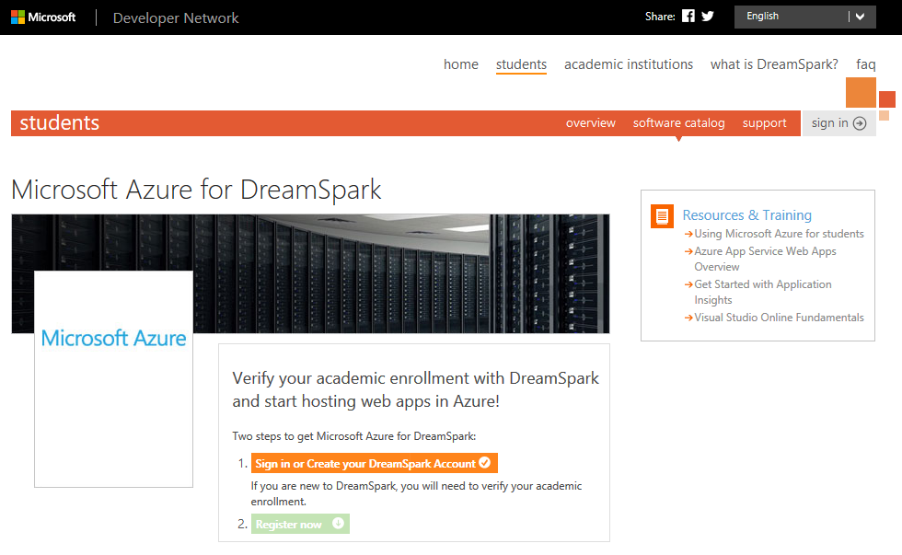
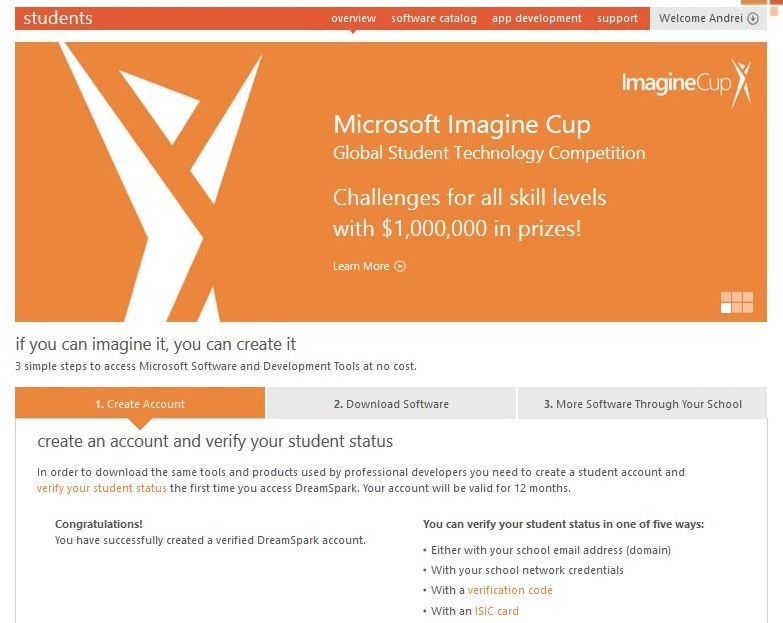
You’ll see this page:
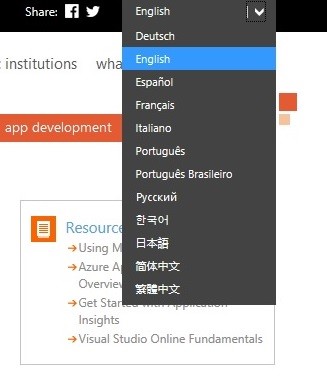
You can choose your preferred language using the dropdown in the upper-right corner of the page:
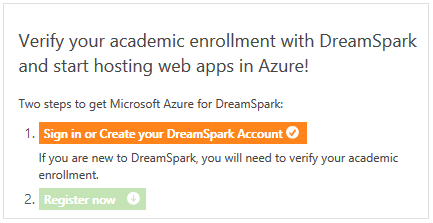
Press the orange button that says “Sign in or Create your DreamSpark Account”:
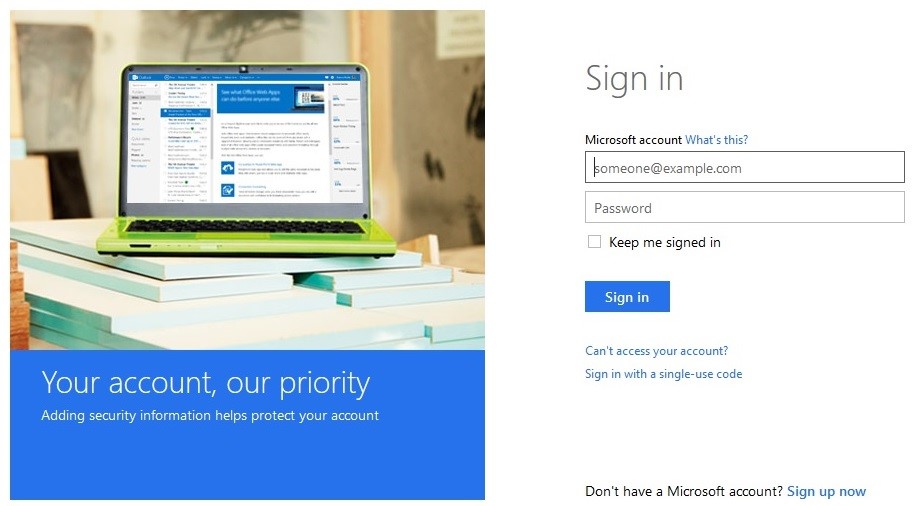
On the next page, sign in with your Microsoft Account. (This is the same account you might use for Outlook.com, Xbox LIVE, or OneDrive.) If you don’t already have a Microsoft Account, you can get one now by clicking “Sign up now” at the bottom of the screen.
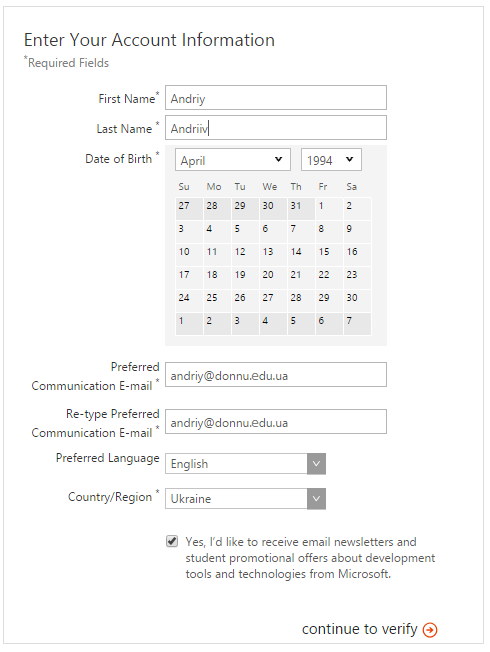
After you sign in, you’ll return to DreamSpark to finish creating your account there. In the "email" field write down your mailbox (for example, login@donnu.edu.ua), in the future you will receive email from DreamSpark to this mailbox:
Part Two: Verify Your Academic Enrollment
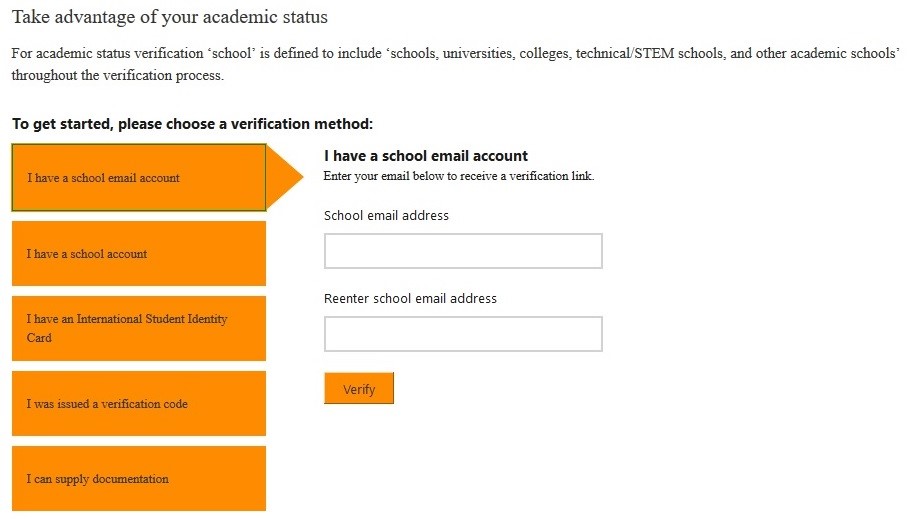
It’s now time to verify your academic enrollment. The easiest way to do this is to use the email address provided for you by your school, such as yourname@yourschool.edu. Enter your school email address in the fields below and click the “Verify” button.
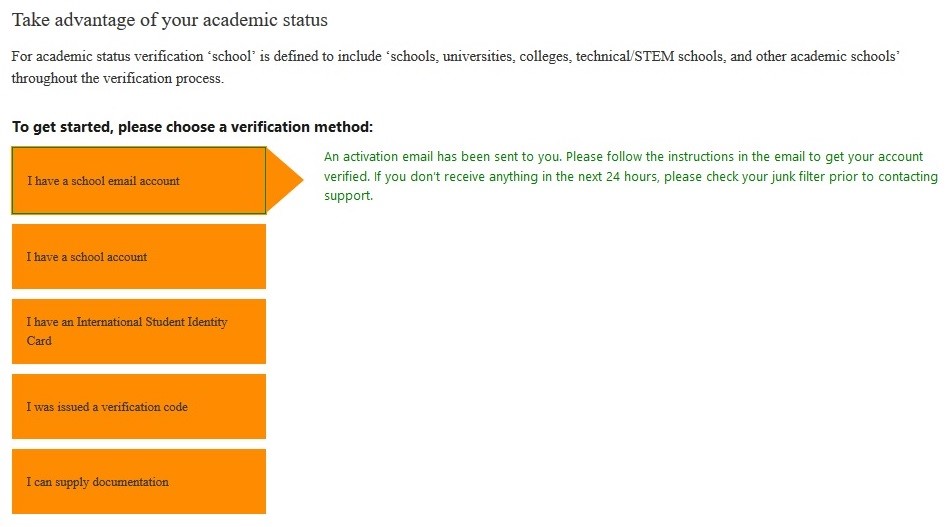
After clicking the "Verify" button you get the following message:
You’ll then receive an email with the following message. Click the link in the email to complete your academic enrollment verification.

The link will take you back here:

Click "Continue" and go to the next page where you need one more time to press "Continue":
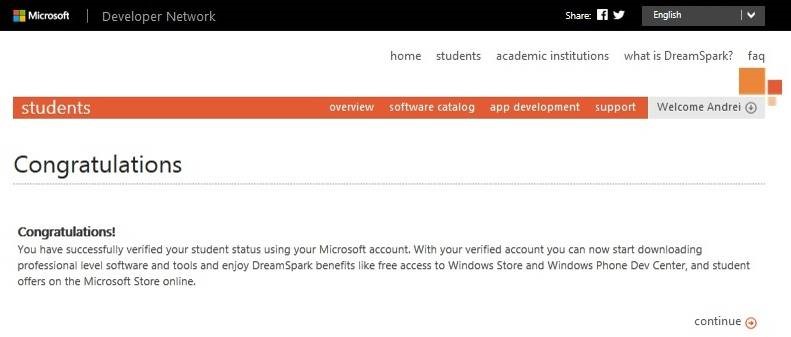
You’ve now completed your academic enrollment verification and you have access to all of DreamSpark.com’s software and services at no cost for 12 months!
Part Three: Get Microsoft Azure
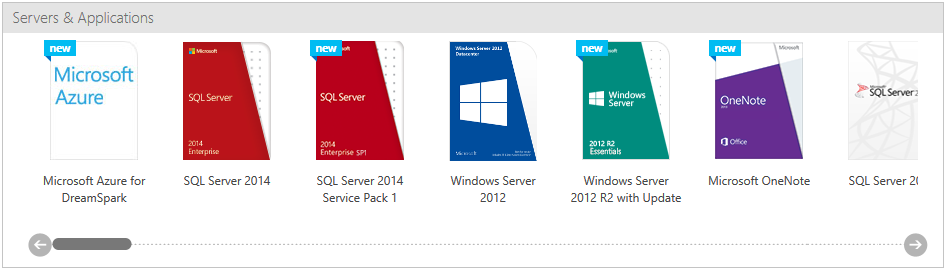
So now let’s get Microsoft Azure. Click “Software Catalog” at the top of the page and you’ll find Microsoft Azure for DreamSpark listed in the Servers & Applications section:
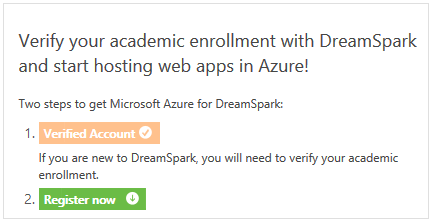
You’re back on the Azure page where we began this journey! But now the orange button says you have a “Verified Account” which means you can click the green button that says “Register Now”:
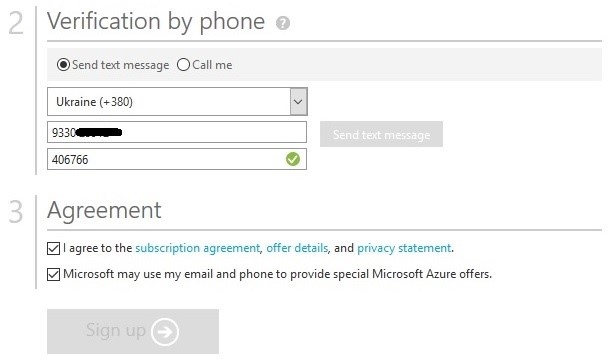
And now you’re ready to sign up for Azure! Fill out this short form. For section 2, “Verification by phone,” you will need a phone number to either receive a text message or an automated call to get your Azure verification code. Fill that part out and click the green button to request the text message or call:
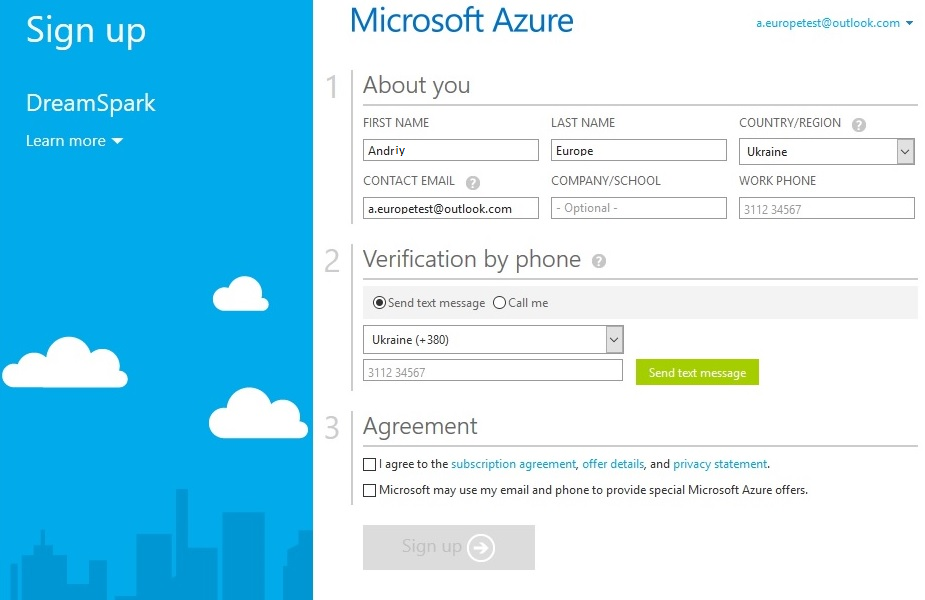
Another field will appear. Take the code you received by text message or automated call and type it into that field. Then click the first “Agreement” box stating that you agree to the subscription agreement, offer details, and privacy statement. Please remember that this special Microsoft Azure offer for students does not require a credit card and so you will not be charged any money for it! Once you have done this, the “Sign up” button will light up and you can click it to continue. There may be a short delay before the button lights up.
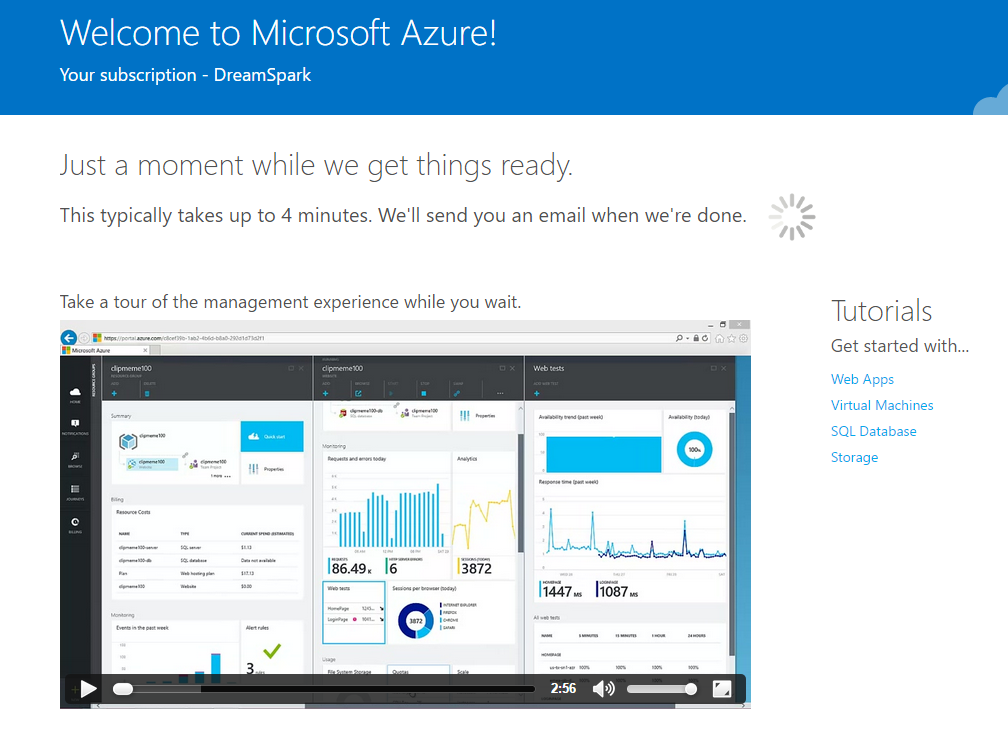
After clicking the “Sign up” button the following page will be open:
When everything is ready, you see the following button (in case the previous page was not closed):
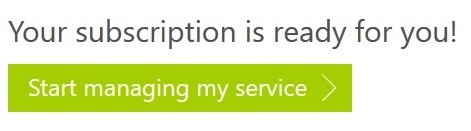
After clicking "Start managing my service" you move to the Azure portal at https://portal.azure.com/:

Ready for more?
We’ve got a great blog post for you explaining how to connect your new Azure subscription to Visual Studio Community 2015 and create your very first web app in the cloud!