Web App Instance Name and ARR affinity Mapping using Function App – Part-3
This Post is in continuation of Post :Web App Instance Name and ARR affinity Mapping using Function App – Part-2
as Part 3 Our next step is Creating and Setting up Service Principal (AAD Application ) :
Creating and Setting up Service Principal (AAD Application ) :
- Creating Azure AAD App aka Service Principal.
- Noting down the Application Id of AAD app which is also known as Client Id or Service Principal Id
- Generating Key for that AAD app , which is knows as Client Secret or Password.
- Assigning Reader role on subscription to that service principal (AAD App) so that it can read the resources of subscription and query ARM endpoints .
We can cover the above mentioned steps using the Microsoft well explanatory document here : https://docs.microsoft.com/en-us/azure/azure-resource-manager/resource-group-create-service-principal-portal
But for the sack of completeness , let me try giving and high level step overview here itself :
1. Creating Azure AAD App aka Service Principal
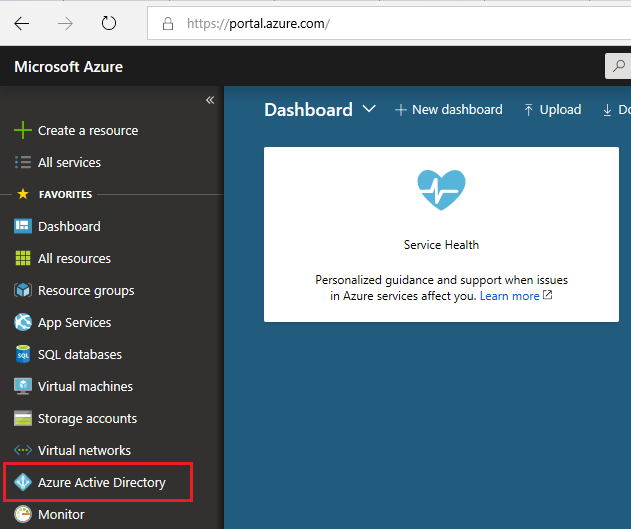
Log in to your Azure Account through the Azure portal.
Select Azure Active Directory.
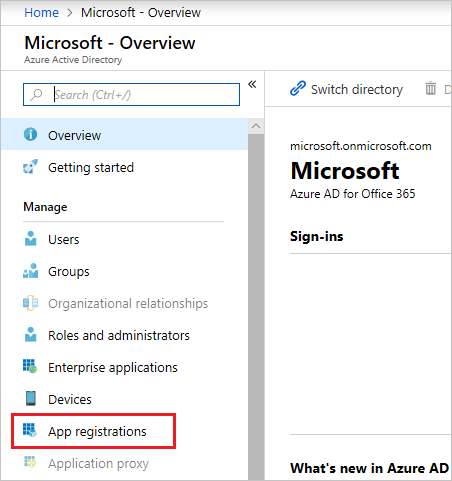
Select App registrations.
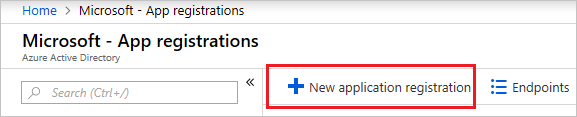
Select New application registration.
Provide a name and URL for the application. Select Web app / API for the type of application you want to create. You cannot create credentials for a Native application; therefore, that type does not work for an automated application. After setting the values, select Create.
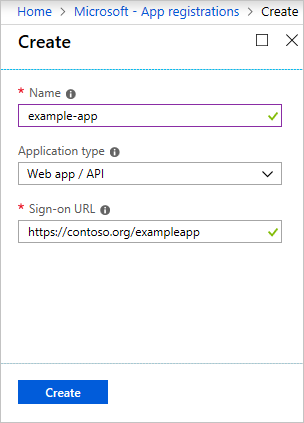
You have created your application.
2. Noting down the Application Id of AAD app which is also known as Client Id or Service Principal Id
When programmatically logging in, you need the ID for your application and an authentication key. To get those values, use the following steps:
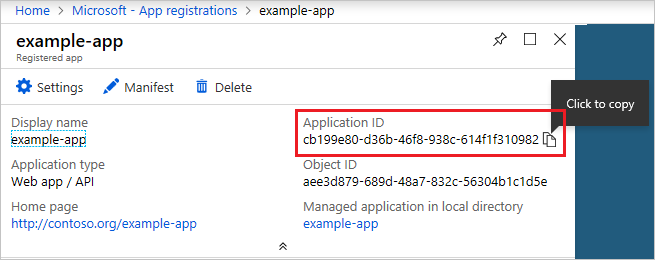
From App registrations in Azure Active Directory, select your application.

Copy the Application ID and store it in your application code. Some sample applications refer to this value as the client ID.
3. Generating Key for that AAD app , which is knows as Client Secret or Password.
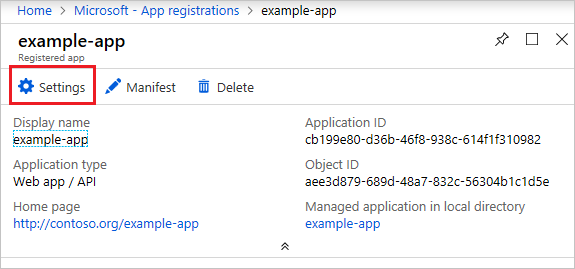
To generate an authentication key, select Settings.
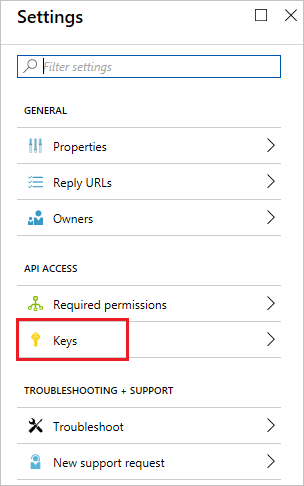
To generate an authentication key, select Keys.
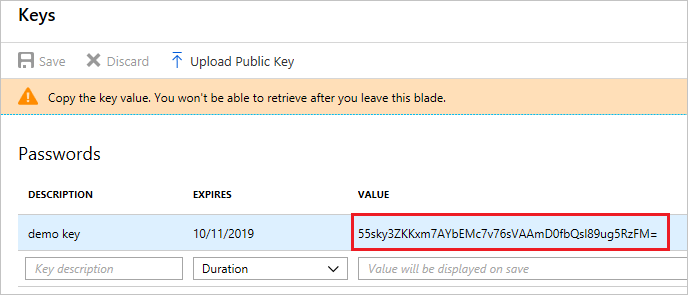
Provide a description of the key, and a duration for the key. When done, select Save.
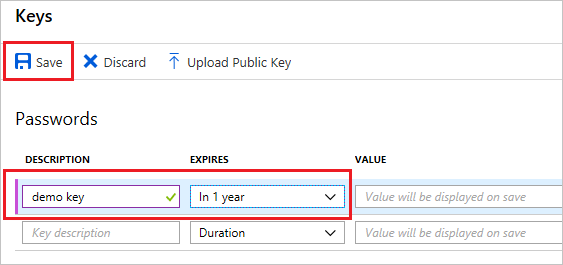
After saving the key, the value of the key is displayed. Copy this value because you are not able to retrieve the key later. You provide the key value with the application ID to log in as the application. Store the key value where your application can retrieve it.
4. Assigning Reader role on subscription to that service principal (AAD App)
To access resources in your subscription, you must assign the application to a role. Decide which role represents the right permissions for the application. To learn about the available roles, see RBAC: Built in Roles.
You can set the scope at the level of the subscription, resource group, or resource. Permissions are inherited to lower levels of scope. For example, adding an application to the Reader role for a resource group means it can read the resource group and any resources it contains.
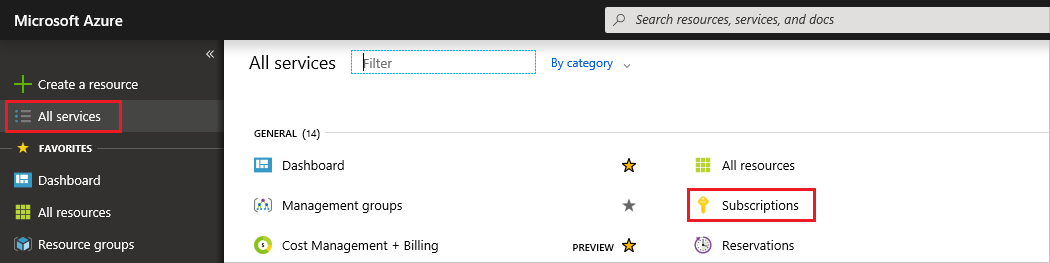
Navigate to the level of scope you wish to assign the application to. For example, to assign a role at the subscription scope, select Subscriptions. You could instead select a resource group or resource.
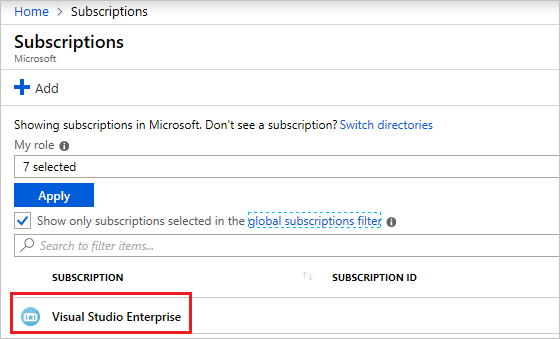
Select the particular subscription (resource group or resource) to assign the application to.
Select Access Control (IAM) .

Select Add.

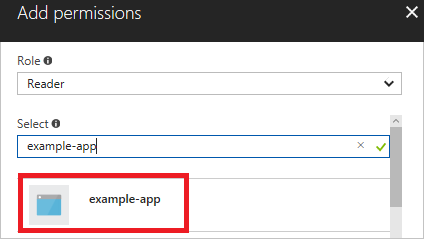
Select the role you wish to assign to the application. The following image shows the Reader role.
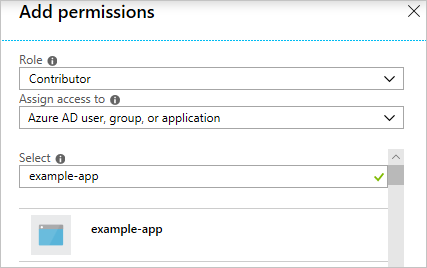
By default, Azure Active Directory applications aren't displayed in the available options. To find your application, you must provide the name of it in the search field. Select it.
Select Save to finish assigning the role. You see your application in the list of users assigned to a role for that scope.
Now in Next Post we will go through Creating a blank Function app and add application settings section here :
Web App Instance Name and ARR affinity Mapping using Function App – Part-4