Creating an Item Template Extension (Part 2)
Now, that we have a zipped up item template (from Part 1), how do we get this thing ready for the VS Gallery? All uploads hosted on the Gallery need to be VSIX files. I’m not going to talk much today about the file format (that is a full topic of its own), but you can read some about it on Quan’s blog. Just suffice it to say it’s a compound file (OPC package) that can contain any number of files within it.
Wouldn’t it be nice to have something that let you view and create the contents of a VSIX file… well, luckily, there’s an extension for that. J Gearard and Mariano (a QA and dev from our team) created the VSIXExplorer to allow users to view and edit the VSIX files that we work with.
From the Extension Manager (found under Tools menu > Extension Manager) go online, find, and install the VSIXExplorer. This little tool lets you view and edit the contents of a VSIX file. Launch it from Tools > VSIXExplorer. This tool is still very much under development, so it’s still a little rough around the edges, but you can expect additional updates as we flesh it out.
Step 3 – Creating a VSIX File
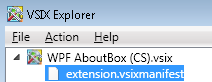
First, start the VSIXExplorer, and select File > New to create a new empty VSIX file. It will ask you to select a name for the VSIX file right away. And, as you’re editing the internal structure, changes are being made directly to the VSIX file. Notice that it shows the VSIX file as the root of the treeview (in this case our “WPF AboutBox (CS).vsix”), and a single extension.vsixmanifest file in it.
First step is to add some other elements to this file. You can either:
· Drag and drop files from the Windows Explorer to the VSIXExplorer, dropping onto the root VSIX node.
· Or, right click on the root node and select Add > Existing File.
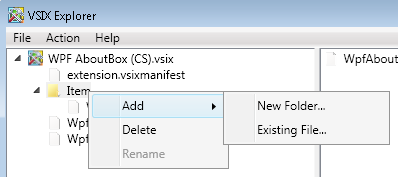
For templates, you should add icon and preview images (using either method above – though I had better luck with the context menu). And, templates have an extra requirement of the template being inside a subfolder. I’m not going to go into the dirty details of why, but it’s a requirement of the current template engine that we could not change for VS 2010. So, in my example, I created an “Item” folder (using Add > New Folder). Then place the template zip file in that folder. This is all of the structure and files you need for a template extension.
Note: This template will appear in the C# (or VB) general tab of the New Item dialog. That dialog has a tree with more specific categories, like Web, Windows Forms, and WPF. If you wanted your template to show up only in the WPF category, you can do this by making the folder structure in the VSIX file (ex: Item\WPF would show your template when the WPF category is selected). One drawback is that it would only show up in a single category, so for my sample, I decided to keep it at the root.
Step 4 – Editing the VSIX Manifest
When you select the extension.vsixmanifest node in the treeview, you will see a set of property pages that allow you to edit the manifest.
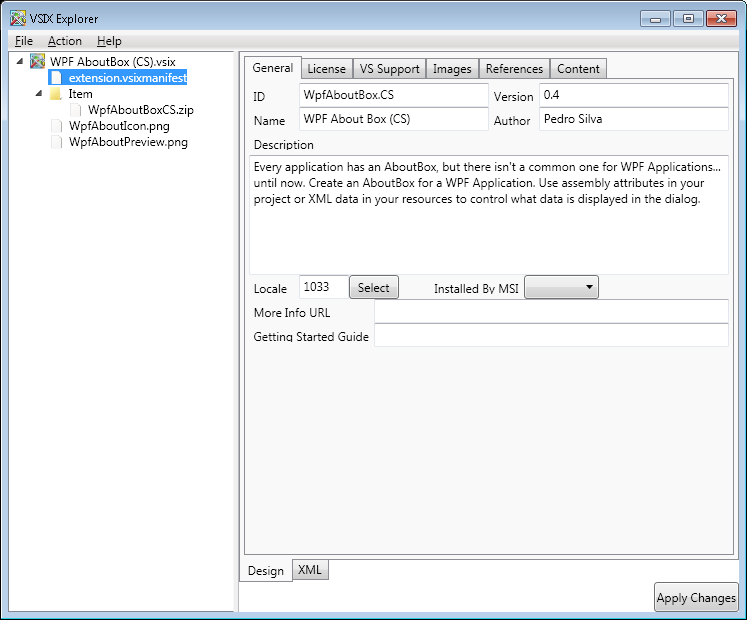
The interesting properties on this tab are ID and Version. Be sure that the ID is unique, this is used by the Extension Manager and Gallery as the unique identifier of your extension. Duplicates are not allowed on the Gallery, and you will be warned when you upload your extension. Also, version is important for updates. If you change your extension, you should increment the Version number. That way, if a user already has installed your previous extension, they will see that you have published an update and can install the latest version. Name (display name of your extension), Author (your personal or company name), and Description are self explanatory… The other fields, we’ll skip for our template.
I’m also skipping the License tab completely, because I don’t provide a EULA for templates. They are only needed for other types of extensions.
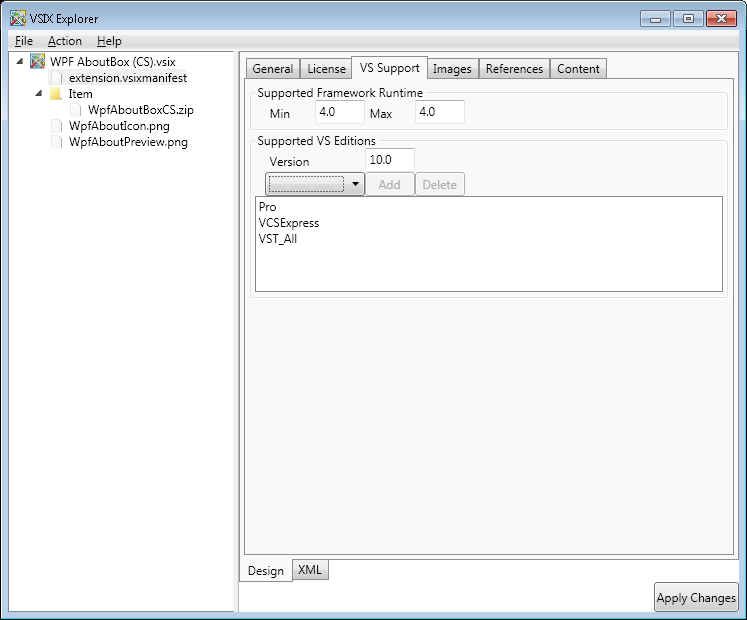
The VS Support tab allows you to say where this extension is allowed to install. For framework version, we’re saying that our template should be used with .NET runtime 4.0. Then, the VS Editions can target a version (10.0 in our case) and a set of SKUs. Select a SKU from the dropdown list and click the Add button. As you can see from the figure above, this template is allowed in VS Pro, all of the VSTS SKUs, and in C# Express. Note: The only valid extensions for Express SKUs are templates.
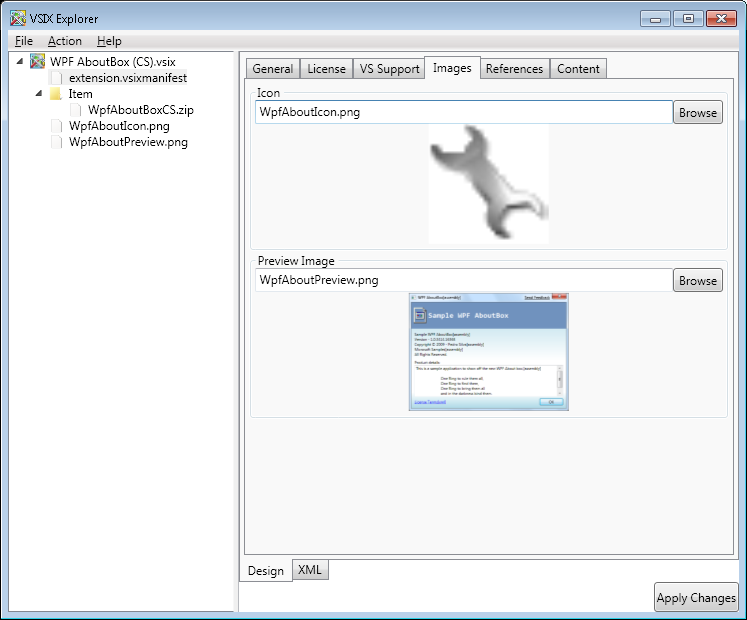
The Images tab allows you to point at the icon and preview files that we packaged into this VSIX file. Currently you need to type the names into the textboxes to match the items in the VSIX file, the Browse buttons aren’t connected (as I said earlier, the VSIXExplorer is a work in progress).
Unfortunately, for templates we duplicate these images in the VSIX file and in the template file. Other extension types don’t already have their own images embedded, so this is only a problem with templates.
And, the References tab is unnecessary for this example.
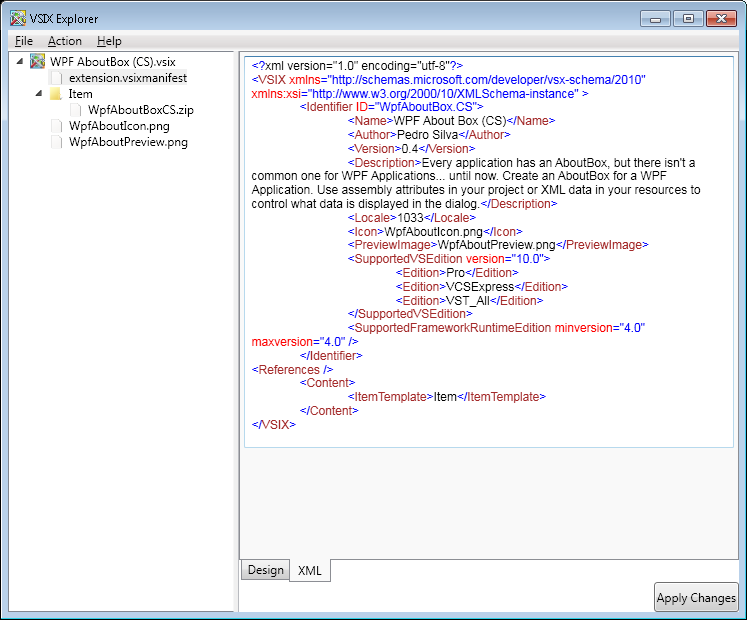
The one remaining step is to link the template content into the manifest. For this, you need to edit the XML by hand. Just click on the XML tab at the bottom-center of the VSIXExplorer window. You can see that all of the data we changed in the tool has been reflected here. To add the template content, just place the following in the XML:
<Content>
<ItemTemplate>Item</ItemTemplate>
</Content>
In this snippet, <ItemTemplate> is the type of extension that we’re creating (substitute this with <ProjectTemplate> for project templates; otherwise the rest is applicable to both types). And, Item is the folder name within our VSIX.
You can then switch back to the Design mode, and look in the Contents tab:
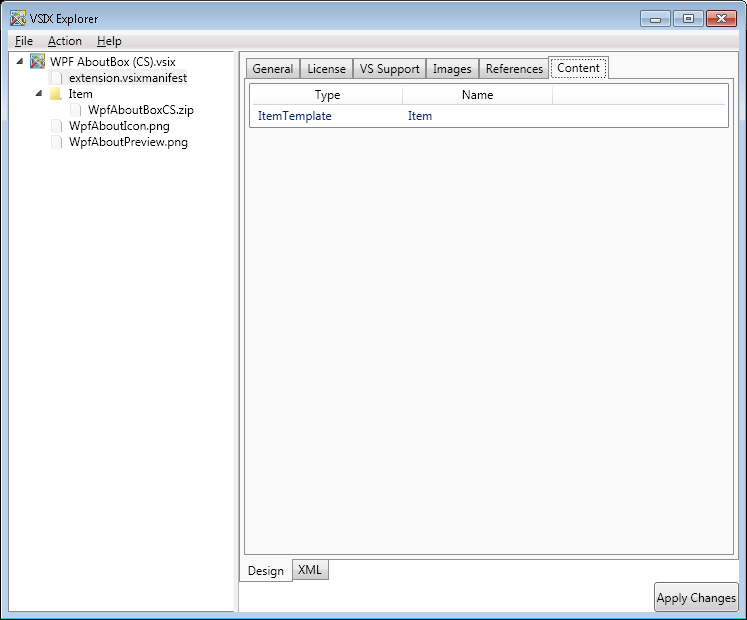
This shows you what we just edited. At this point this tab is read-only, but Gearard is working on making this editable, so that there will be no need to drop into XML view to do this final step. He tells me an update for this will be ready “any day now.”
The final step is to be sure to click the Apply Changes button in the lower right corner of the window. This saves the changes to the extension.vsixmanifest file. This is very important to do, or you changes will not be persisted when you close the VSIXExplorer.
At this point you have a packaged up extension that’s ready to be used.
Step 5 – Testing your Extension
It’s pretty easy to test your extension. Just double-click on the VSIX file you just created. This will launch our installer (only on a machine that has Visual Studio 2010 installed on it). Just click the Install button when the UI pops up and wait for it to complete. The template is now recognized by Visual Studio, so start up an instance of VS with a WPF application.
Launch the Add New Item dialog and note that the WPF AboutBox now appears on your list of installed templates. Launch the Extension Manager and see that the WPF AboutBox (C#) extension is installed. And, you can uninstall it at this point as well.
Wasn’t that fun? J
Our packaged extension is ready to upload to the VS Gallery. I’ll go through the upload process in my next post.