Azure Websites: Deploy ASP.NET website using Dropbox
Today I am going to take you through deployment of ASP.NET website through Dropbox.
Prerequisites :
1. Azure Account
2. Dropbox Account
3. ASP.NET hello world page
4. Internet Connection
5. Web browser
6. PC with an OS
Here is step by step of what you should do.
STEP 1 : Goto https://manage.windowsazure.com/ and sign in with your Azure account credential. Hit on "+NEW" which you can see at bottom left. A menu will pop up, from this menu choose websites, then choose quick create and write the name of the URL of your choice.
.png)
You can also do a custom create or choose from gallery. Gallery has tones to template for example, WordPress, Drupal, Joomla etc. You can browse through these and pick the template that best meets your website idea and functionality.
.png)
Once your website is created you can see it running in the portal.
.png)
STEP 2 : Navigate to the dashboard page of your website by clicking on the small arrow next to your site's name. Here at the right hand side you will see an option ' set up deployment from source control'. click on that and you will see a list of options. Select dropbox.
.png)
.png)
Once you do that you will be prompted to enter your dropbox credentials. Azure management portal sends your credentials to dropbox, dropbox authenticates it and returns a token to management portal. if you are syncing a website for the first time dropbox will create a folder called "Apps" in C:\user\xyz\dropbox, there will be another folder created called "Azure" in C:\Users\xyz\dropbox\Apps. Now in Azure folder one folder will be created for each of your website for which you will set dropbox as source control.
If you have connected a website to dropbox once and disconnect it and reconnect it, there will be two folders created in C:\Users\xyz\dropbox\Apps, namely Azure and Azure(1).
.png)
.png)
.png)
STEP 3: once your folder is created, dump you ASP.NET website folder in the corresponding folder in C:\Users\xyz\dropbox\Apps\Azure. Head back to portal and click on sync under deployment tab.
.png)
This WebSite5 is nothing but a visual Studio project with three files - html, Web and Web.config.
.png)
.png)
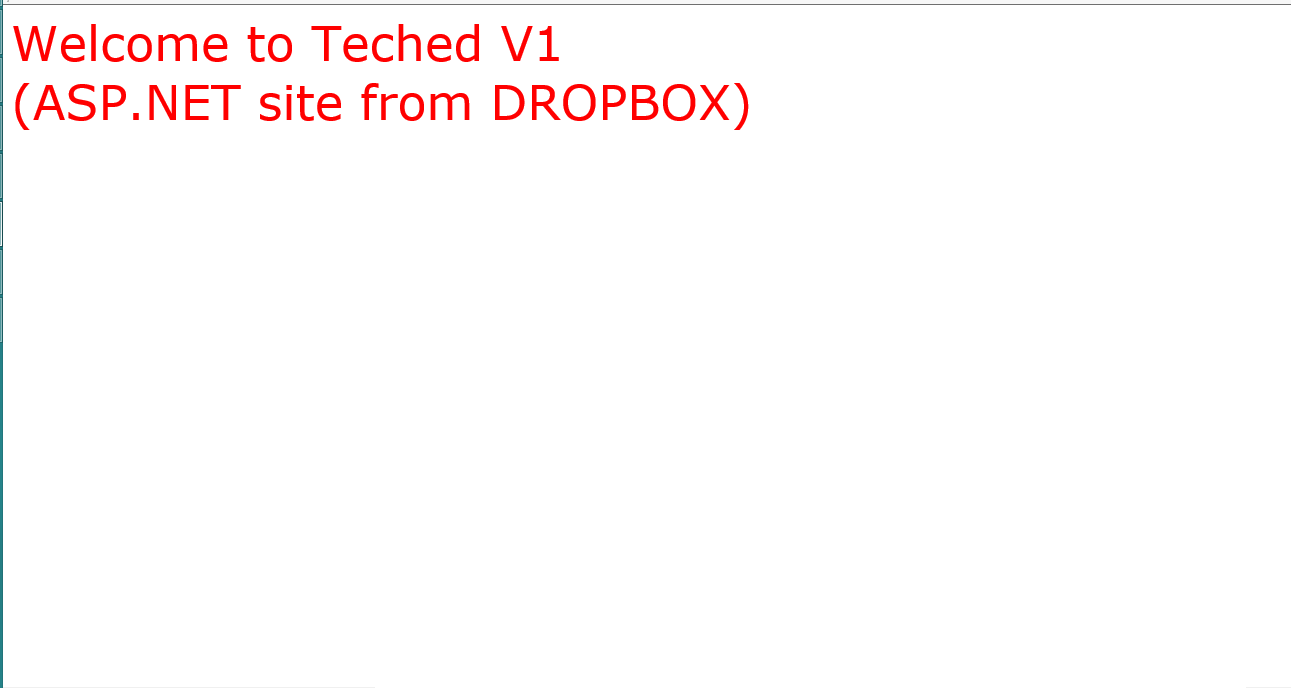
So now your website is deployed!
There maybe few cases in which you may need to make some changes, for example, goto Configure tab and make sure
1. In the Virtual application and directories correct folder is mentioned for your website
2. In default documents, landing page of your website is mentioned.
.png)
.png)
That's all, now hit browse and see your site running! :)
Hope you enjoyed reading this post!