App-V Auto Sequencing Part 2 - Preparing the Host and VM
So, you're ready to start and excited to see the results. Just a few more steps before we start automated package creation.
As you saw on the "shopping list" and "Step 1 - Download" there are several pre-requisites which do not all fit into a single blog. However the rest is relatively easy so let's proceed with Step 2:
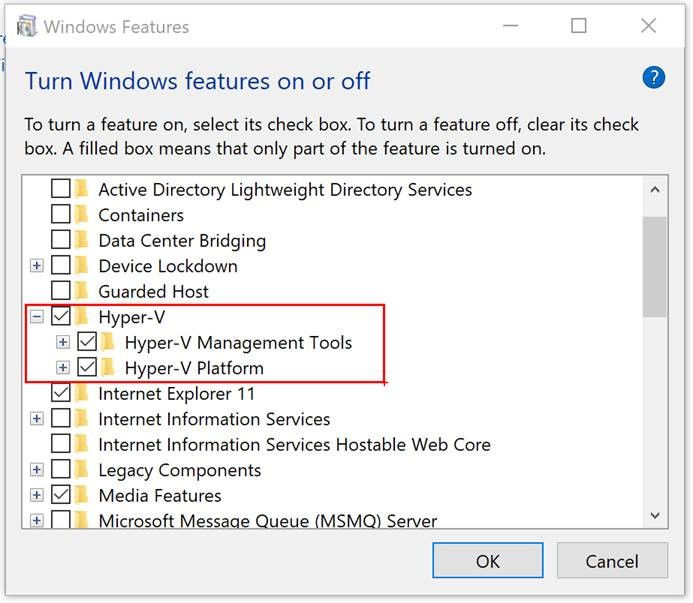
Enabling Hyper-V
This can be achieved via the SettingsApp
or with Powershell by executing the following:
Enable-WindowsOptionalFeature -Online -FeatureName Microsoft-Hyper-V -All
Installing the App-V Autosequencer on the Hyper-V Host
This can be completed using the Setup Wizard or by executing the Command below:
.\adksetup.exe /features OptionID.AppmanAutoSequencer /norestart /quiet
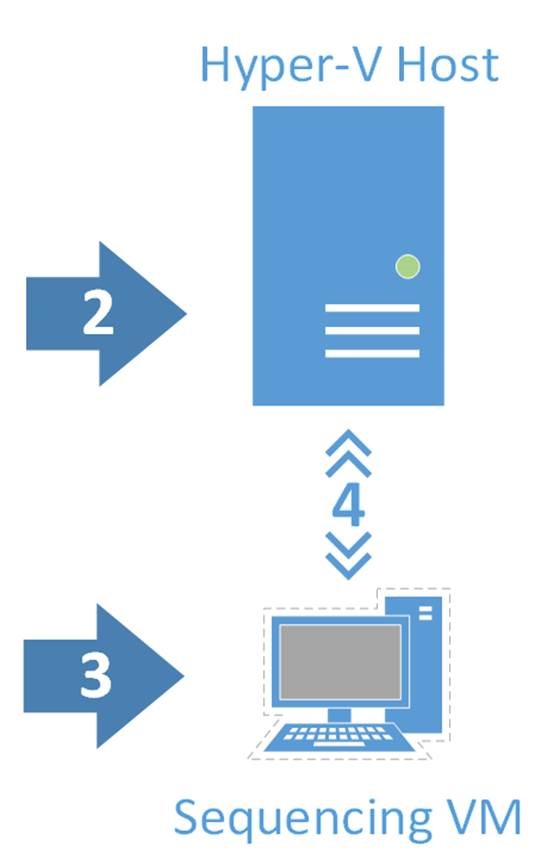
Preparing the Virtual Machine on the Hyper-V Host
In the previous post we chose Windows 10 1709 here’s the reason why.
To prepare a VM we use a script named "Convert-WindowsImage.PS1" . This script does not work with the current setup media. The reason for this is the change in structure of the disk image. Before Windows 10 1803 the Operating System itself was contained by a WIM file. Starting with Windows 10 1803 all deployment streams share the same ESD file. This breaks the current version of the script. If the 1709 is fine for you, the script will do a great job. Detail for 1803 is contained further on in this blog
The script can be downloaded from https://gallery.technet.microsoft.com/scriptcenter/Convert-WindowsImageps1-0fe23a8f
Using the Convert-WindowsImage.PS1
This script is a function which means you have to pre-load it to run it. You can do this in 2 ways either
Import-Module .\Convert-WindowsImage.ps1
or
.\Convert-WindowsImage.ps1
Then use the following command to create the VHD:
 Convert-WindowsImage -SourcePath ".\en_windows_10_multi-edition_vl_version_1709_updated_dec_2017_x64_dvd_100090741.iso" -VHDPath '.\AppVAutosequencer.vhd'
-VHDPartitionStyle "MBR" -VHDFormat "VHD" -SKU "Education" (-SKU since this example uses multi-edition, so you have to specify one)
Depending on the performance of your system, this process will take approximately 10 minutes . Result will be a VHD file containing a clean Windows 10 setup ready to run.
For versions newer than 1709 OS you'll need to create a own virtual machine, install Windows 10 and successfully execute a Sysprep. The result will be similar to the result shown before.
Create the Virtual Machine
After manually creating or using the Convert-WindowsImage script you're ready to finally prepare the Virtual Machine for sequencing:
Use the following PowerShell command on your newly created VHD.
New-AppVSequencerVM -VMName "AppVSequencerVM" -ADKPath ".\Windows10ADK" -VHDPath ".\AppVAutosequencer.vhd" -VMMemory "2048" -VMSwitch "Internal"
Important Notes:
- VMName should not contain spaces or other unsupported special character
- During OOBE the VMName is used by the OOBE Template to create the Hostname of the VM as shown below:
 <component name="Microsoft-Windows-Shell-Setup" publicKeyToken="31bf3856ad364e35" language="neutral" versionScope="nonSxS" processorArchitecture="[{ArchitectureReplacement}]">

     <ComputerName>[{AppVSequencerVmComputerName}]</ComputerName>

</component>
The Unattend.xml is stored in "C:\Program Files (x86)\Windows Kits\10\Microsoft Application Virtualization\AutoSequencer\Unattend_Sequencer_User_Setup_Template.xml" if further customizations are needed.
- VMMemory Switch does not work for Windows 10 1709 - just apply the desired memory configuration in the Hyper-V Manger/Settings for the VM, and remove it from the command
- The ADKPath must match of the path used to install the ADK on the Host machine.
- To avoid errors, execute Enable-PSRemoting on the Host machine
After this step you're ready to proceed into the next step. We'll cover this in the next post.
Johannes Freundorfer, Ingmar Oosterhoff and Matthias Herfurth