Office 365 - Creating a custom website
While being in the beta for Office 365 I was showing arround my girlfriend about how to use the service and what the advantages for her small consulting business would be. After the service became available she was actually convinced to make the move, and as part of the deal I was supposed to make a new website for her. The scenario is simple... a site where you can read about her business, where customer can post to a contact form and where she can publish short articles / news every now and then. I guess these are the basic needs of most small businesses out there... so I decided to start this small article series about how you could implement this for your own needs.
The out of the box approach
When subscribing to Office 365 you will get an OOB web-site that can be customized using the online wysiwyg editor.The limitation of the oob approach are quite obvious, it will cover most basic scenarios, but if you want something more stylish you will need some custom design being done.
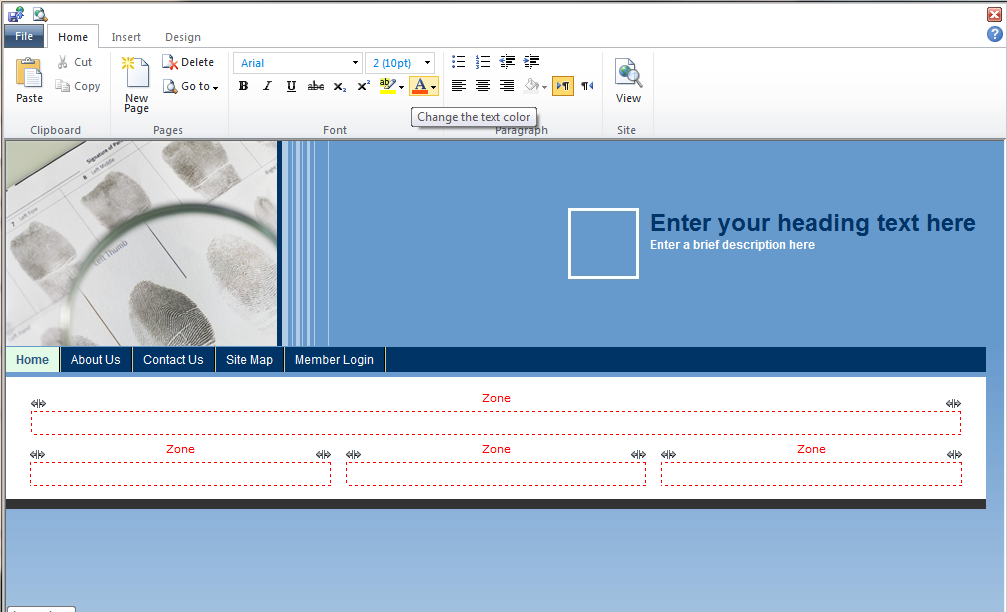
Creating a static html page with Expression Web
I made a habbit of starting most of my web projects by designing a static page that will cover the most common usage scenario. Basically I first create a static page that will represent the entrance point for the site.
There are two main tools I had to choose from: Expression Web or Visual Studio. Although Visual Studio is basically the jack of all trades and eventually I unded up using it for creating the final version of the site, I find ExWeb considerably more inspiring, especially when all you wanna do is a static page mockup.
So... fire up ExWeb, created a new Web Site Project and add your default folder structure and some html pages.
Rename the html files to .aspx. The reasoning for this is that Office 365 has some strict security settings that will not allow html pages to be rendered directly in the browser when opened from a document library.
Publishing the pages to Office 365 was just a little bit tricky:
1. Open the Office 365 site in SharePoint Designer 2010 ( free download under: https://www.microsoft.com/download/en/details.aspx?displaylang=en&id=16573 )
2. Create a publishing connection in Expression Web 4
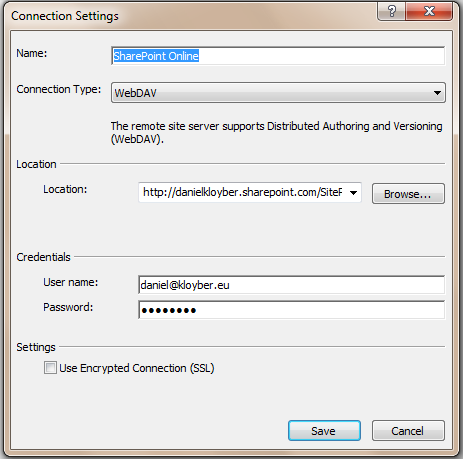
3. Publish the content to the SitePages library using Expression Web. You can create a different library that better fits your need and publish the contets there if you need to.
The trick here was that before publishing using Expression Web 4 I had to first open the site in SharePoint designer. You could use SharePoint Designer for creating the pages from the start, but again... ExWeb is much more inspiring and has a few features not found in SPD 2010.
Here are a few tricks for navigating arround the SharePoint site:
- when you browse the site you are redirected to the web page, you can get to the settings page of the SharePoint by browsing to https://yourname.sharepoint.com/_layouts.aspx .
- here you can go to Site Libraries and Lists and create custom libraries to deploy your files too.
- another option is to use SPD for doing this
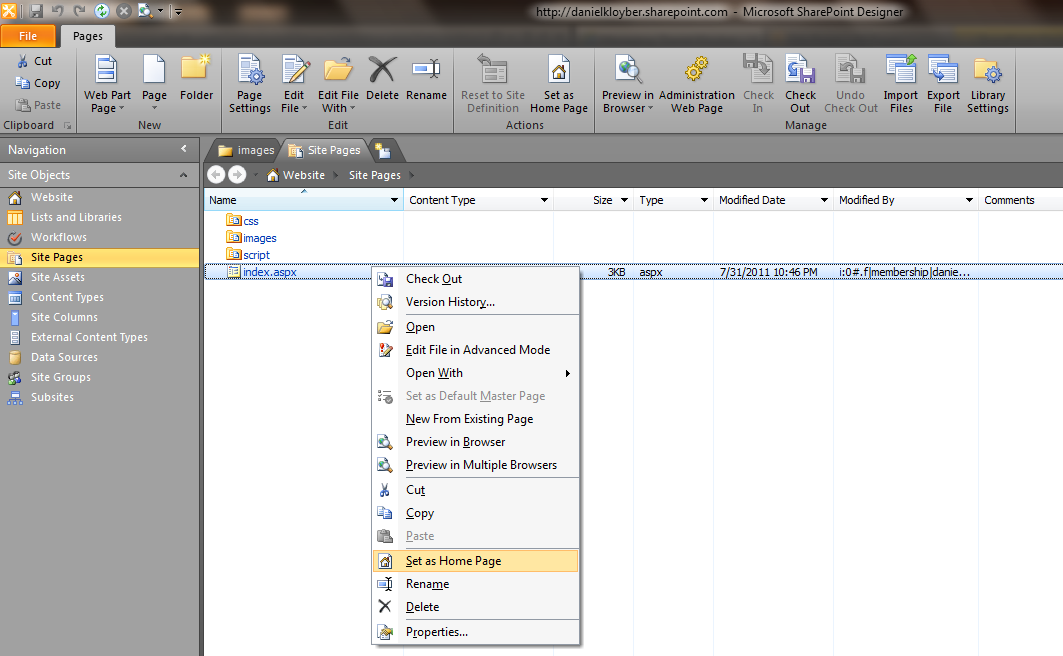
The last step I took was to set the index.aspx page from the SitePages library to be the home page for my site. This way when uses are accessing the URL they are redirected to this page and not the default page provided by Office 365. I did this using SharePoint Designer:
Some might wonder that we mixed up the SPD and ExWeb when we could have done all this in SPD only, but what I wanted to proof was that you can use ExWeb to design the pages like any other static page and the publish them to Office 365 the same way you would publish them to any other hosting provider out there. If you already have a static page hosted somewhere, moving it to Office 365 should be easy and fast.
In the next post I will talk about how I integrated the sites with some simple CMS features based on SharePoint Lists and the SharePoint Client API.