Part 5. Use your own Build and Deployment Agent
This blog is part 5 of Automate Build and Deployment of Azure SQL Database with Continuous Integration and Continuous Deployment.
Content of Tutorial: Part 1. Prerequisite for Azure SQL Database Build and Deployment Automation Part 2. Automate Building Azure SQL Database with Continuous Integration Part 3. Create NuGet package for Azure SQL Database Part 4. Orchestrate Azure SQL Database Release with Continuous Deployment
Part 5. Use your own Build and Deployment Agent (this page)
In part 5, we will go over a more advanced topic where you can bring your own build and deploy agent instead of using hosted agent. The key benefits are:
- Control over the build agent’s resources
- Control over the version of SSDT, DACFx and SQLPackage.exe
- Deploy databases to any on-premises server
Using SSDT MSBuild NuGet package, you can setup a local agent in a few minutes without installing the full version of Visual Studio on your build agent.
In part 5, we will play through
- How to setup a local build agent
- How to configure a build task
- How to configure a deployment task
1. Setup a local build agent
Let’s start with setting up a local build agent. This step takes less than 10 minutes.
Prerequisite: A Windows VM or machine to install the local agent on. See here for the list of compatible Windows versions and any necessary updates.
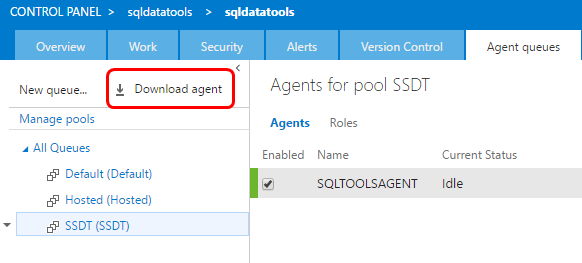
Next go to your team project web portal. Go to “Project setting” at the top right and select “Agents queues” tab.

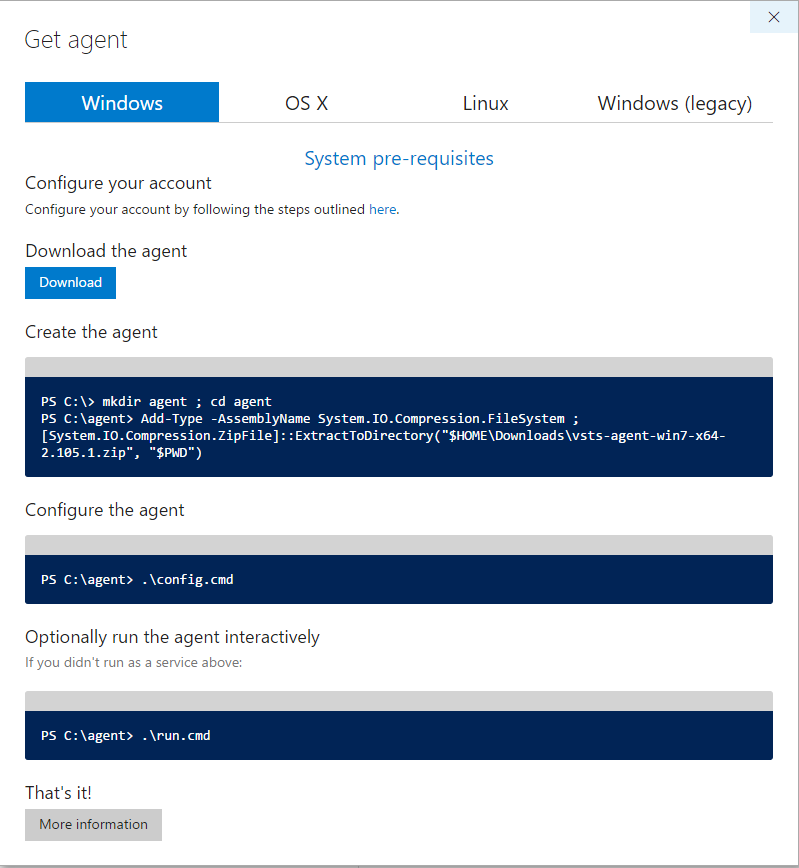
If you do not have a queue for local agents, select “New queue” to create one for your local agent(s). After that you can download local build agent by choosing “Download agent” and following the instructions on how to create, configure and run the agent.
Next install Microsoft.Data.Tools.Msbuild NuGet package.
 cd C:\agent

C:\agent\externals\nuget\nuget.exe install Microsoft.data.tools.msbuild -ExcludeVersion
Set a few environment variables:
Add SqlPackage.exe to PATH variable.
setx PATH "%PATH%;C:\agent\Microsoft.Data.Tools.Msbuild\lib\net40" /M
Set SQLDBExtensionsRefPath and SSDTPath to location of Microsoft.Data.Tools.Msbuild package
 setx SQLDBExtensionsRefPath C:\agent\Microsoft.Data.Tools.Msbuild\lib\net40 /M

setx SSDTPath C:\agent\Microsoft.Data.Tools.Msbuild\lib\net40 /M
After setting the variables you must restart the “VSTS agent” service - this lets the agent pick up the new variables that we have set.
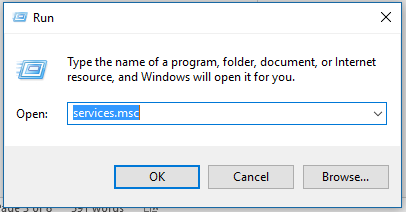
- Right click on window menu and select “Run” and type “services.msc”.
- Once the Services application is launched, right click on “VSTS agent” and select “restart”.
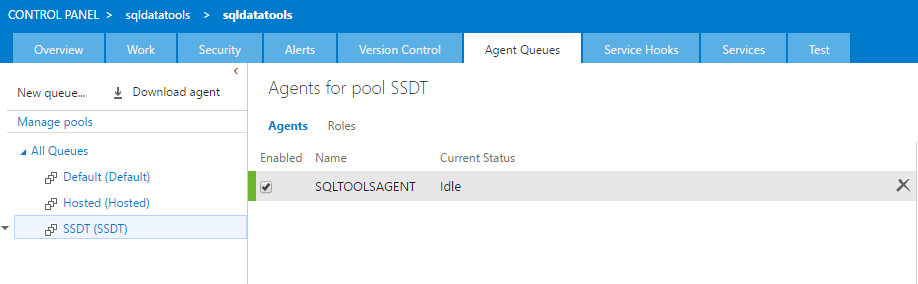
Now your local agent is ready to build and deploy database projects. You can verify by going back to your “Agent Queues” in “Control Panel”. You will see your machine name in the queue for the local agents.
2. Configure a build task
Next scenario is to configure our build definition to use the local build agent that you have created in Step 1. First open build definition in team project web portal:
- Select “Build” tab and select your build definition in the build definitions tree on the left side)
- Then, select “Edit” option and go to “General” tab.
- In the “Default agent queue” drop down select your local build agent queue.
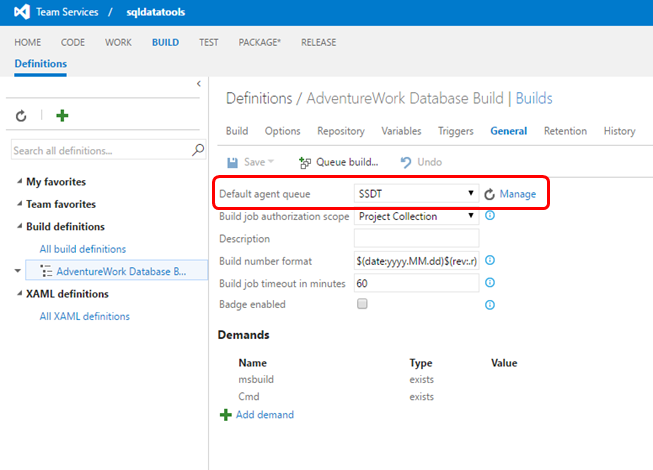
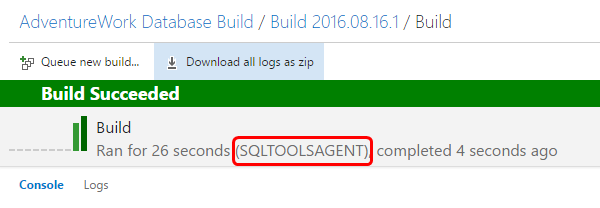
- When you build you can see that the build is picking up your local build agent.
3. Configure a deployment task
Our last scenario is configuration of our release definition to deploy databases using our local build agent. This allows you to deploy database to any supported version of SQL Server.
- First, open release definition in team project web portal
- Select “Release” tab and select your release definition in the release definitions tree on the left side
- Then, select “Edit” option and go to the environment that you want deploy a database
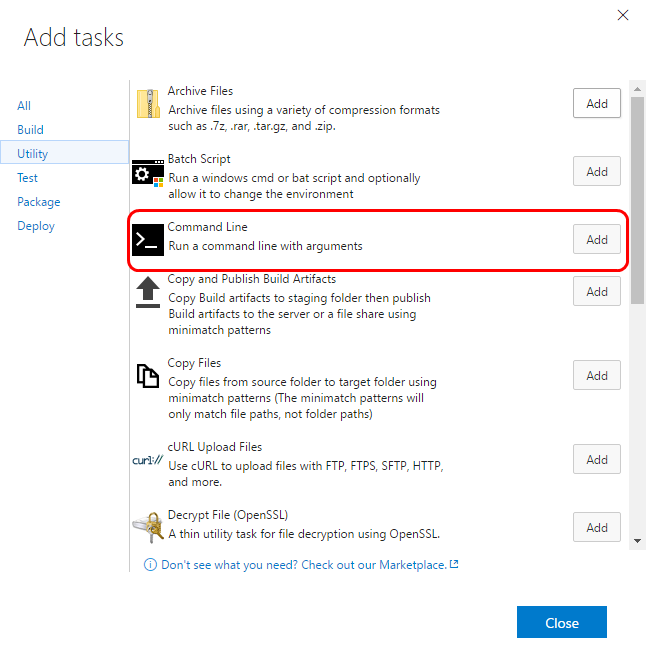
- Select “Add tasks”
- Then, go to “Utility” tab and add “Command Line” task
Set “Tool” to “sqlpackage.exe” and set arguments to standard SqlPackage parameters. For more information about sqlpackage.exe, please see https://msdn.microsoft.com/en-us/hh550080(v=vs.103).aspx.
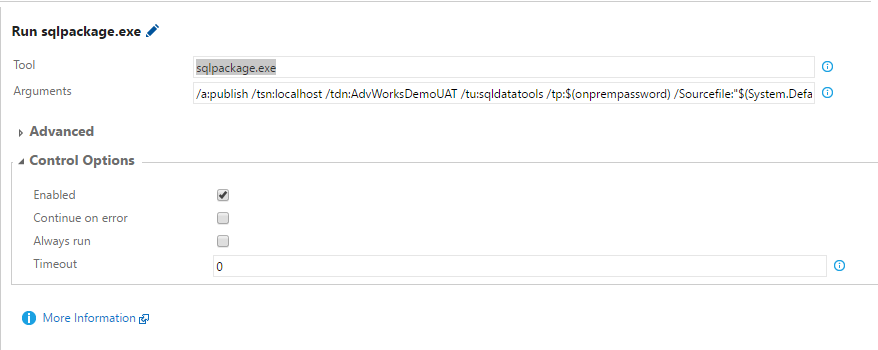
/a:publish /tsn:localhost /tdn:AdvWorksDemoUAT /tu:sqldatatools /tp:$(onprempassword) /Sourcefile:"$(System.DefaultWorkingDirectory)\AdventureWork Database Build/adventureworks.dacpac/AdventureWorks.dacpac
Parameter Names:
/tsn: the name of the target server
/tdn: the name of the target database
/tu: username
/tp: password
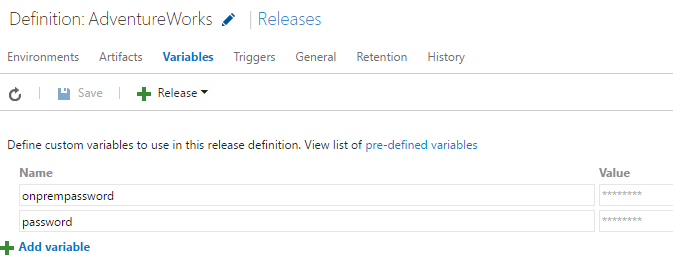
| Note: The password should not be hardcoded in the arguments. In this case, we use $(onprempassword) variable. To set the variables, go to “Variables” tab and add variable named “onprempassword” |
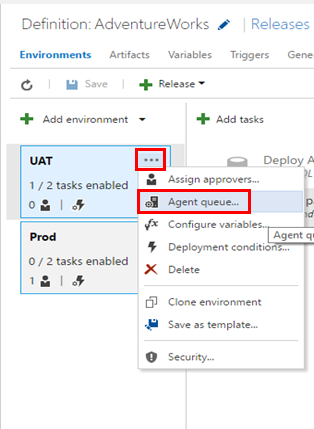
Finally, you have to change the agent queue to your local build agent. To do that, go to “…” in the environment and select “Agent queue…”.
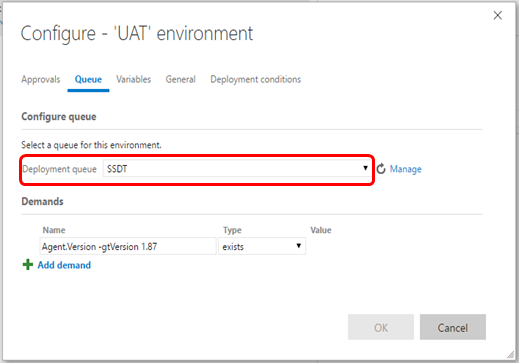
Then, select your local build agent queue in the “Deployment queue” option.
Now you can build and deploy database projects using your local build agent.
Appendix / FAQ
| What is SqlPackage.exe? | SqlPackage is a command line wrapper around the DacFx APIs used to Deploy, Extract, Import and Export to/from databases using .dacpac and .bacpac format |
| What is .dacpac | Dacpacs are compiled versions of SQL Projects containing all the schema data about your database, plus optional pre/post deployment scripts |
| What are SQLDBExtensionsRefPath and SSDTPath variables used for? | These variables override the path used by SQL Projects to find the .targets file used by MSBuild to load the task definitions for Building SQL Projects, and the DLL path used to look these up. The changes ensure that the DLLs and .targets file installed as part of the SSDT MSBuild NuGet package are used instead of any version that might be installed on disk |