Explore the “Surface Owner” VSTS Extension - 2. Fix the scope using a storyboard
So you’ve created a basic skeleton extension using the previous post Getting started, but now you need to really get that extension idea concrete. In this post, we’ll go through some of the steps in creating a storyboard and getting the requirements ironed out based on the File Owner extension.
The idea
We have our idea, that came from the Product Owner…
- The ‘What’ => “Surface the owner of a file based on last modified, most modified. etc.”.
- The ‘Why’ => “Simplifies the process of determining ownership.”.
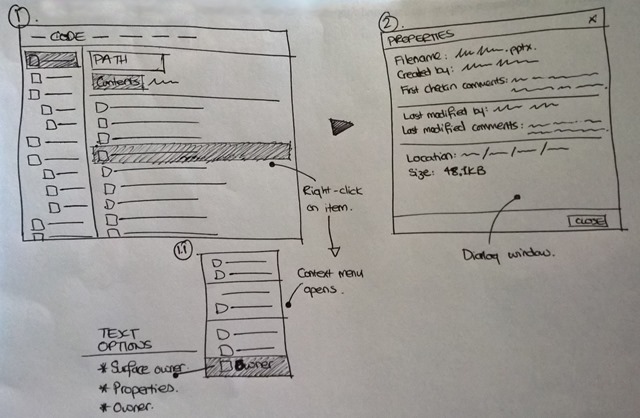
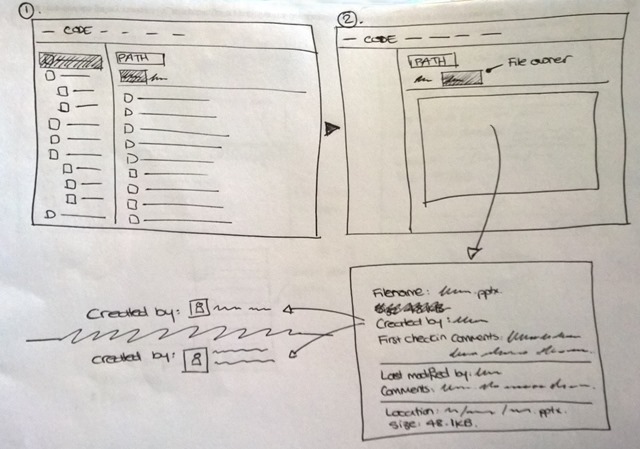
We need to pick out certain key words from the idea above… we know that we need to have some sort of a display that shows the user who the owner(s) of a file could be, and we need to make it as simple as possible - so maybe 1-2 clicks to get to the expected result. Let’s draw something out…
The beginnings of a storyboard
I usually start by putting myself in the user’s shoes to try and understand what they might do, the steps that they might go through, and try to experience the flow from start to end. I find myself going to VSTS, and imagining where the starting point might be, and imagine elements on the screen. As I go through each step of the user flow, I start drawing these out into simple quick wireframes.
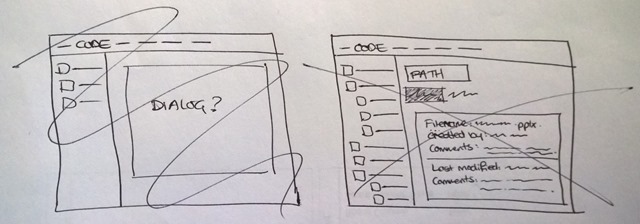
It’s ok to make mistakes here, as you are finding the best possible route for the user. So quickly drawing something on paper instead of spending hours and hours in Photoshop and then scraping it can save a lot of time and waste.
Creating a wireframe also helps to visually see where each element might go, so you have the beginnings of a storyboard taking place.
The storyboard
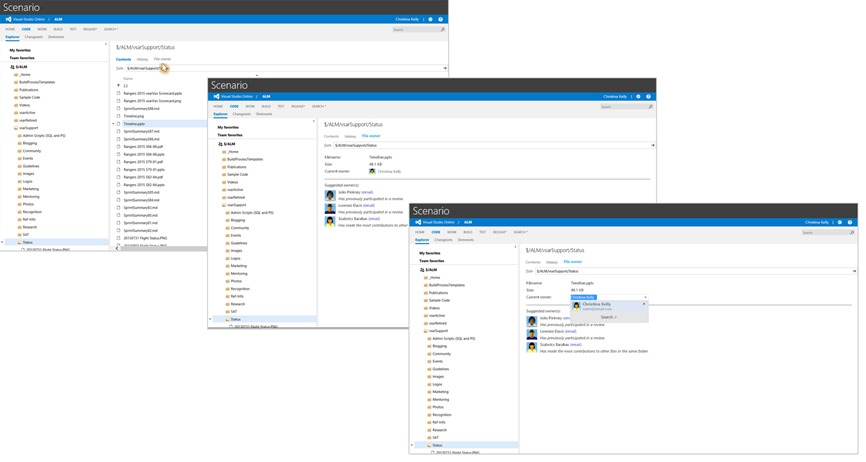
Once you have a basic idea of what the flow may be and you are happy with it, you can start nailing down some of the designs in a more visually appealing mock-up aka storyboard. I typically use PowerPoint and Photoshop for the storyboard, and use each slide as an interaction point that the user might do. I use Photoshop to create the look and feel of what it might actually look like if it was implemented, but you can create something close by using the ‘Shapes’ tools that you get with PowerPoint.
Once we have a storyboard in place, we can loop in the PO and review if this is what they were envisioning, if we have missed anything out or should include. Once we have the storyboard in a more concrete form, we can start the phase of the extension: the development cycle.
Coming up …
- Explore the “Surface Owner” VSTS Extension – …
- 3. Build and debug the extension
- 4. Back to publishing the code and the extension


