Create an offer in Azure Stack Hub
Offers are groups of one or more plans that providers present to users, which those users can buy or subscribe to. This article describes how to create an offer that includes the plan that you created. This offer gives subscribers the ability to set up virtual machines (VMs).
Create an offer (1902 and later)
Sign in to the Azure Stack Hub administrator portal
https://adminportal.local.azurestack.externaland select + Create a resource, then Offers + Plans, and then Offer.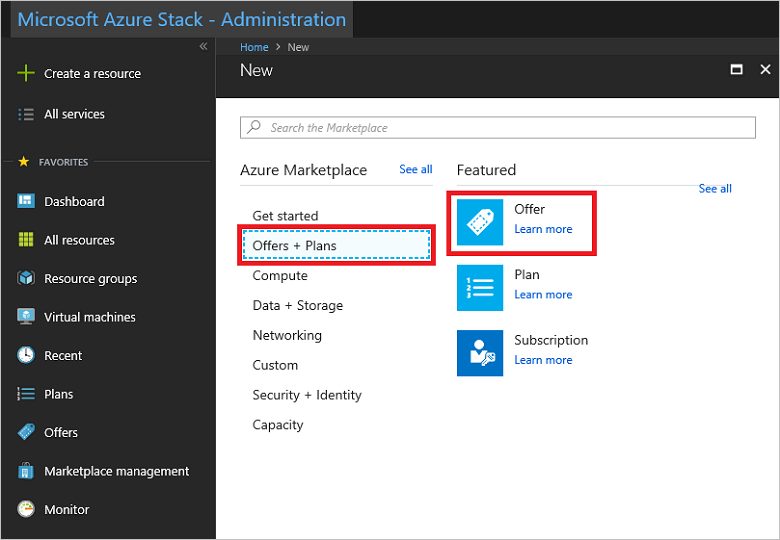
A tabbed user interface appears that enables you to define the offer name. You can also add existing or create new base plans and add-on plans. Most importantly, you can review the details of the offer you create before you decide to create it.
In the Basics tab, enter a Display Name and a Resource Name, and then under Resource Group, select Create new or Use existing. The display name is the friendly name for the offer. This friendly name is the only information about the offer that users see when they subscribe to an offer in the user portal. Use an intuitive name that helps users understand what comes with the offer. Only the admin can see the resource name. It's the name that admins use to work with the offer as an Azure Resource Manager resource. In this tab, you can also choose to make this offer public or keep it private. The default setting is private. You can change the public or private state of the offer at any time.
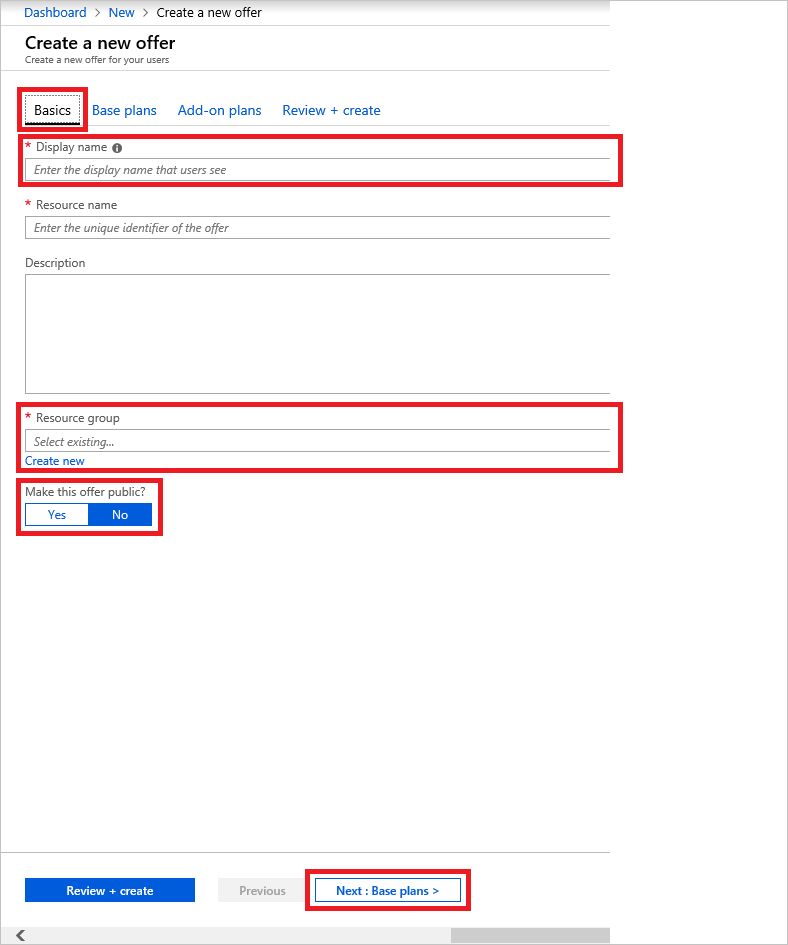
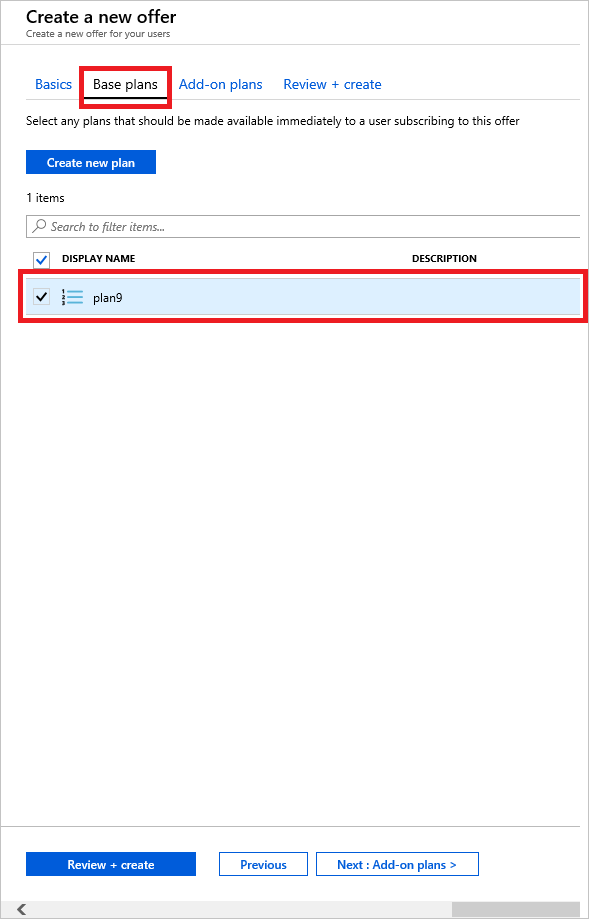
Select the Base plans tab or click the Next : Base plans > button. Select the plan(s) you want to include in the offer.
At this point you can create an add-on plan to modify the base plan, but this is optional. You have the opportunity to create an add-on plan in the next article, Azure Stack Hub add-on plans.
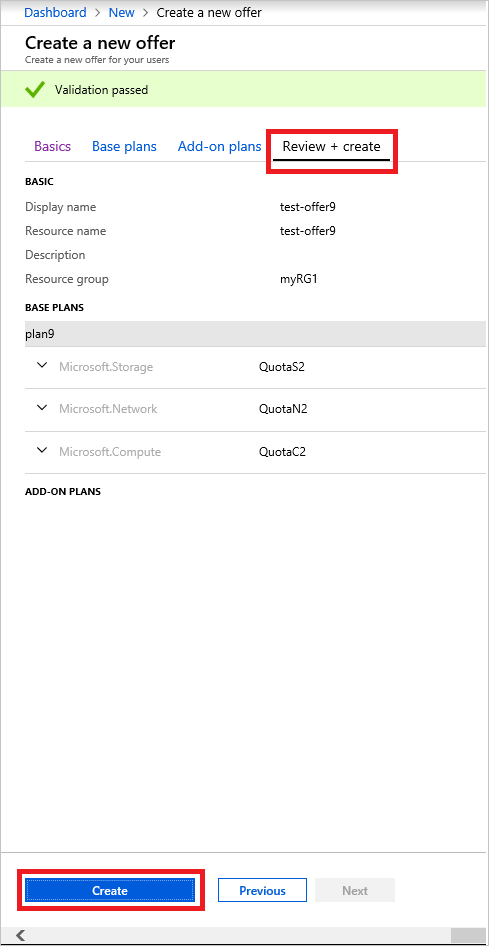
Select the Review + create tab. Review the offer summary to ensure that all values are correct. The interface enables you to expand the quotas in the chosen plans one at a time to view the details of each quota in a plan. You can also go back to make any necessary edits.
Select Create to create the offer.
Change the state of an offer
After creating the offer, you can change its state. Offers must be made Public for users to get the full view when they subscribe. Offers can be:
Public: Visible to users.
Private: Only visible to cloud administrators. This setting is useful while drafting the plan or offer, or if the cloud administrator wants to create each subscription for users.
Decommissioned: Closed to new subscribers. The cloud administrator can decommission offers to prevent future subscriptions, but leave current subscribers unaffected.
Tip
Changes to the offer aren't immediately visible to the user. To see the changes, users might have to sign out and sign in again to the user portal to see the new offer.
There are two ways to change the state of an offer:
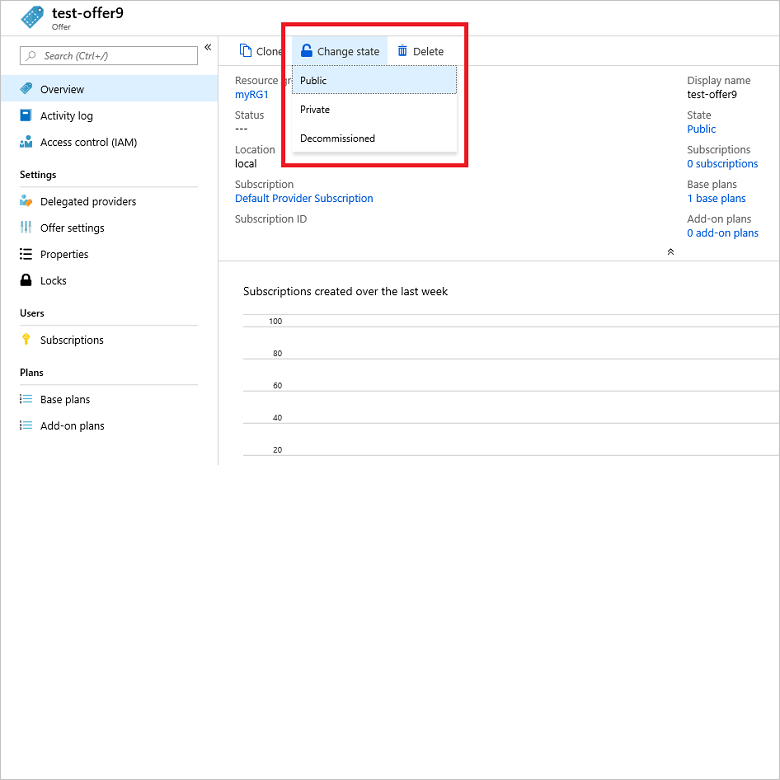
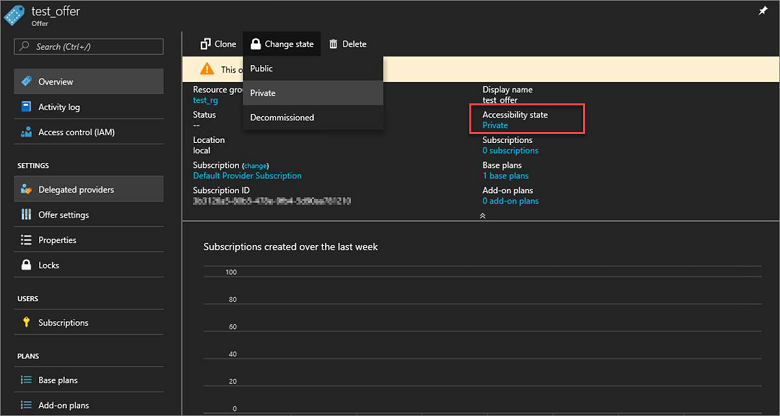
In All resources, select the name of the offer. On the Overview screen for the offer, select Change state. Choose the state you want to use (for example, Public).
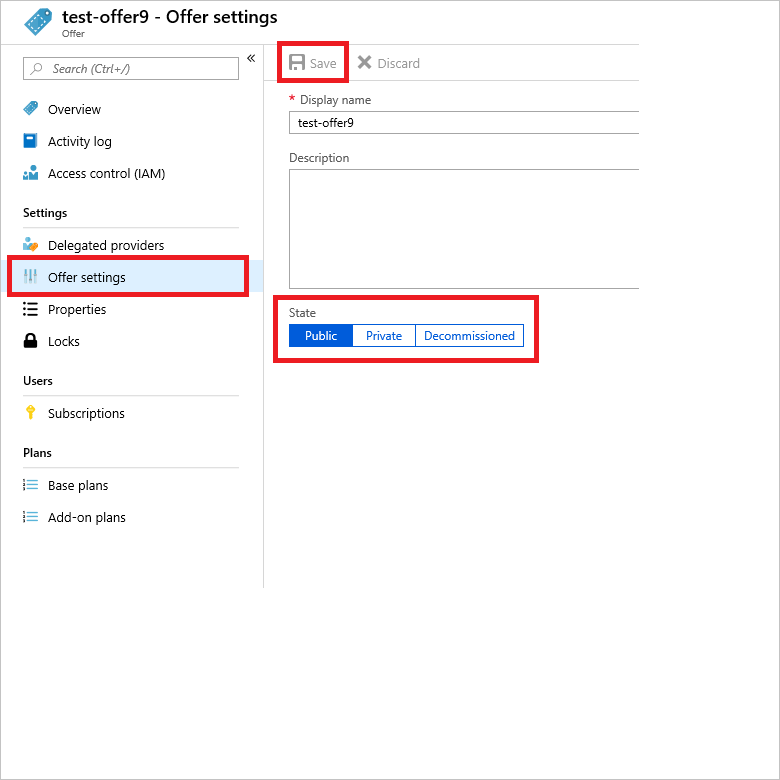
Select Offer settings. Choose the state you want to use (for example, Public), then select Save.
Create an offer (1901 and earlier)
Sign in to the Azure Stack Hub administrator portal
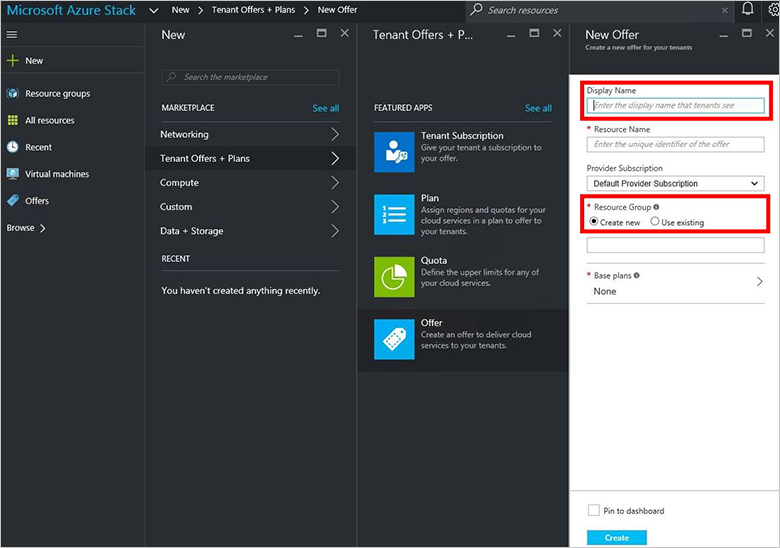
https://adminportal.local.azurestack.externaland select + Create a resource, then Tenant Offers + Plans, and then Offer.
Under New Offer, enter a Display Name and a Resource Name, and then under Resource Group, select Create new or Use existing. The display name is the friendly name for the offer. This friendly name is the only information about the offer that users see when they subscribe to an offer. Use an intuitive name that helps users understand what comes with the offer. Only the admin can see the resource name. It's the name that admins use to work with the offer as an Azure Resource Manager resource.
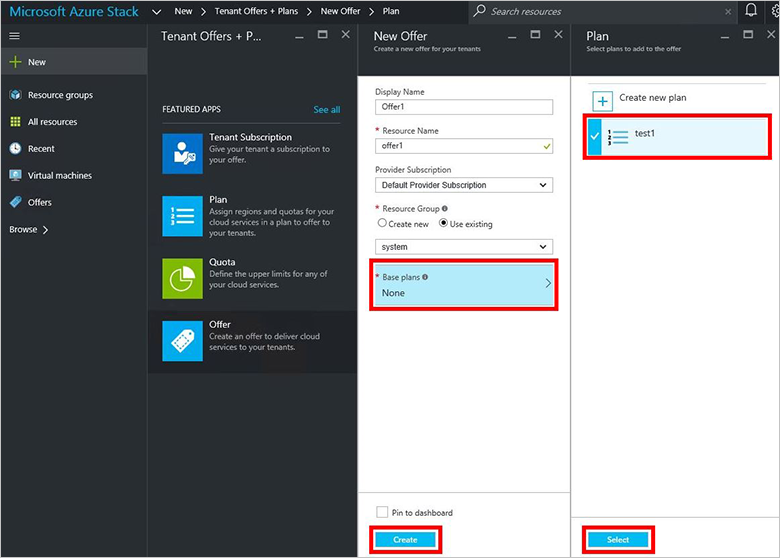
Select Base plans to open the Plan. Select the plans you want to include in the offer, and then choose Select. To create the offer, select Create.
After creating the offer, you can change its state. Offers must be made Public for users to get the full view when they subscribe. Offers can be:
- Public: Visible to users.
- Private: Only visible to cloud administrators. This setting is useful while drafting the plan or offer, or if the cloud administrator wants to create each subscription for users.
- Decommissioned: Closed to new subscribers. The cloud administrator can decommission offers to prevent future subscriptions, but leave current subscribers unaffected.
Tip
Changes to the offer aren't immediately visible to the user. To see the changes, users might have to sign out and sign in again to the user portal to see the new offer.
On the overview screen for the offer, select Accessibility state. Choose the state you want to use (for example, Public), and then select Save.
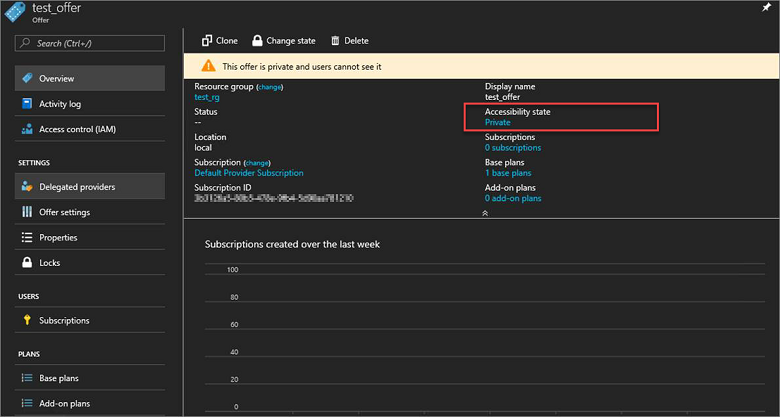
As an alternative, select Change state and then choose a state.
Note
You can also use PowerShell to create default offers, plans, and quotas. For more information, see Azure Stack Hub PowerShell Module 1.4.0.
Next steps
- To learn how to modify an offer and provide your users with an add-on plan, continue with Create an add-on plan (optional)
- Otherwise, jump to Subscribe to an offer
Feedback
Coming soon: Throughout 2024 we will be phasing out GitHub Issues as the feedback mechanism for content and replacing it with a new feedback system. For more information see: https://aka.ms/ContentUserFeedback.
Submit and view feedback for