Create SQL databases
Important
Starting from Azure Stack Hub build 2108, the SQL and MySQL resource providers are offered to subscriptions that have been granted access. If you want to start using this feature, or if you need to upgrade from a previous version, open a support case and our support engineers will guide you through the deployment or upgrade process.
You can create and manage self-service databases in the user portal. An Azure Stack Hub user needs a subscription with an offer that includes the SQL database service.
Sign in to the Azure Stack Hub user portal.
Select + New >Data + Storage > SQL Server Database > Add.
Under Create Database, enter the required information, such as Database Name and Max Size in MB.
Note
The database size must be at least 64 MB, which can be increased after you deploy the database.
Configure the other settings as required for your environment.
Under Create Database, select SKU. Under Select a SKU, select the SKU for your database.

Note
As hosting servers are added to Azure Stack Hub, they're assigned a SKU. Databases are created in the pool of hosting servers in a SKU.
Select Login.
Under Select a Login, choose an existing login, or select + Create a new login.
Under New Login, enter a name for Database login and a Password.
Note
These settings are the SQL authentication credential that's created for your access to this database only. The login user name must be globally unique. You can reuse login settings for other databases that use the same SKU.
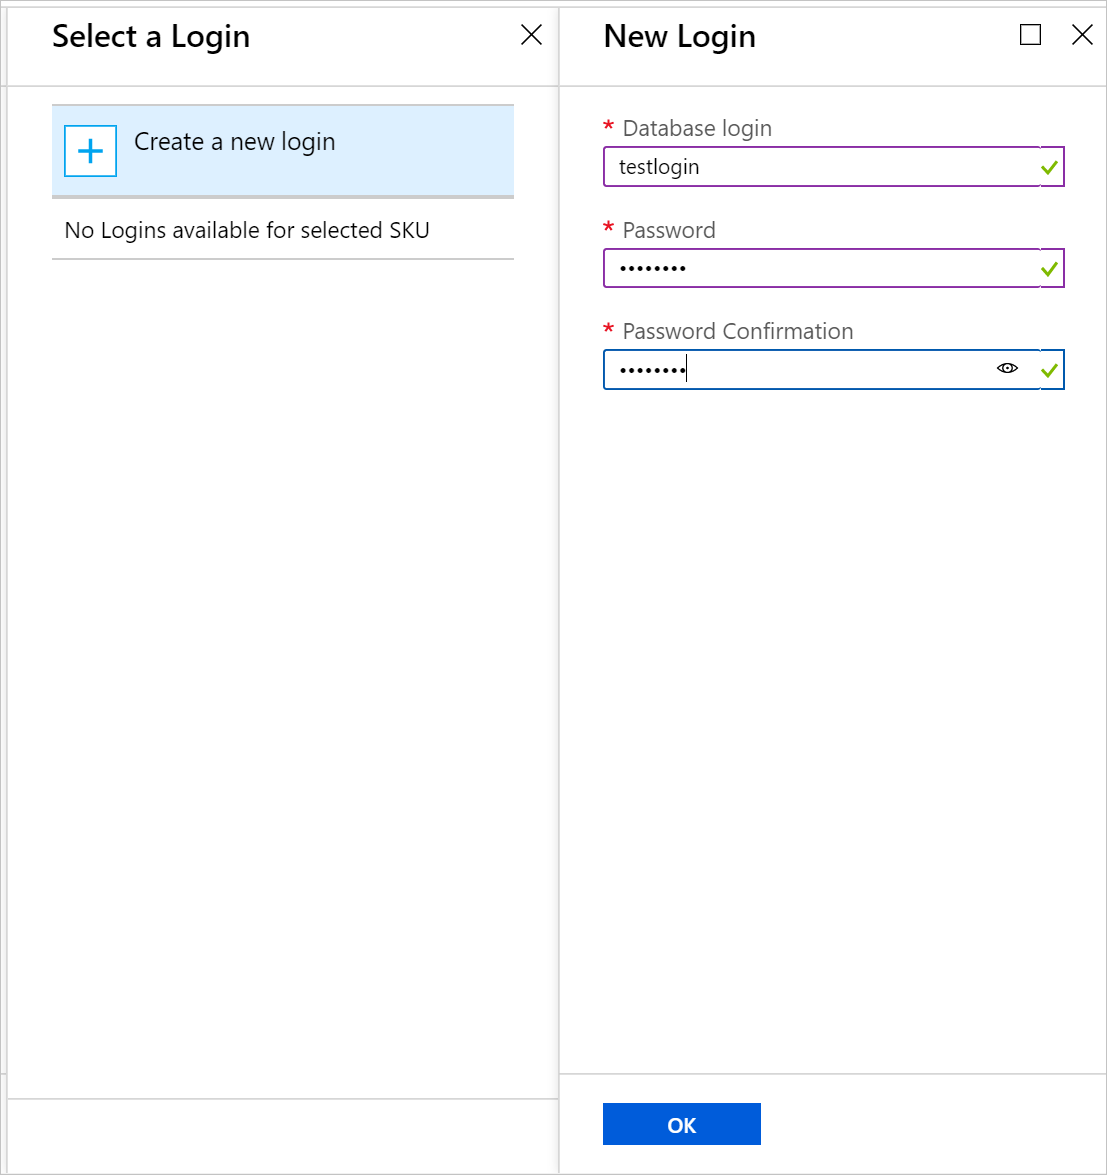
Select OK to finish deploying the database.
Under Essentials, which is shown after the database is deployed, take note of the Connection string. You can use this string in any app that needs to access the SQL Server database.

SQL Always On databases
By design, Always On databases are handled differently than in a standalone server environment. For more information, see Introducing SQL Server Always On availability groups on Azure virtual machines.
Verify SQL Always On databases
The following screen capture shows how you can use SQL Server Management Studio to look at database status in SQL Always On.

Always On databases should show as Synchronized and available on all the SQL instances and appear in Availability Groups. In the previous screenshot, the database example is newdb1 and its status is newdb1 (Synchronized).
Delete an Always On database
When you delete a SQL Always On database from the resource provider, SQL deletes the database from the Primary replica and from the availability group.
SQL then puts the database into the Restoring state on the other replicas and doesn't drop the database unless triggered. If the database isn't dropped, the secondary replicas go into a Not Synchronizing state.
Next steps
Learn how to offer highly available SQL databases
Feedback
Coming soon: Throughout 2024 we will be phasing out GitHub Issues as the feedback mechanism for content and replacing it with a new feedback system. For more information see: https://aka.ms/ContentUserFeedback.
Submit and view feedback for