Deploy a GPU enabled IoT module on Azure Stack Hub
With a GPU-enabled Azure Stack Hub, you can deploy processor-intensive modules to Linux devices running at the IoT Edge. GPU optimized VM sizes are specialized VMs available with single or multiple NVIDIA GPUs. In this article, learn to use GPU optimized VMs to run compute-intensive, graphics-intensive, and visualization workloads.
Before you start, you will need a Microsoft Entra subscription with access to global Azure and Azure Stack Hub, an Azure Container Registry (ACR), and an IoT hub.
In this article, you:
- Install an GPU-enabled Linux VM and install the correct drivers.
- Install Docker and enable the GPU in the runtime.
- Connect your IoT device to your iOT Hub and install from the iOT marketplace the model:
Getting started with GPUs. - Install and monitor your device from a local machine using Azure IoT explorer.
- And optionally, install and monitor your device using the Azure IoT extension in Visual Studio Code.
Prerequisites
You'll need to have the following resources in place in your Azure Stack Hub instance, global Azure, and on your local development machine.
Azure Stack Hub and Azure
A subscription as a user using Microsoft Entra ID in an Azure Stack Hub Integrated System with an NVIDA GPU. The following chips work with iOT Hub:
- NCv3
- NCas_v4
For more information about GPUs on Azure Stack Hub, see Graphics processing unit (GPU) VM on Azure Stack Hub.
A global Azure subscription. If you don't have a global Azure subscription, create a free account before you begin.
An Azure Container Registry (ACR). Make a note of the ACR sign-in server, username, and password.
A free or standard-tier IoT hub in global Azure.
A development machine
You can use your own computer or a virtual machine, depending on your development preferences. Your development machine will need to support nested virtualization. This capability is necessary for running Docker, the container engine used in this article.
Your development machine will need the following resources:
- Python 3.x
- Pip for installing Python packages. This is been installed with your Python installation. If you have Pip installed, you may want to upgrade to the latest version. You can upgrade using pip, itself. Type:
pip install --upgrade pip. - Azure CLI 2.0
- Git
- Docker
- Visual Studio Code
- Azure IoT Tools for Visual Studio Code
- Python Extension Pack for Visual Studio Code
Register an IoT Edge device
Use a separate device to host your IoT Edge device. Using a separate device will provide a separation between your development machine and IoT Edge device more accurately mirrors a deployment scenario.
Create an IoT Edge device in Azure with a Linux VM:
Create an N-series Linux server VM on Azure Stack Hub. As you install components for your server, you'll interact with the server via SSH. For more information, see Use an SSH key pair with Azure Stack Hub.
Prepare a GPU-enabled VM
Install the NVIDA GPU Drivers on your N-series Linux server by following the steps in the article, Install NVIDIA GPU drivers on N-series VMs running Linux.
Note
You'll use the bash command line to install your software. Make a note of the commands since you'll use the same commands to install the drivers on the container running in Docker on your GPU-enabled VM
Install the latest IoT Edge runtime on your N-series Linux server in Azure Stack Hub. For instructions, see Install the Azure IoT Edge runtime on Debian-based Linux systems
Install Docker
Install Docker on your GPU-enabled VM. You're going to run the module from the IoT Edge marketplace in a container on the VM.
You must install Docker 19.02 or greater. The Docker runtime now supports the NVIDIA GPUs. To learn more bout GPUs in Docker, see the article in the Docker docs, Runtime options with Memory, CPUs, and GPUs.
Install Docker
Docker containers can run anywhere, on-premises in the customer datacenter, in an external service provider or in the cloud, on Azure. Docker image containers can run natively on Linux and Windows. However, Windows images can run only on Windows hosts and Linux images can run on Linux hosts and Windows hosts (using a Hyper-V Linux VM, so far), where host means a server or a VM. For more information, see What is Docker?.
Connect to your N-series Linux server using your SSH client.
Update the apt index and lists.
sudo apt-get updateFetch the new versions of existing packages on the machine.
sudo apt-get upgradeInstall dependencies required to add Docker's apt repository.
sudo apt-get install apt-transport-https ca-certificates curl software-properties-commonAdd Docker's GPG key.
curl -fsSL https://download.docker.com/linux/ubuntu/gpg | sudo apt-key add -Add Docker's apt repo.
sudo add-apt-repository "deb [arch=amd64] https://download.docker.com/linux/ubuntu $(lsb_release -cs) stable"Update apt index and lists, and install Docker Community Edition.
sudo apt-get update
sudo apt-get install docker-ce
Verify install by checking the Docker version.
docker -vExpose the available GPU resources in Docker.
docker run -it --rm --gpus all ubuntu nvidia-smi
Get the item from the marketplace
Return to the Azure portal and add the the model to your edge device using the iOT marketplace. Select Marketplace Module from the menu. And search for Getting started with GPUs, and follow the instructions to add the module.
For instructions see Select device and add modules
Enable monitoring
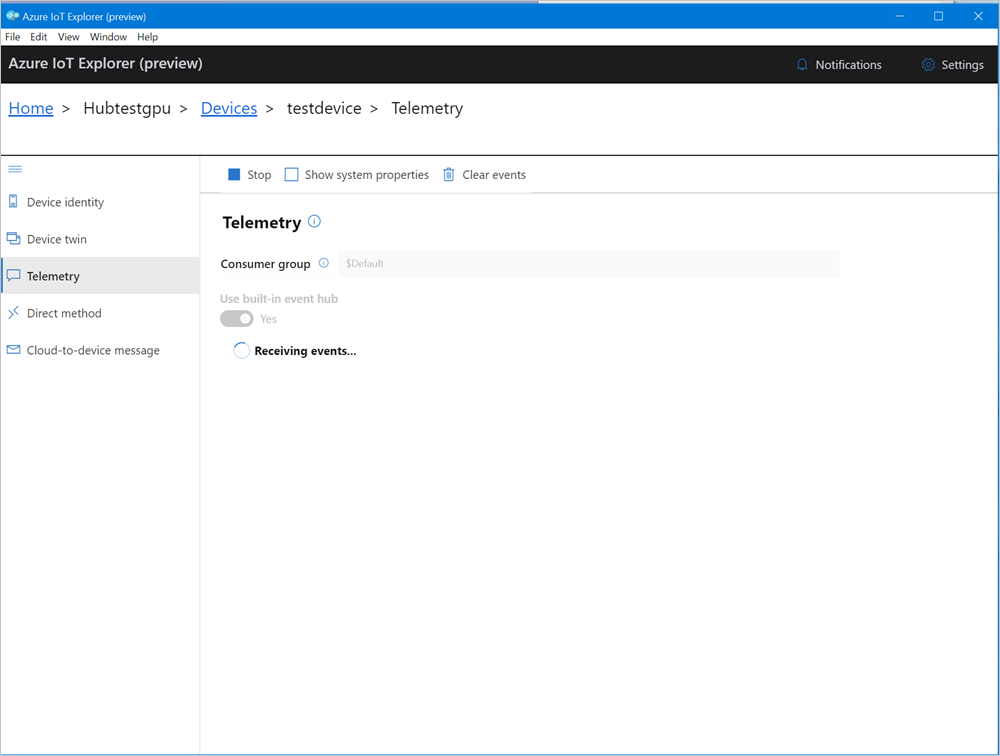
Download Azure IoT explorer, and connect the application to your IoT Hub.
Select your IoT Device and navigate to Telemetry from the navigation menu.
Select Start to begin monitoring output from the IoT Edge Device.
Monitor the module (Optional)
In the VS Code command palette, run Azure IoT Hub: Select IoT Hub.
Choose the subscription and IoT hub that contain the IoT Edge device that you want to configure. In this case, select the subscription in your Azure Stack Hub instance, and select the IoT Edge device created for your Azure Stack Hub. This occurs when you configure compute via the Azure portal in the earlier steps.
In the VS Code explorer, expand the Azure IoT Hub section. Under Devices, you should see the IoT Edge device corresponding to your Azure Stack Hub.
Select that device, right-click, and select Start Monitoring Built-in Event Endpoint.
Go to Devices > Modules and you should see your GPU module running.
The VS Code terminal should also show the IoT Hub events as the monitoring output for your Azure Stack Hub.

You can see that the time taken to execute the same set of operations (5000 iterations of shape transformation) by GPU is lot lesser than it is for CPU.
Next Steps
Learn more about Graphics processing unit (GPU) virtual machine (VM) on Azure Stack Hub
Learn more about Azure Stack Hub, Data Box Edge and the Intelligent Edge, The future of computing: intelligent cloud and intelligent edge
Learn more about hybrid cloud applications, see Hybrid Cloud Solutions
Feedback
Coming soon: Throughout 2024 we will be phasing out GitHub Issues as the feedback mechanism for content and replacing it with a new feedback system. For more information see: https://aka.ms/ContentUserFeedback.
Submit and view feedback for