Tutorial: Call the Microsoft Graph API from a React single-page app
Before being able to interact with the single-page app (SPA), we need to initiate an API call to Microsoft Graph and create the user interface (UI) for the application. After this is added, we can sign in to the application and get profile data information from the Microsoft Graph API.
In this tutorial:
- Create the API call to Microsoft Graph
- Create a UI for the application
- Import and use components in the application
- Create a component that renders the user's profile information
- Call the API from the application
Prerequisites
- Completion of the prerequisites and steps in Tutorial: Create components for sign in and sign out in a React single-page app.
Create the API call to Microsoft Graph
To allow the SPA to request access to Microsoft Graph, a reference to the graphConfig object needs to be added. This contains the Graph REST API endpoint defined in authConfig.js file.
In the src folder, open graph.js and replace the contents of the file with the following code snippet to request access to Microsoft Graph.
import { graphConfig } from "./authConfig";

/**
 * Attaches a given access token to a MS Graph API call. Returns information about the user
 * @param accessToken
 */
export async function callMsGraph(accessToken) {
    const headers = new Headers();
    const bearer = `Bearer ${accessToken}`;

    headers.append("Authorization", bearer);

    const options = {
        method: "GET",
        headers: headers
    };

    return fetch(graphConfig.graphMeEndpoint, options)
        .then(response => response.json())
        .catch(error => console.log(error));
}
Update imports to use components in the application
The following code snippet imports the UI components that were created previously to the application. It also imports the required components from the @azure/msal-react package. These components will be used to render the user interface and call the API.
In the src folder, open App.jsx and replace the contents of the file with the following code snippet to request access.
  import React, { useState } from 'react';

  import { PageLayout } from './components/PageLayout';
  import { loginRequest } from './authConfig';
  import { callMsGraph } from './graph';
  import { ProfileData } from './components/ProfileData';

  import { AuthenticatedTemplate, UnauthenticatedTemplate, useMsal } from '@azure/msal-react';

  import './App.css';

  import Button from 'react-bootstrap/Button';
Add the ProfileContent function
The ProfileContent function is used to render the user's profile information after the user has signed in. This function will be called when the user selects the Request Profile Information button.
In the App.jsx file, add the following code below your imports:
/**
* Renders information about the signed-in user or a button to retrieve data about the user
*/
const ProfileContent = () => {
    const { instance, accounts } = useMsal();
    const [graphData, setGraphData] = useState(null);

    function RequestProfileData() {
        // Silently acquires an access token which is then attached to a request for MS Graph data
        instance
            .acquireTokenSilent({
                ...loginRequest,
                account: accounts[0],
            })
            .then((response) => {
                callMsGraph(response.accessToken).then((response) => setGraphData(response));
            });
    }

    return (
        <>
            <h5 className="card-title">Welcome {accounts[0].name}</h5>
            <br/>
            {graphData ? (
                <ProfileData graphData={graphData} />
            ) : (
                <Button variant="secondary" onClick={RequestProfileData}>
                    Request Profile Information
                </Button>
            )}
        </>
    );
};
Add the MainContent function
The MainContent function is used to render the user's profile information after the user has signed in. This function will be called when the user selects the Request Profile Information button.
In the App.jsx file, replace the
App()function with the following code:/** * If a user is authenticated the ProfileContent component above is rendered. Otherwise a message indicating a user is not authenticated is rendered. */ const MainContent = () => { return ( <div className="App"> <AuthenticatedTemplate> <ProfileContent /> </AuthenticatedTemplate> <UnauthenticatedTemplate> <h5> <center> Please sign-in to see your profile information. </center> </h5> </UnauthenticatedTemplate> </div> ); }; export default function App() { return ( <PageLayout> <center> <MainContent /> </center> </PageLayout> ); }
Call the Microsoft Graph API from the application
All the required code snippets have been added, so the application can now be called and tested in a web browser.
Navigate to the browser previously opened in Tutorial: Prepare an application for authentication. If your browser is closed, open a new window with the address
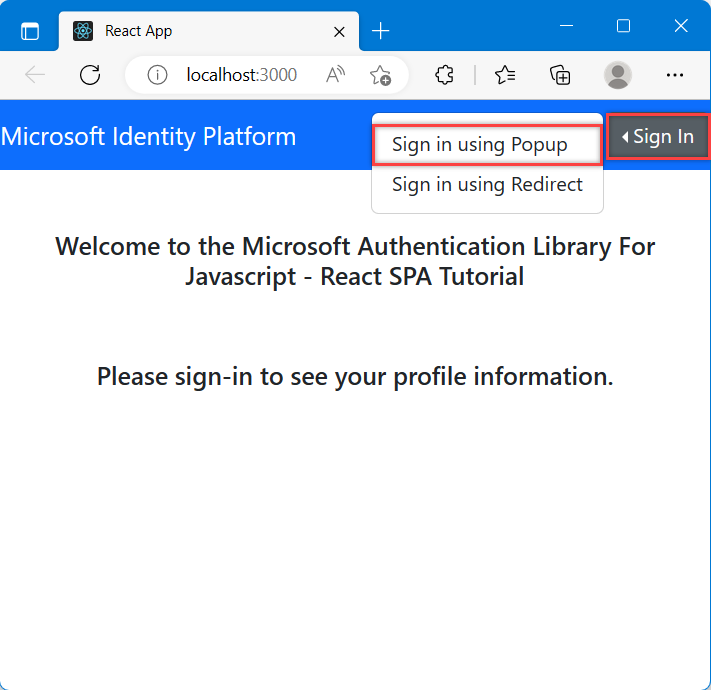
http://localhost:3000/.Select the Sign In button. For the purposes of this tutorial, choose the Sign in using Popup option.
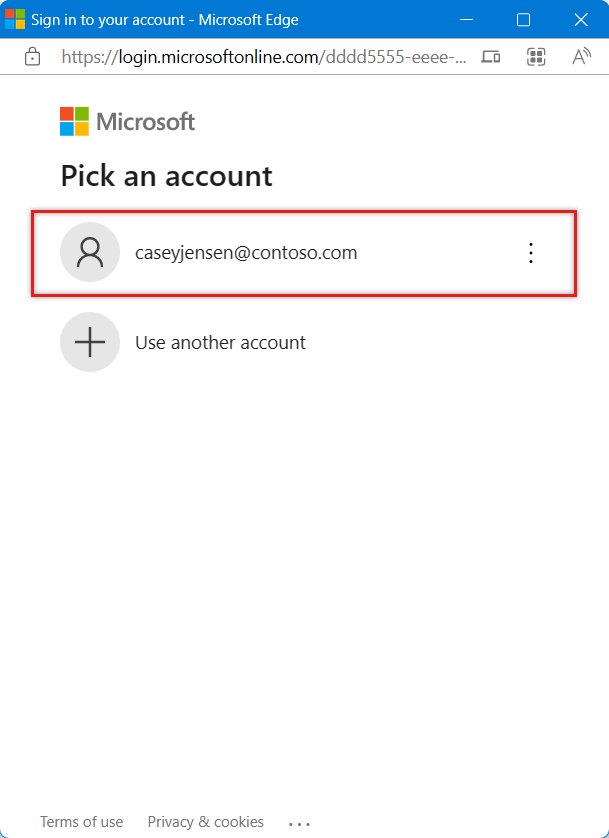
After the popup window appears with the sign-in options, select the account with which to sign-in.
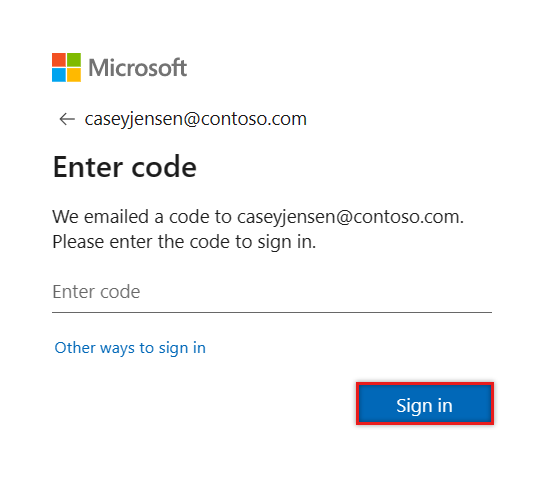
A second window may appear indicating that a code will be sent to your email address. If this happens, select Send code. Open the email from the sender Microsoft account team, and enter the 7-digit single-use code. Once entered, select Sign in.
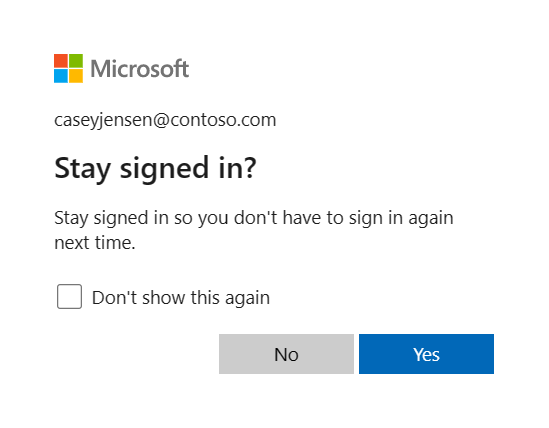
For Stay signed in, you can select either No or Yes.
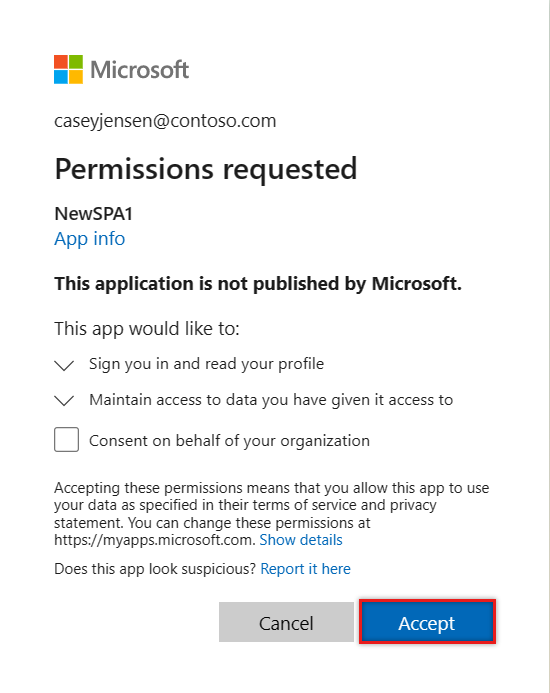
The app will now ask for permission to sign-in and access data. Select Accept to continue.
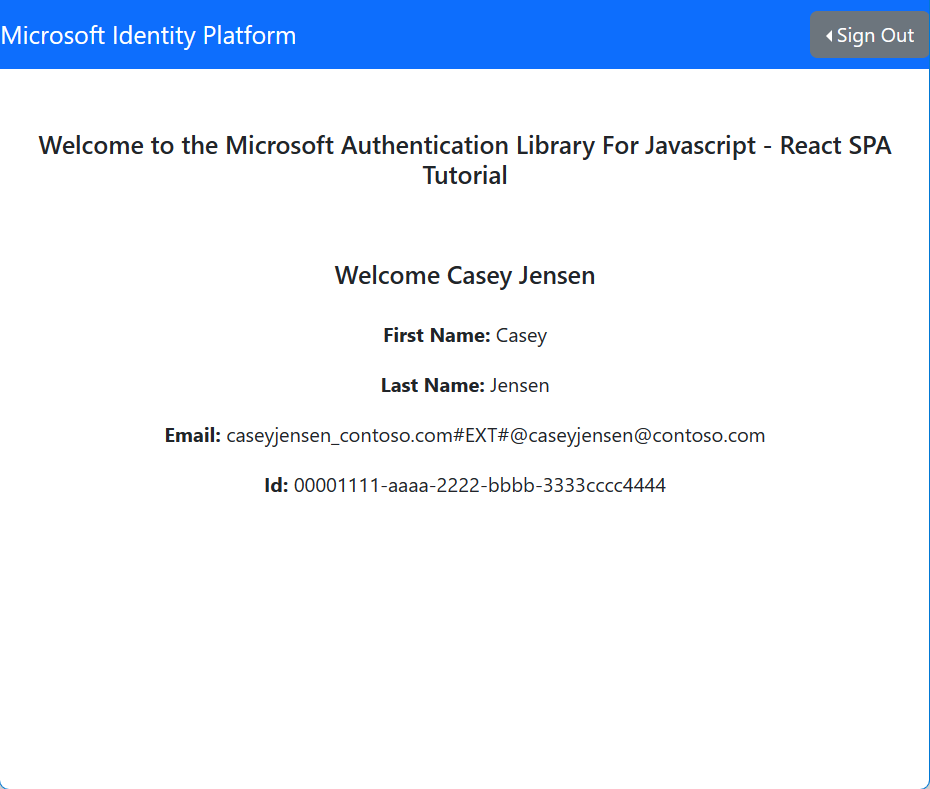
The SPA will now display a button saying Request Profile Information. Select it to display the Microsoft Graph profile data acquired from the Microsoft Graph API.
Next steps
Learn how to use the Microsoft identity platform by trying out the following tutorial series on how to build a web API.
Feedback
Coming soon: Throughout 2024 we will be phasing out GitHub Issues as the feedback mechanism for content and replacing it with a new feedback system. For more information see: https://aka.ms/ContentUserFeedback.
Submit and view feedback for